Hello, crafty friends! Today I’m sharing four cheerful cards created with an adorable Poppystamps penguin die set. By changing the colors, patterned papers, sentiments, and small accessories, I was able to give each penguin its own personality and create cards for several different occasions.
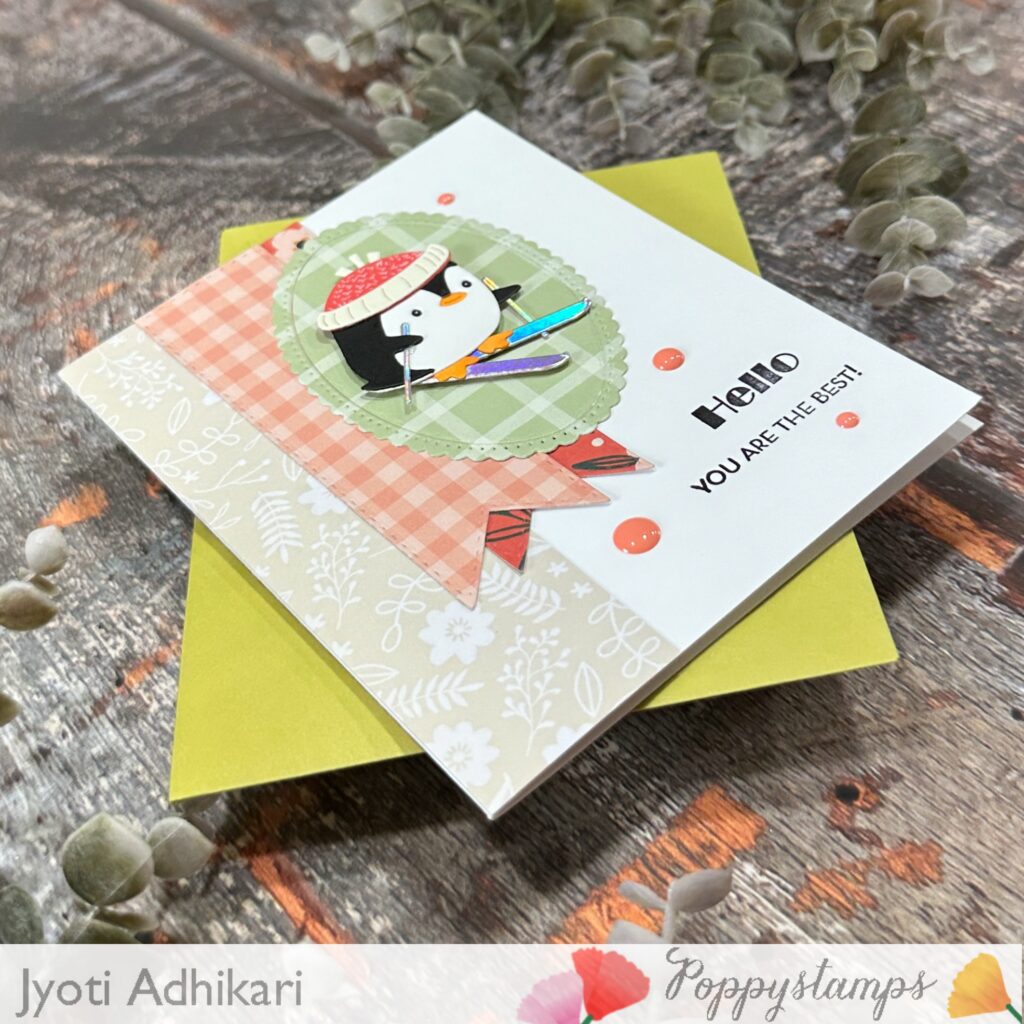
Card One: The Best Little Skier
Building the Penguin
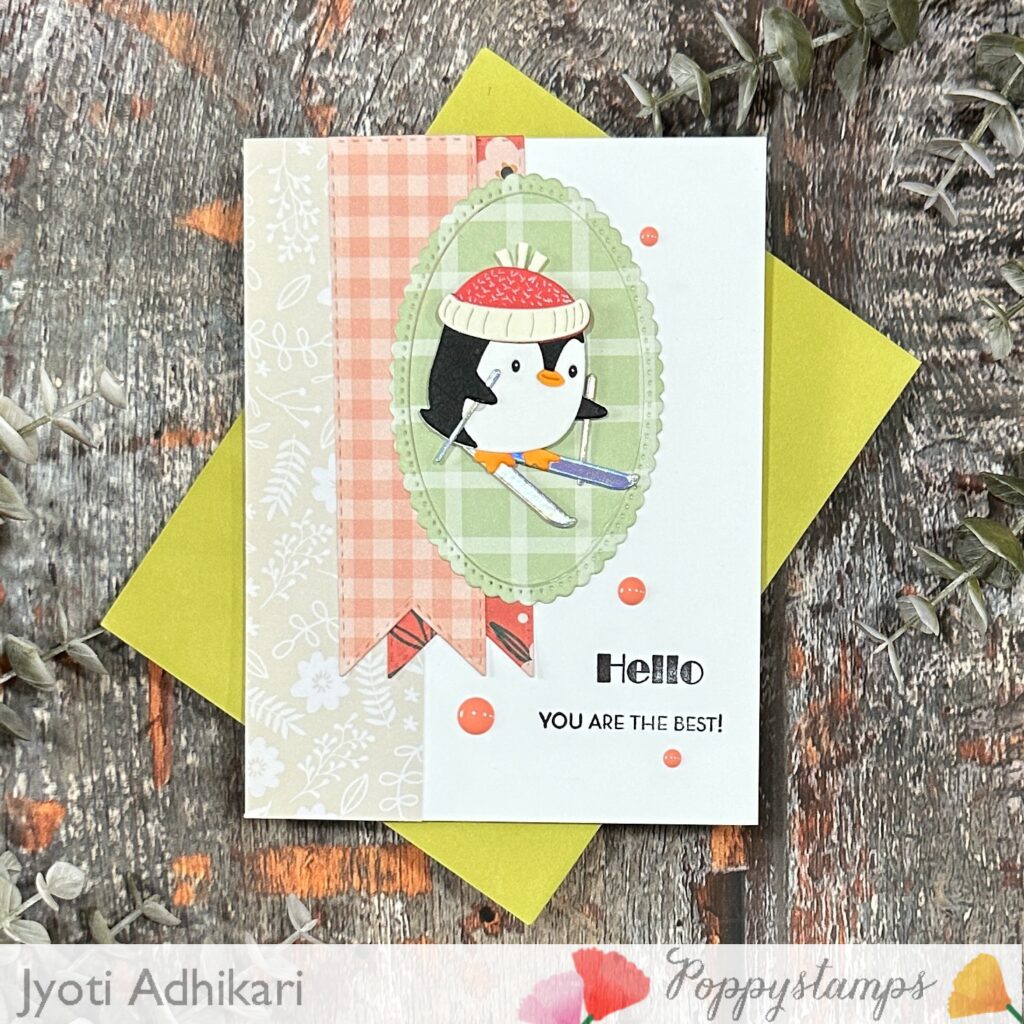
I began by die-cutting the penguin and all of its small layering pieces from black, white, orange, red, and soft neutral cardstock. I carefully assembled the layers, adding the tiny facial details, warm hat, skis, and poles to bring this sweet winter character to life.
Creating the Gingham Frame
For the focal background, I layered two oval die cuts in coordinating shades of green. The soft green gingham pattern adds a cozy, homespun feeling, while the scalloped outer edge gives the frame a delicate finished appearance.
Adding Patterned-Paper Banners
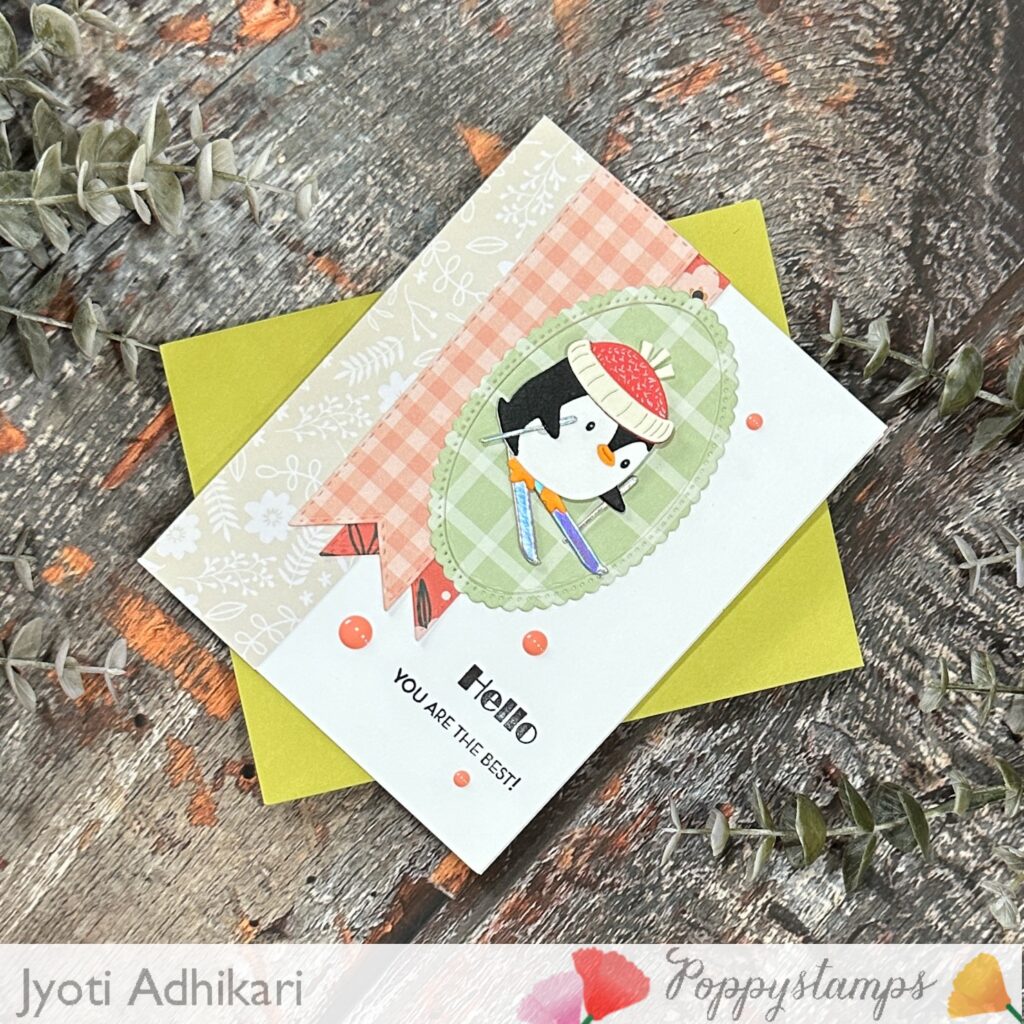
To create movement behind the penguin, I added long fishtail banners cut from peach gingham and coordinating patterned papers. I overlapped the strips slightly and allowed the pointed ends to extend below the oval, creating a fun layered arrangement without overwhelming the focal image.
Completing the Card
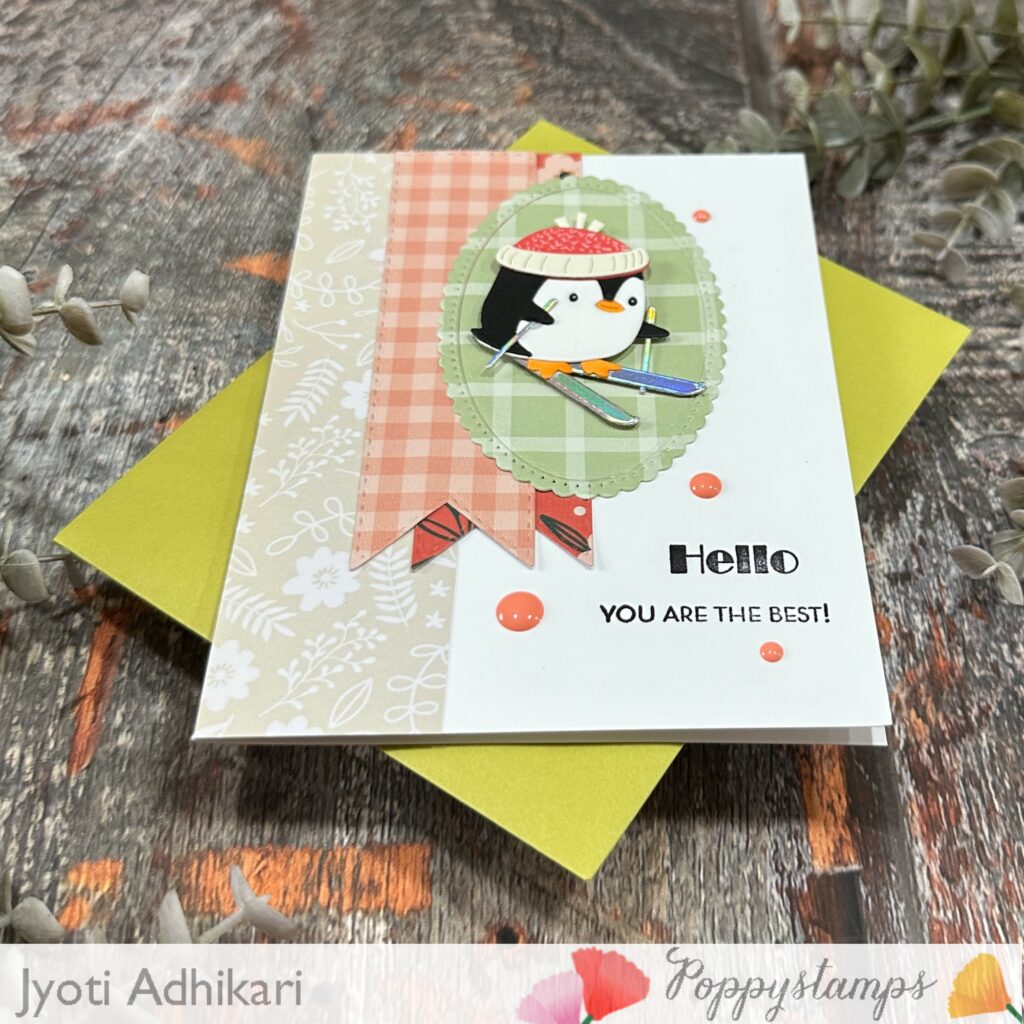
I attached the penguin over the oval with dimensional adhesive and added the “Hello, You Are the Best!” sentiment near the lower-right corner. A scattering of coral enamel dots brings the colors together and gives the clean white space a playful finishing touch.
Card Two: Penguin Party Wishes
Dressing the Party Penguin
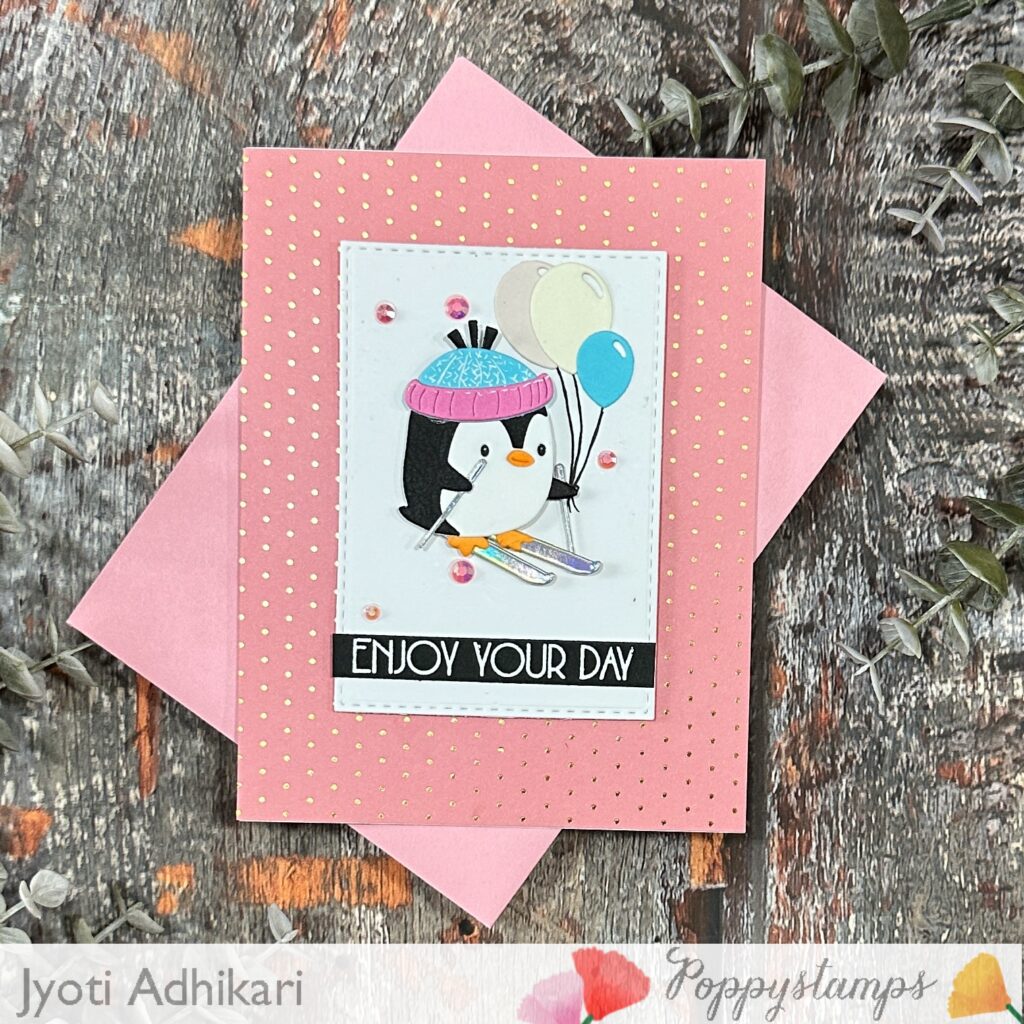
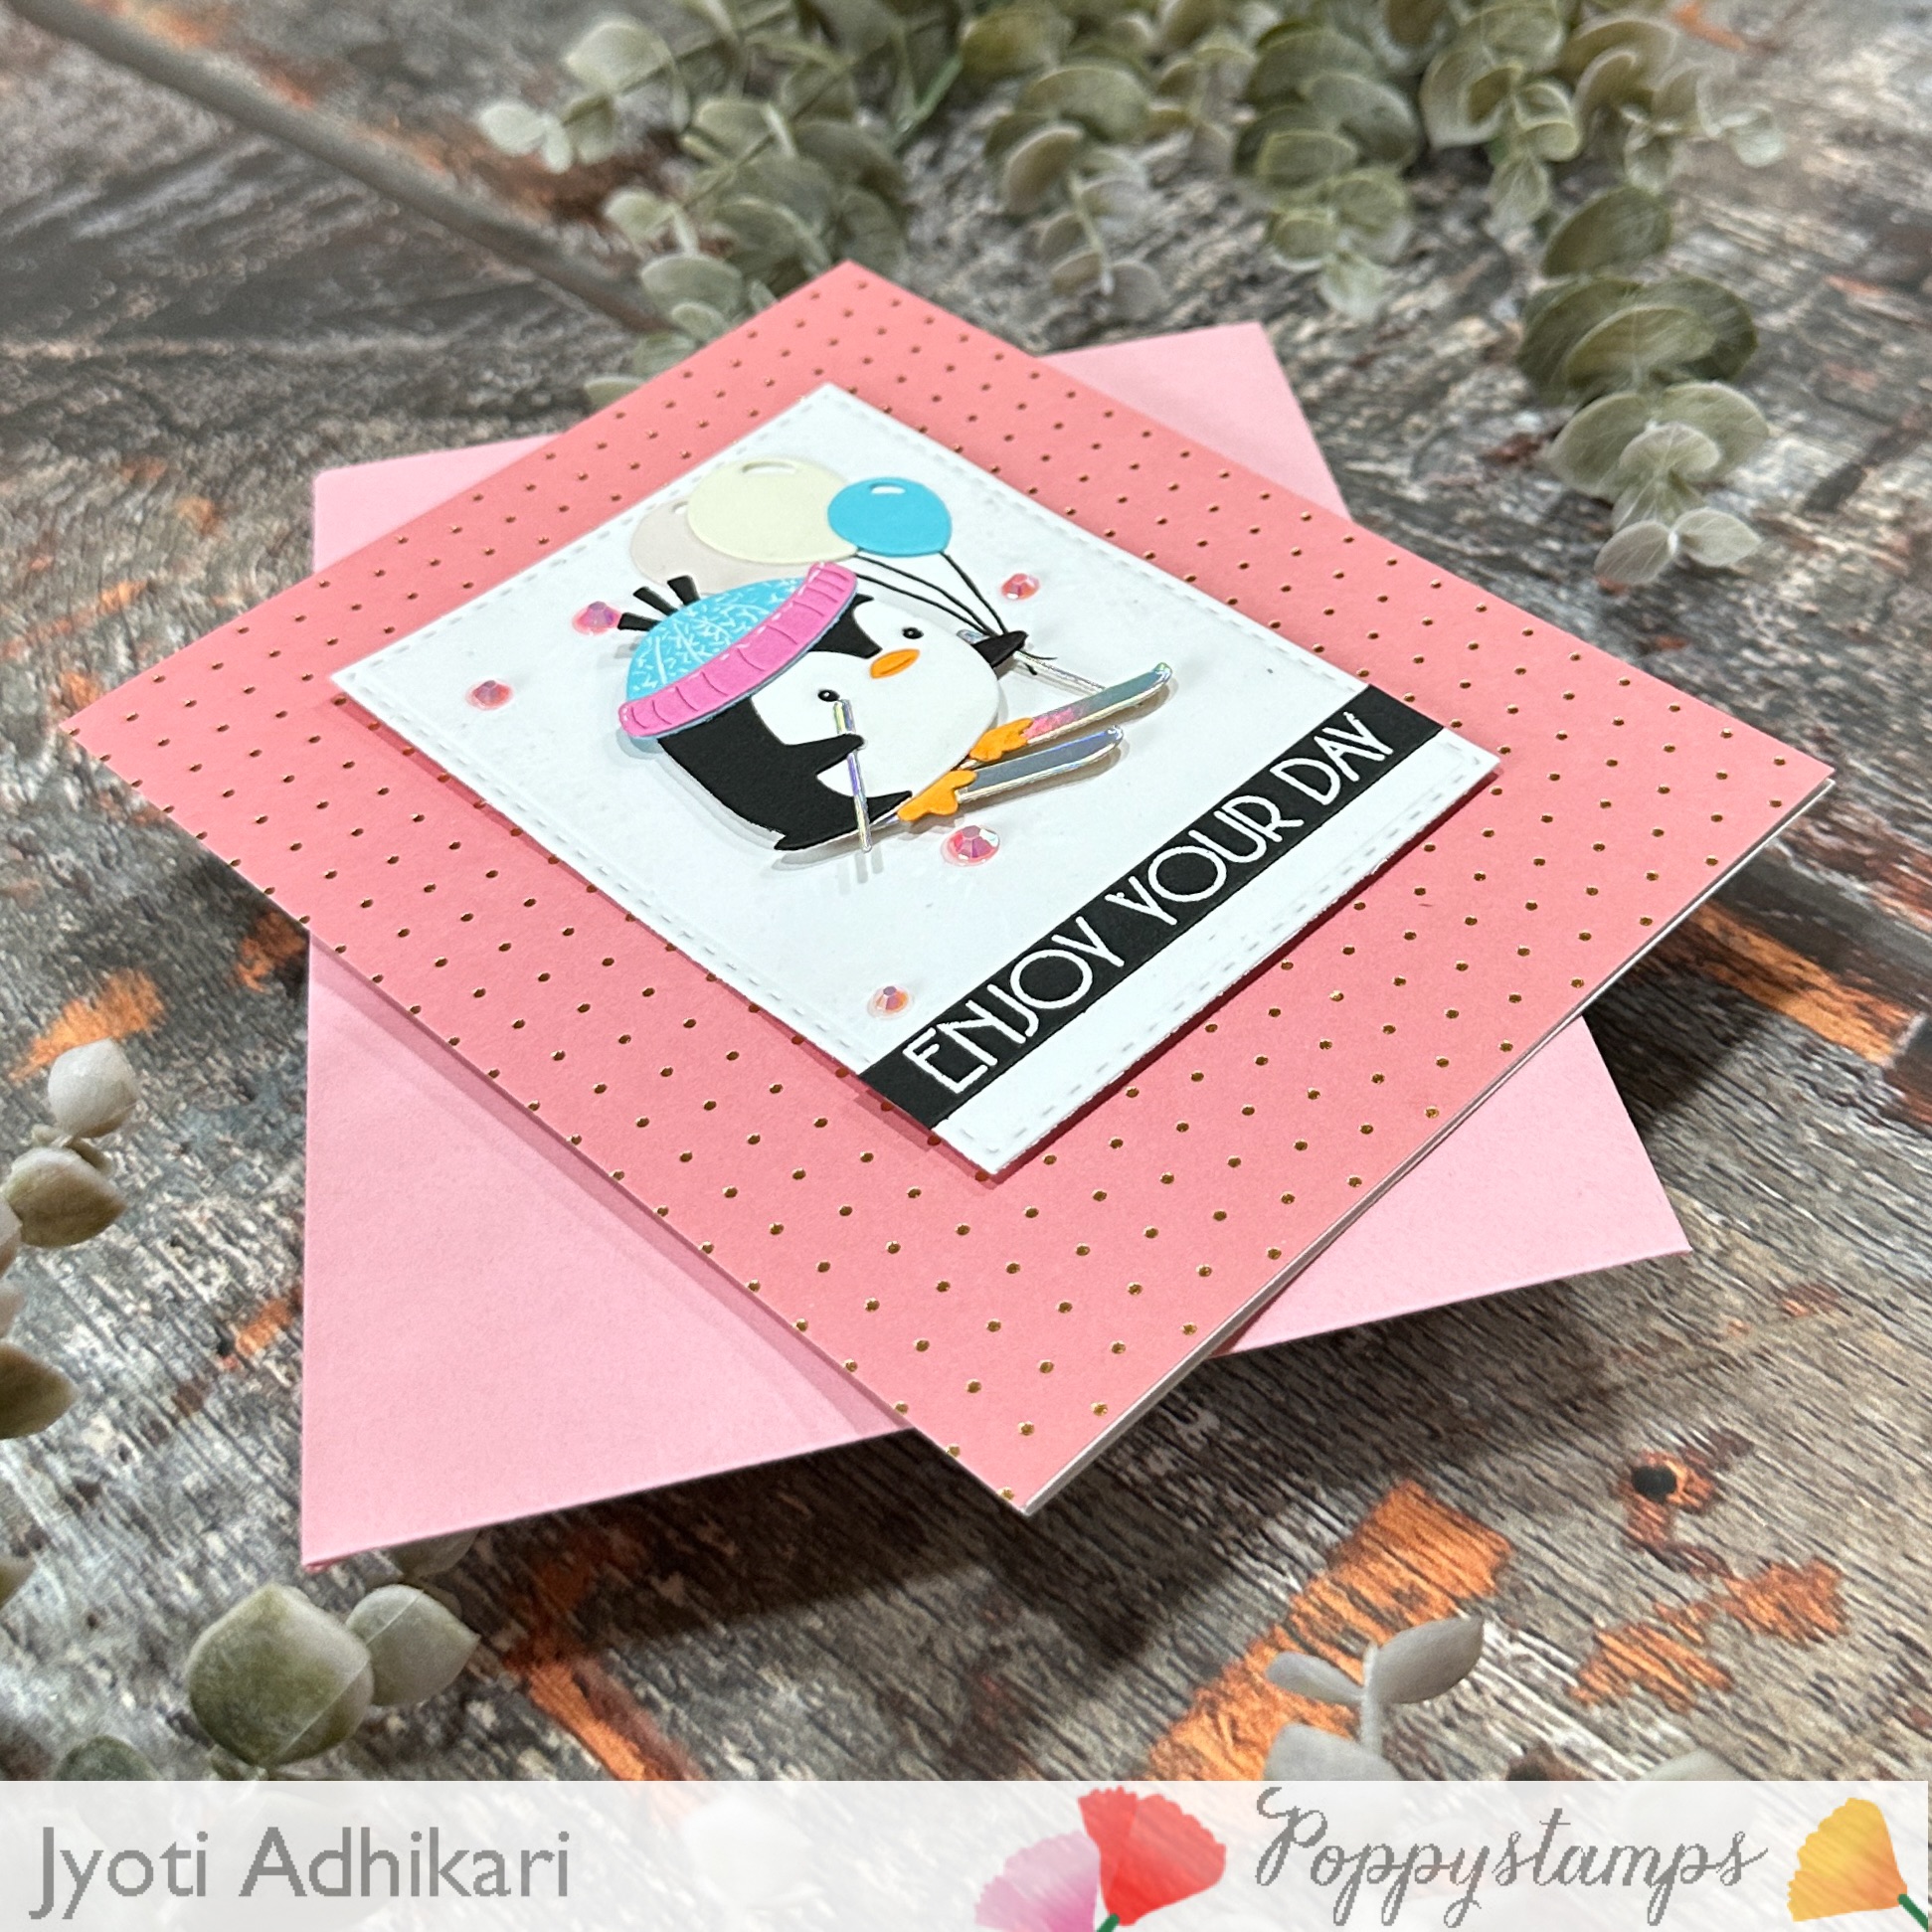
For the second card, I used the same Poppystamps penguin die but changed the accessories and colors to create a festive party look. Bright pink, turquoise, orange, black, and white cardstock make this little skier feel especially cheerful and ready to celebrate.
Adding the Balloons
I placed a small group of balloons behind the penguin to reinforce the celebration theme. The pale yellow and bright turquoise balloons add height to the composition and introduce extra color while allowing the penguin to remain the star of the design.
Framing the Scene
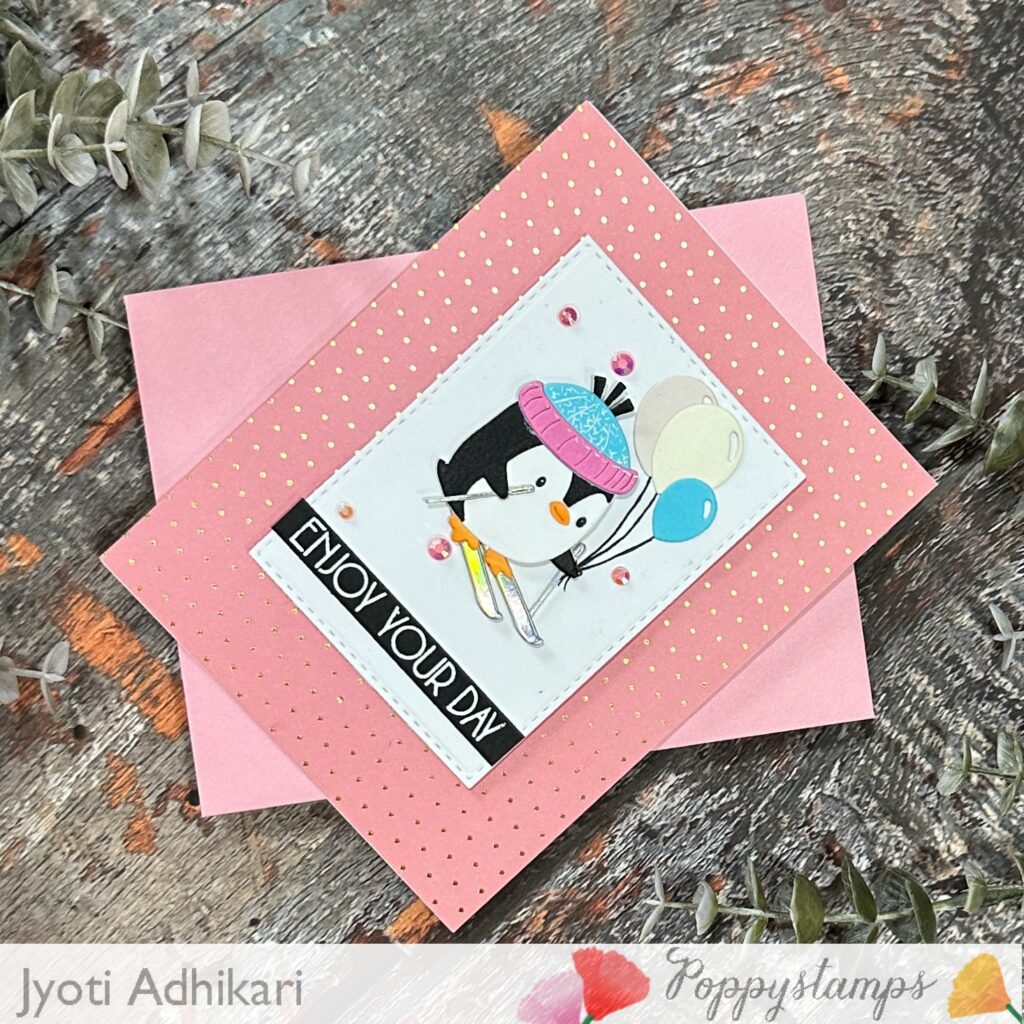
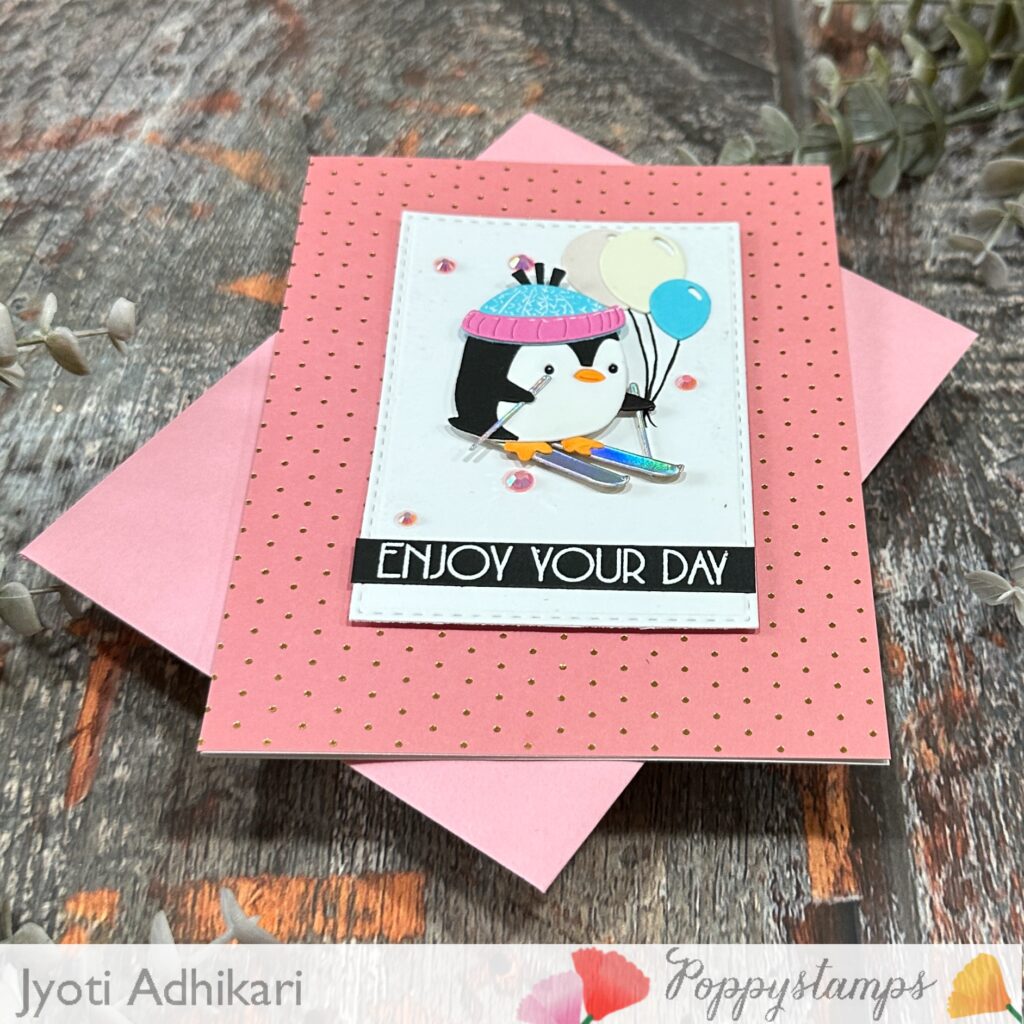
The penguin scene was arranged on a white rectangular panel with a subtle stitched edge. I mounted the panel onto a coral-pink background covered with tiny metallic gold dots, which gives the card a festive shimmer and creates a lovely contrast with the cool colors in the penguin’s outfit.
Finishing with a Bold Sentiment
A narrow black sentiment strip reading “Enjoy Your Day” anchors the bottom of the focal panel. I finished the design with several small pink gems scattered around the penguin for a little sparkle, dimension, and birthday-party energy.
Card Three: Skiing into a Happy Birthday
Choosing a Cool Winter Palette
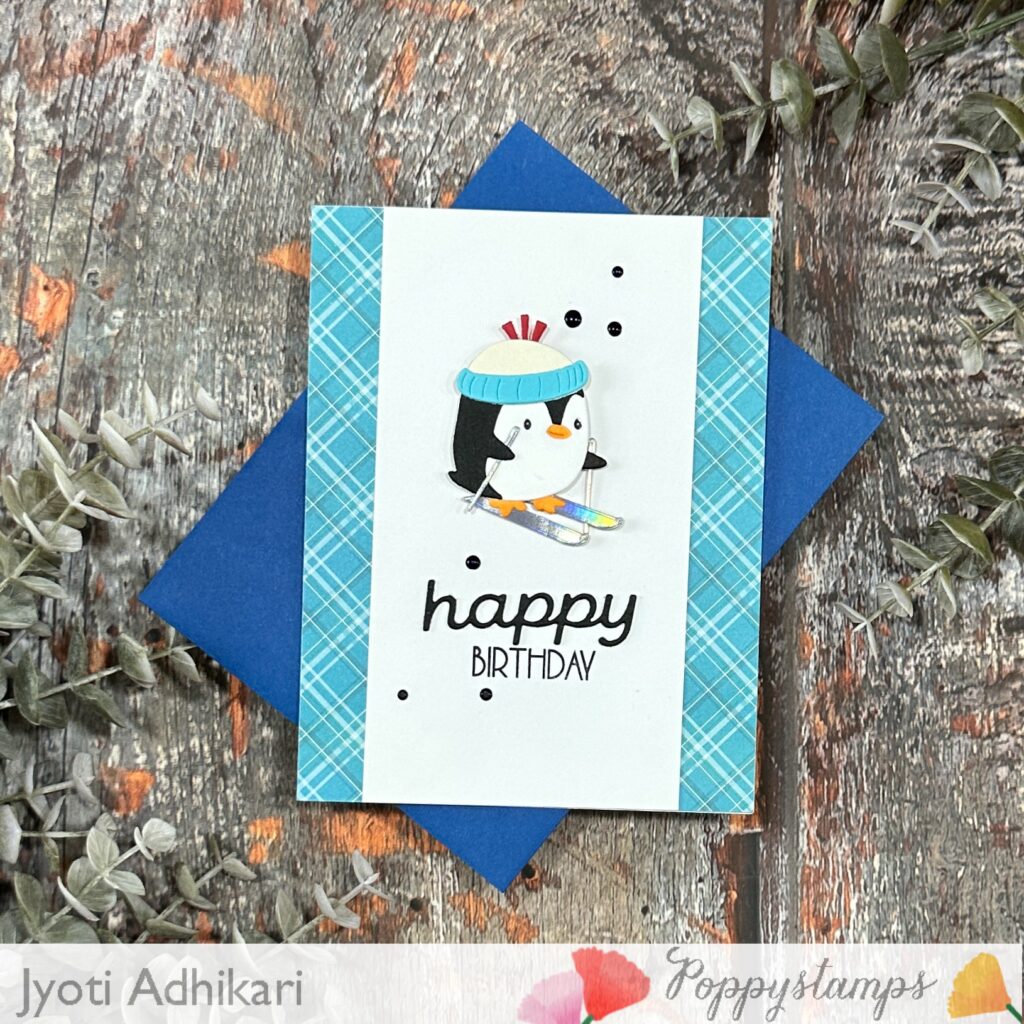
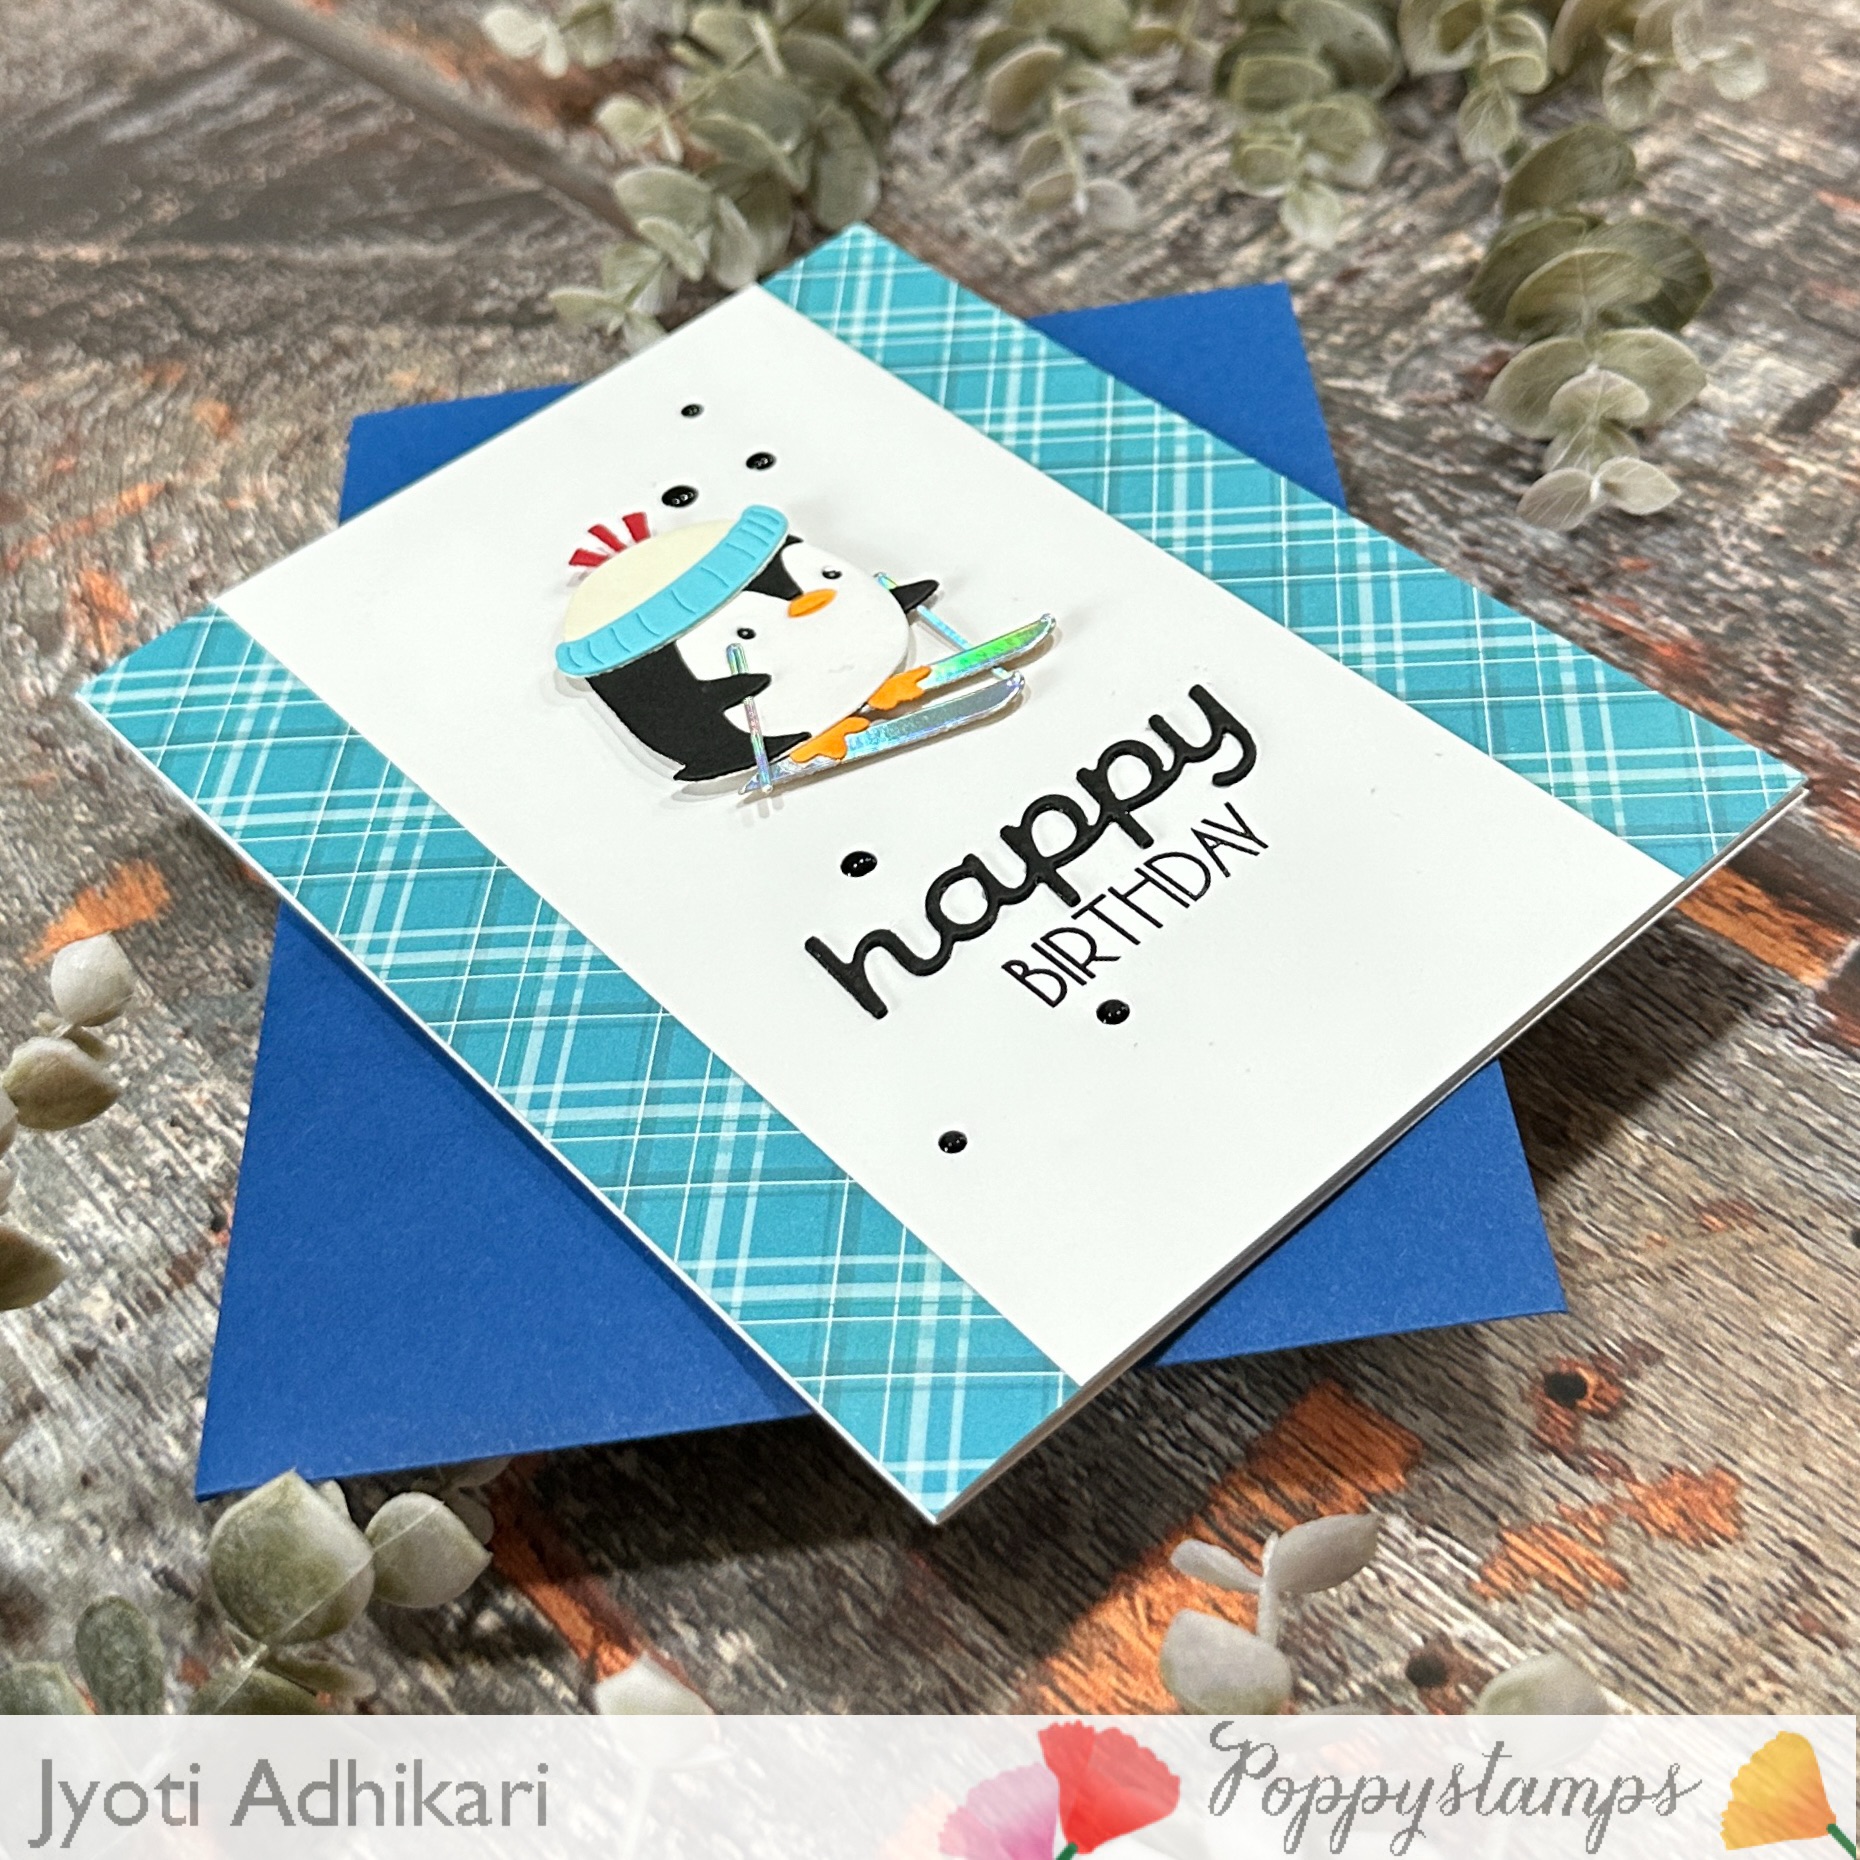
For this clean and simple birthday card, I dressed the Poppystamps penguin in a turquoise hat accented with a small red detail. The bright blue, red, yellow, black, and white combination feels crisp and wintry while still being colorful enough for a birthday celebration.
Creating the Central Panel
I cut a tall white cardstock panel and left plenty of open space around the penguin. This simple composition draws attention to the wonderful die-cut details and gives the playful character room to shine.
Adding Plaid Borders
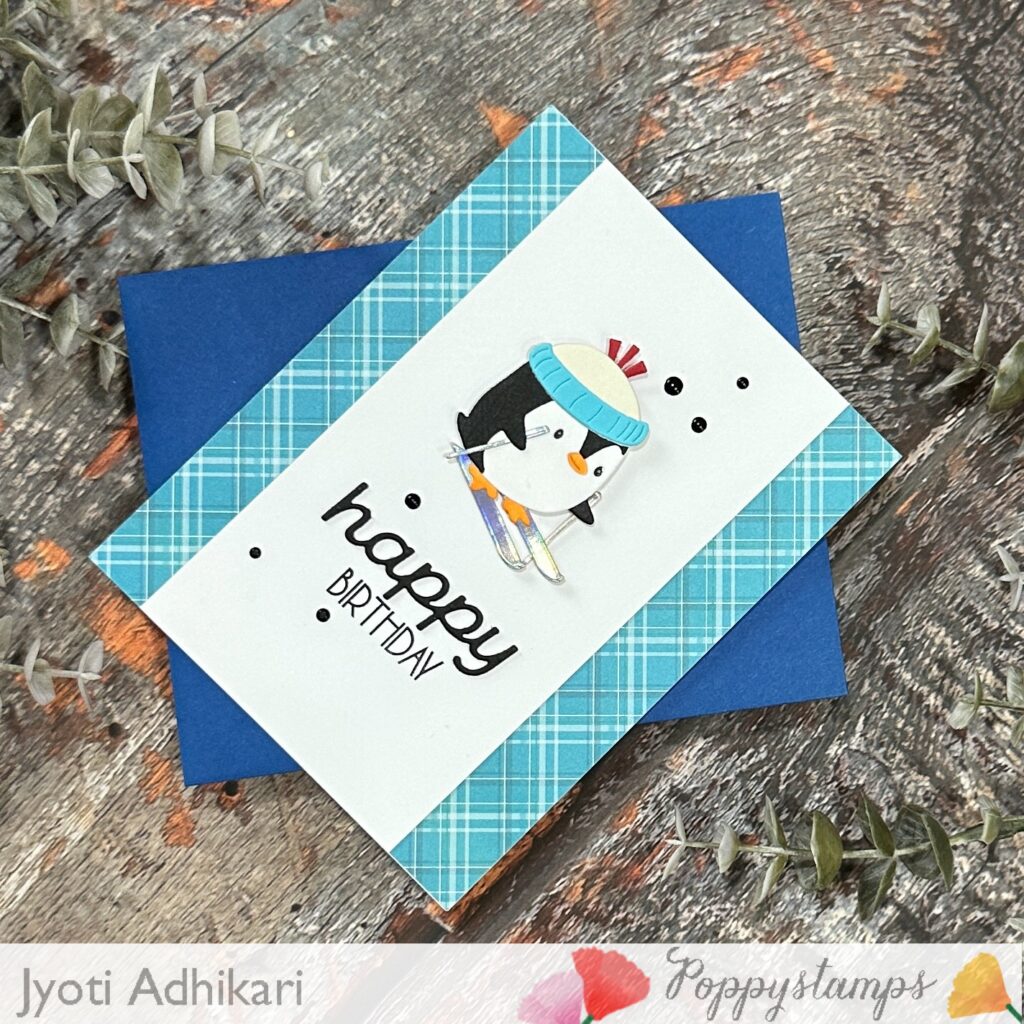
Narrow strips of turquoise plaid paper were added along both sides of the white panel. These borders frame the design, introduce a little pattern, and coordinate beautifully with the penguin’s turquoise hat without making the card feel too busy.
Adding the Birthday Greeting
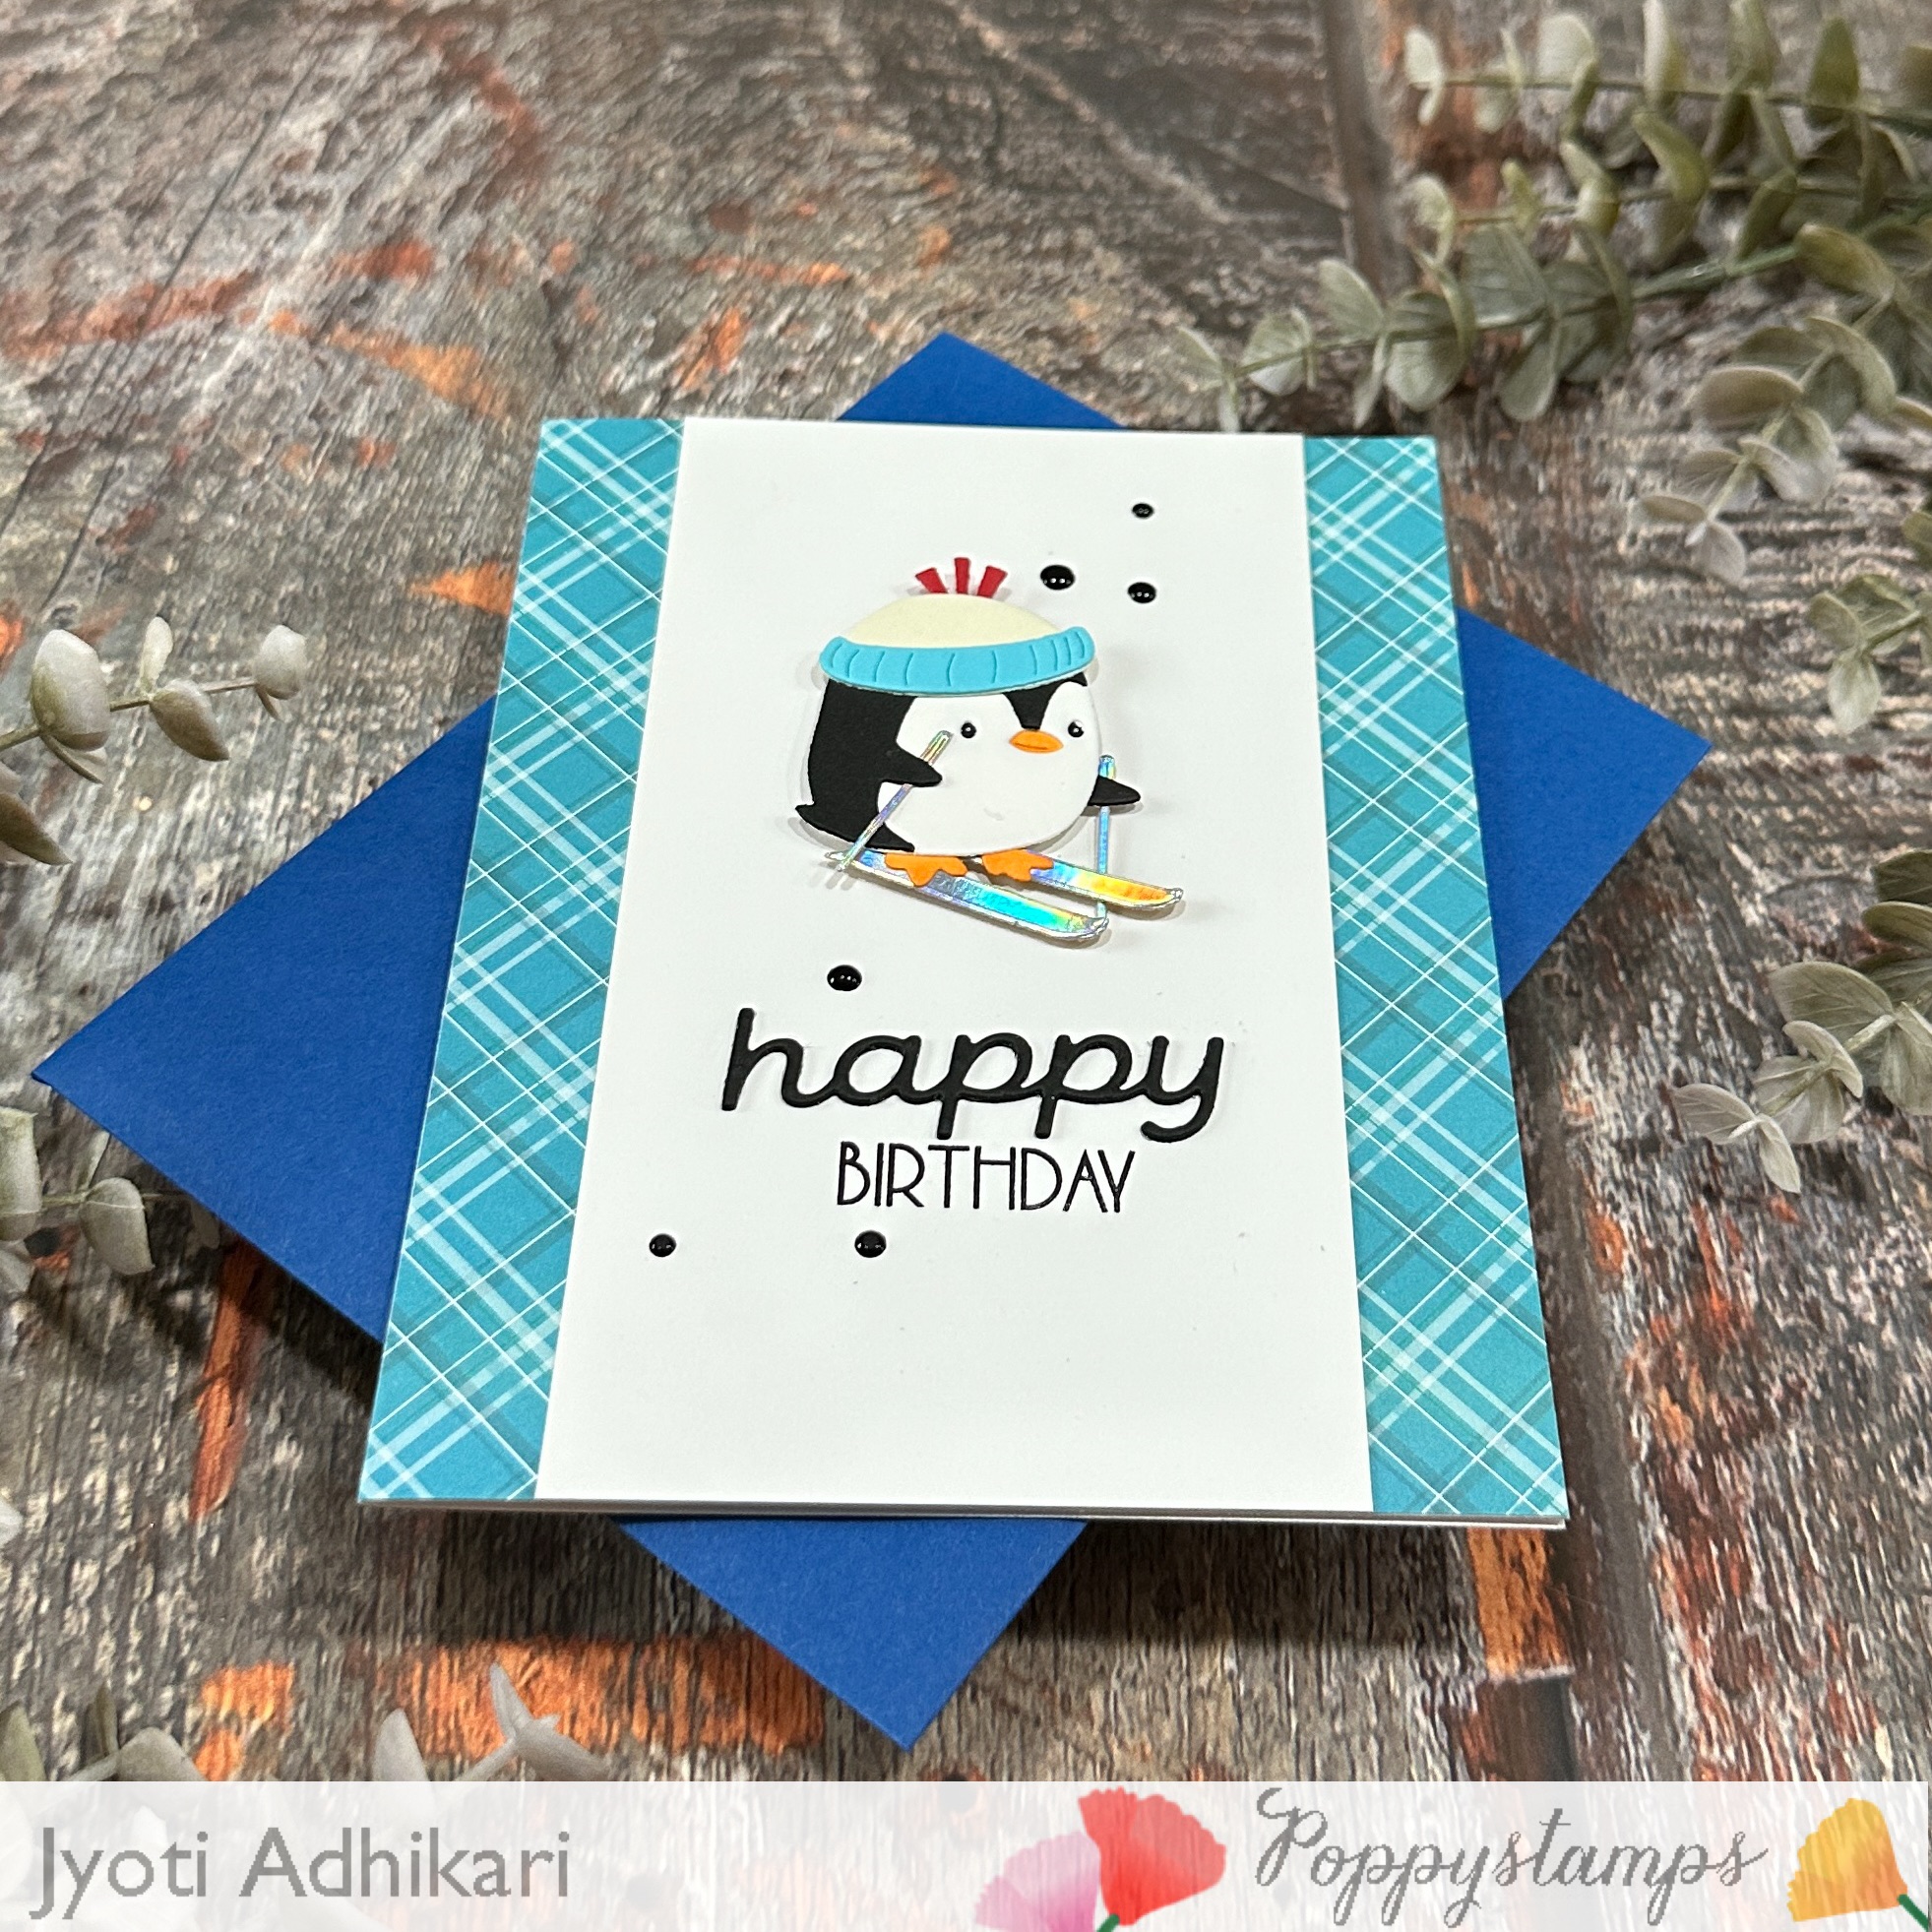
I placed the “Happy Birthday” sentiment beneath the penguin, using a combination of a relaxed script font and smaller uppercase lettering. A few black enamel dots scattered diagonally across the panel balance the composition and complete this fun, modern birthday card.
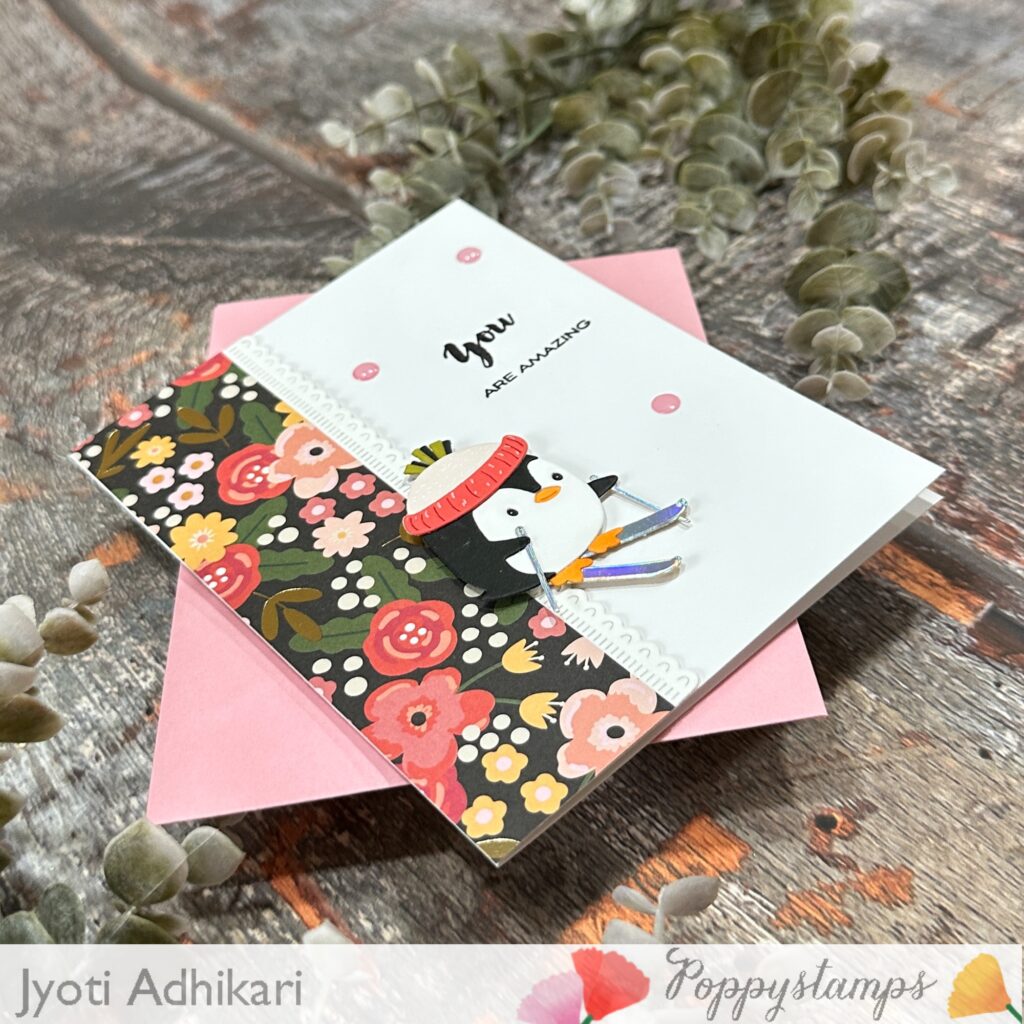
Card Four: You Are Amazing
Creating a Playful Penguin Scene
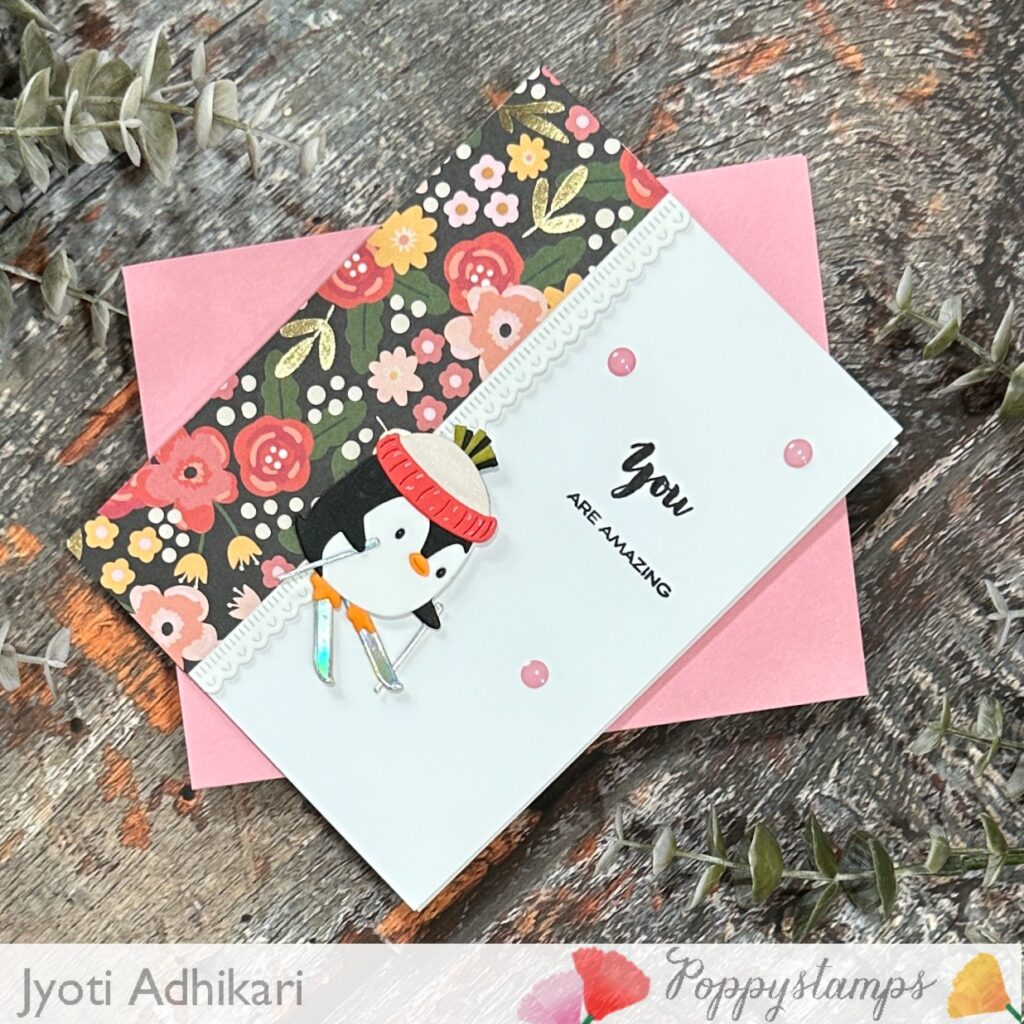
For the final card, I arranged the penguin in a playful upside-down position, as though it has taken a funny tumble on the ski slope. Rotating the die-cut character is an easy way to give the same Poppystamps die an entirely new personality and tell a different little story.
Selecting the Floral Background
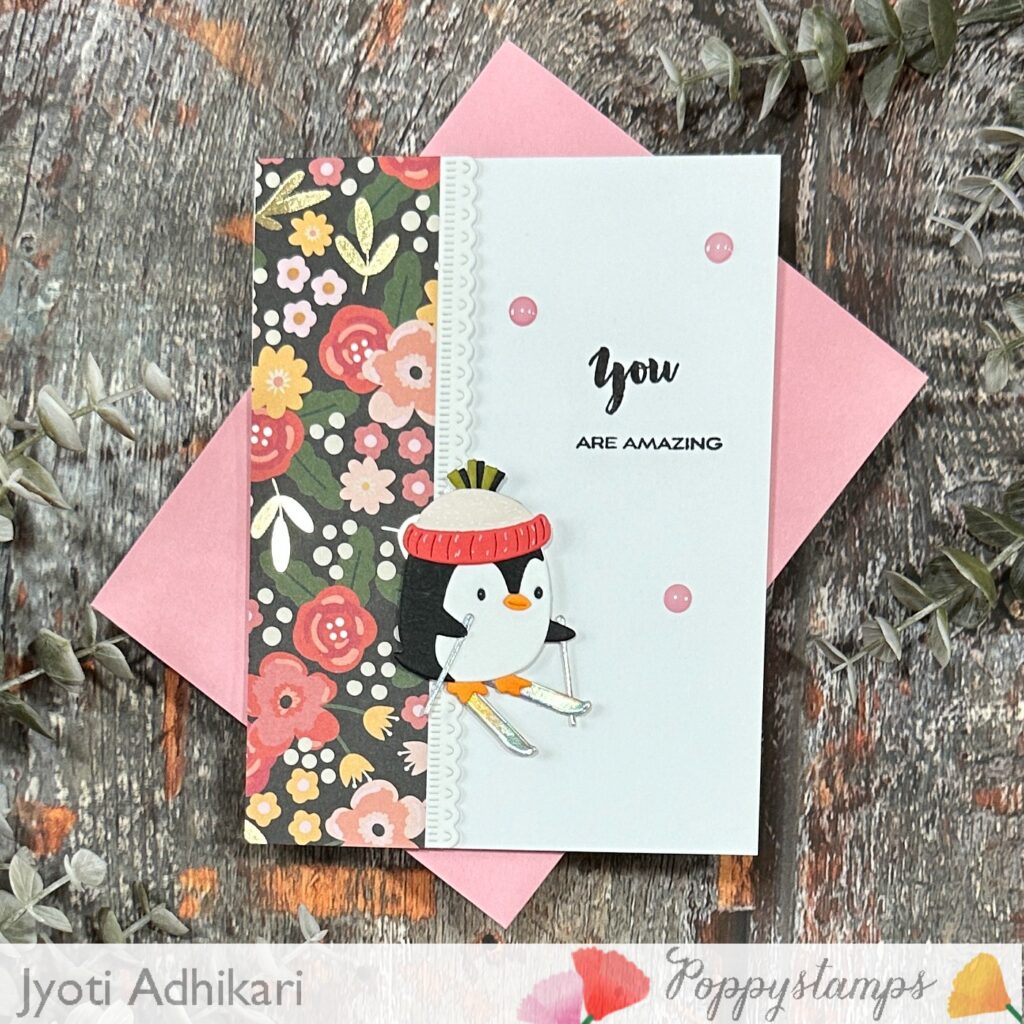
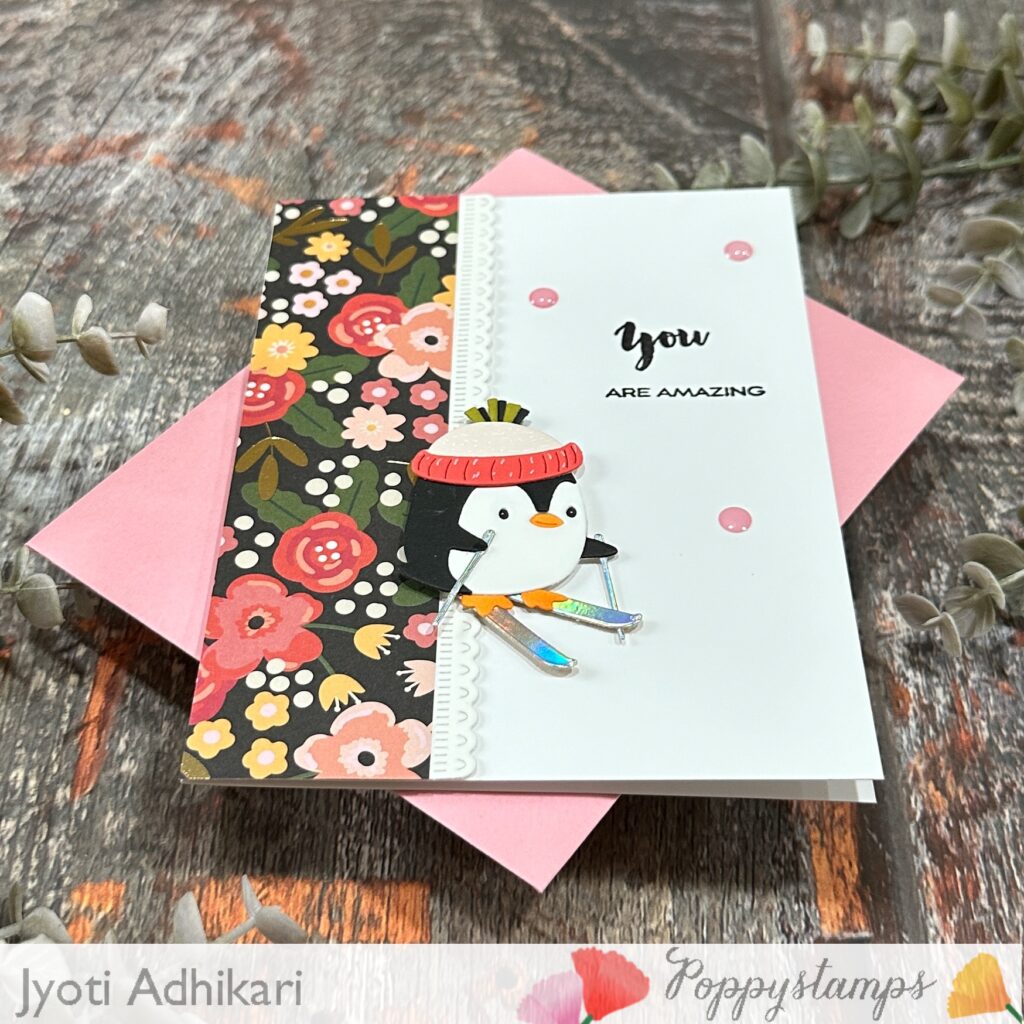
I added a wide strip of dark floral patterned paper along one side of the card. The coral, pink, yellow, cream, and green flowers create a bold contrast against the soft blue card panel and coordinate beautifully with the penguin’s colorful accessories.
Adding a Delicate Border
A narrow decorative scalloped border separates the floral paper from the open area of the card. This small detail gives the patterned section a polished edge and creates a gentle transition between the busy floral print and the clean cardstock background.
Completing the Encouraging Design
The “You Are Amazing” sentiment was stamped near the penguin, leaving plenty of breathing room around both elements. I added a few pink enamel dots across the card to echo the colors in the floral paper and give the finished design a sweet touch of shine.
I love discovering how many different looks can be created from one versatile Poppystamps die set. From a friendly hello and a birthday celebration to an encouraging message, these little penguins can be dressed, positioned, and embellished to suit so many occasions. I hope these four cards inspire you to revisit your favorite character dies and experiment with different colors, papers, accessories, and layouts. Thank you so much for stopping by the Poppystamps blog today—happy crafting!
Hugs,
Jyoti
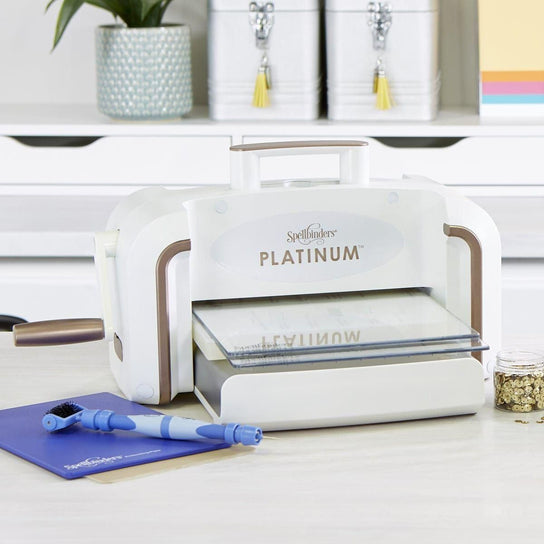
Die-cutting Machine Shop at: SB | SC | AM | SSS |
Neenah 80lb Cardstock Shop at: AM |
Ski Penguin Shop at: PS |
Scalloped Pinpoint Oval Shop at: PS |