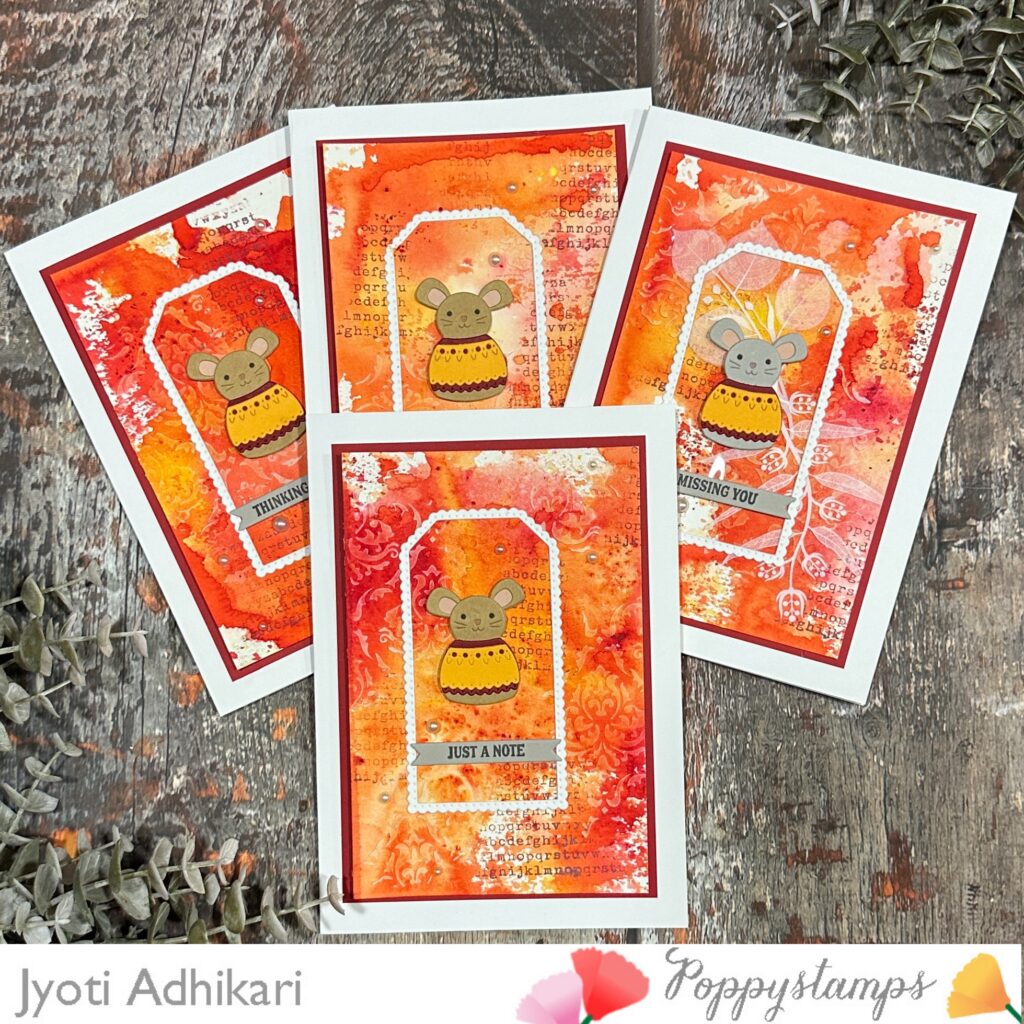
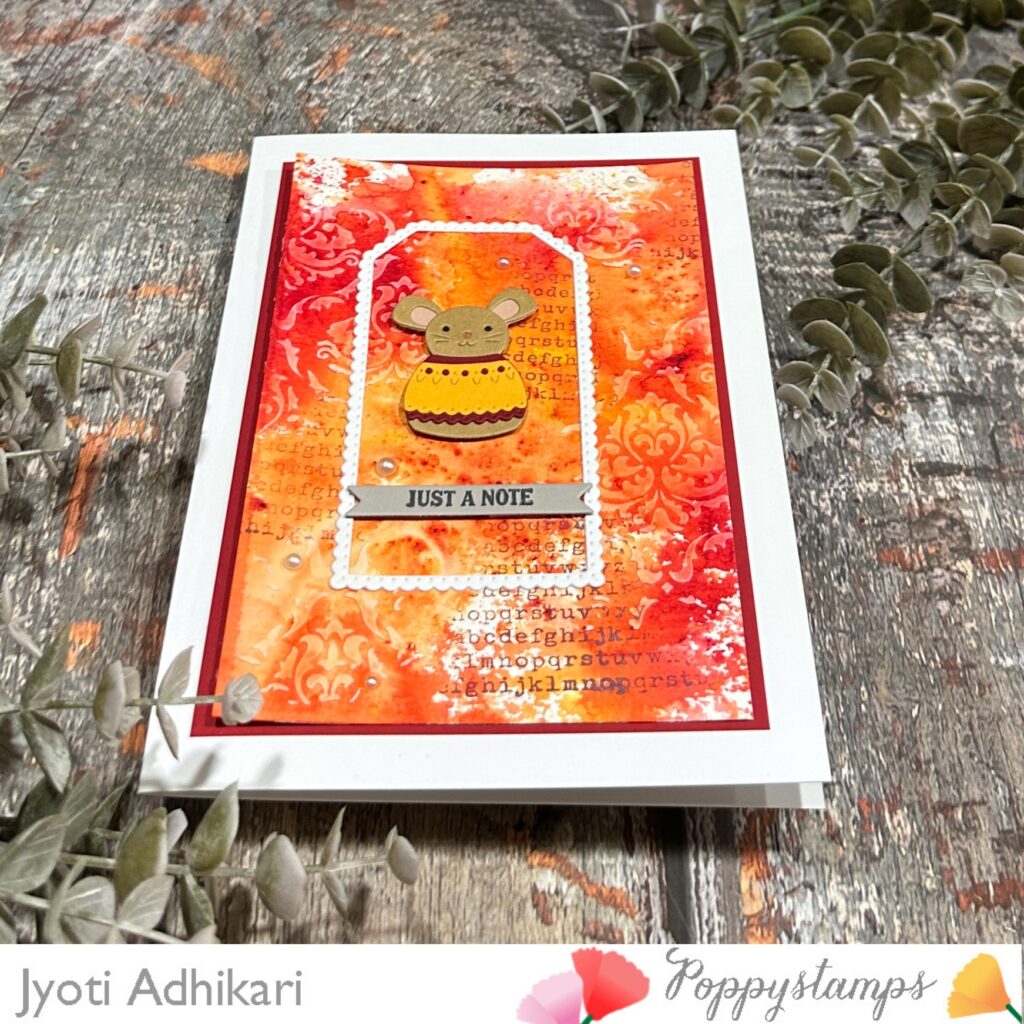
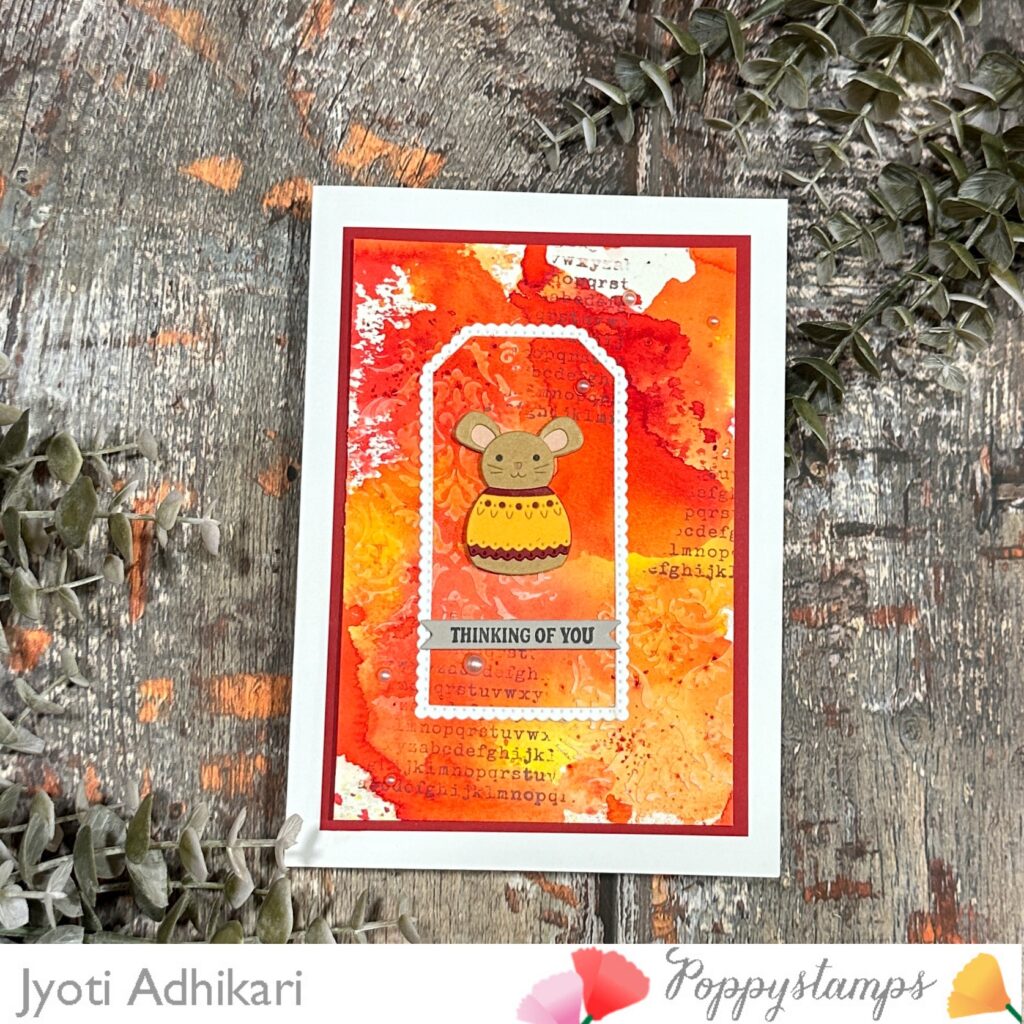
Sometimes the background becomes so beautiful that it deserves to be the star of the card. That was exactly the case with these cards. For this project, I created four 5×7 cards instead of my usual A2 size because I really wanted to showcase the watercolor mixed media backgrounds. A larger card size gives more space for the background to shine and allows all the texture and color variation to be visible.
Creating the Watercolor Mixed Media Background
To create these backgrounds, I used Color Burst Powder inks in red, yellow, and orange. I sprinkled the powder onto my Glass Media Mat, sprayed it with water, and then dabbed my Arches Watercolor Panels into the color. This technique creates very organic and unpredictable color patterns, which is what makes it so beautiful for mixed media backgrounds.
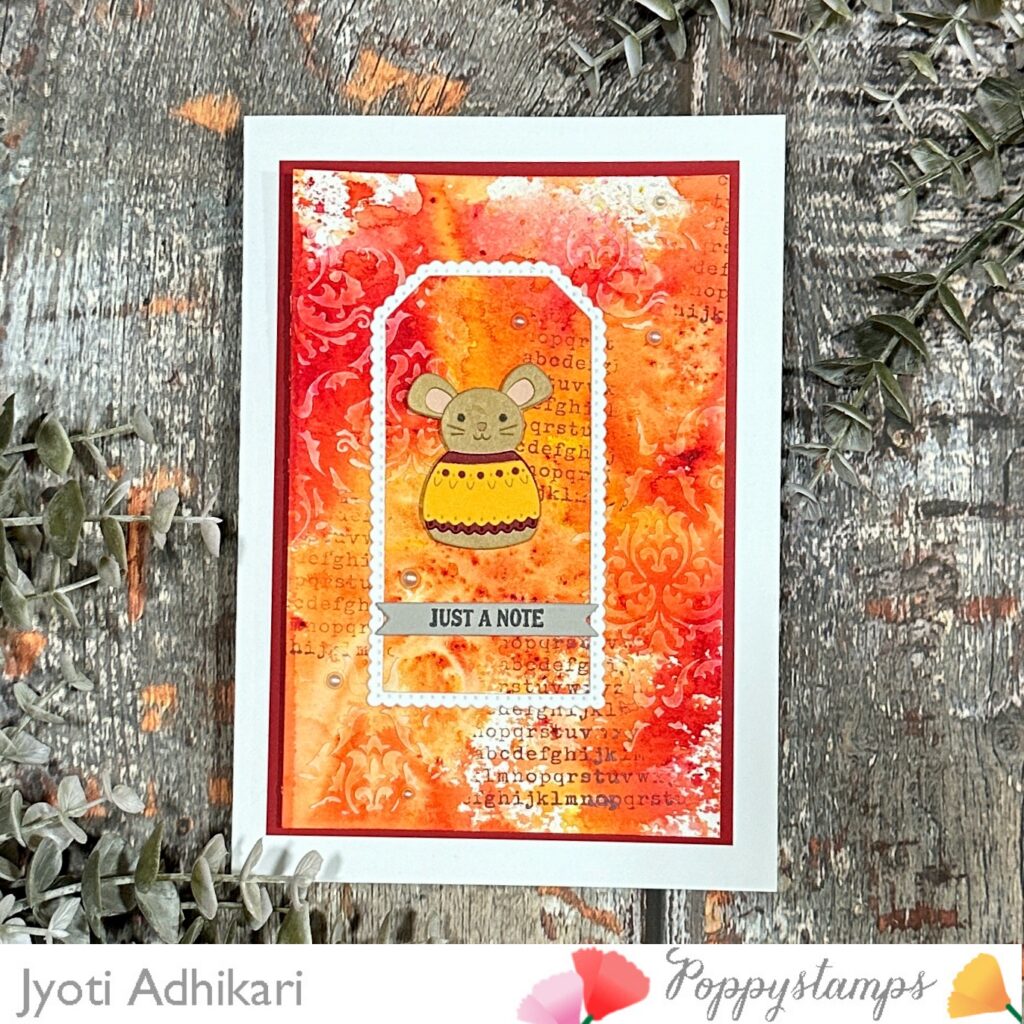
I dried the panel and then repeated the process again to build more layers and depth. Layering is very important with this technique because it gives the background richness and variation instead of looking flat. Working on larger 5×7 panels also allowed the colors to spread and blend in a more natural way.
Adding Texture and Stamping
Once the panels were completely dry, I added texture using texture paste and a Tim Holtz stencil. I applied the paste randomly in a few areas so that the texture would not overpower the background but instead add interest and dimension.
After the texture paste dried, I used a large text background stamp and Distress Oxide Ink in Aged Mahogany. Instead of stamping the whole image, I inked only parts of the stamp and stamped randomly to create a soft, subtle text effect in the background.
Creating the Focal Point
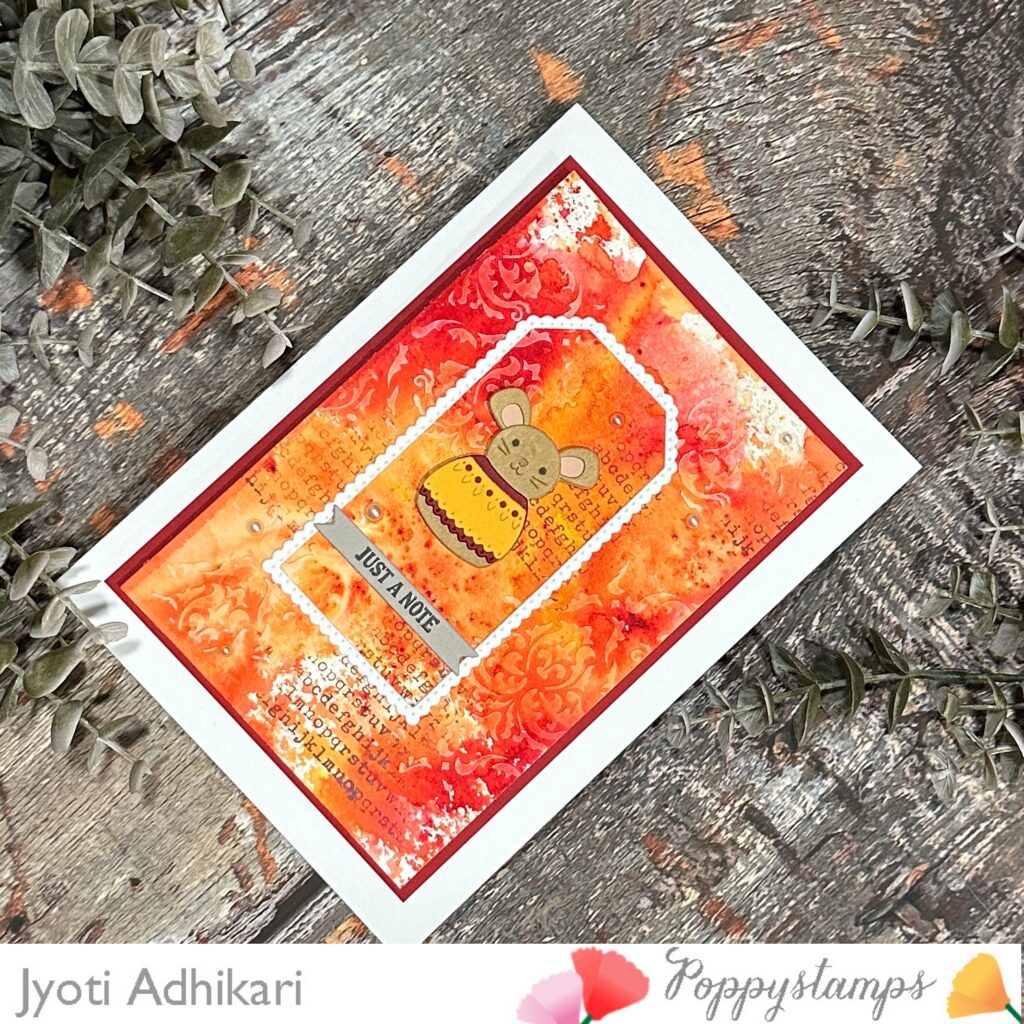
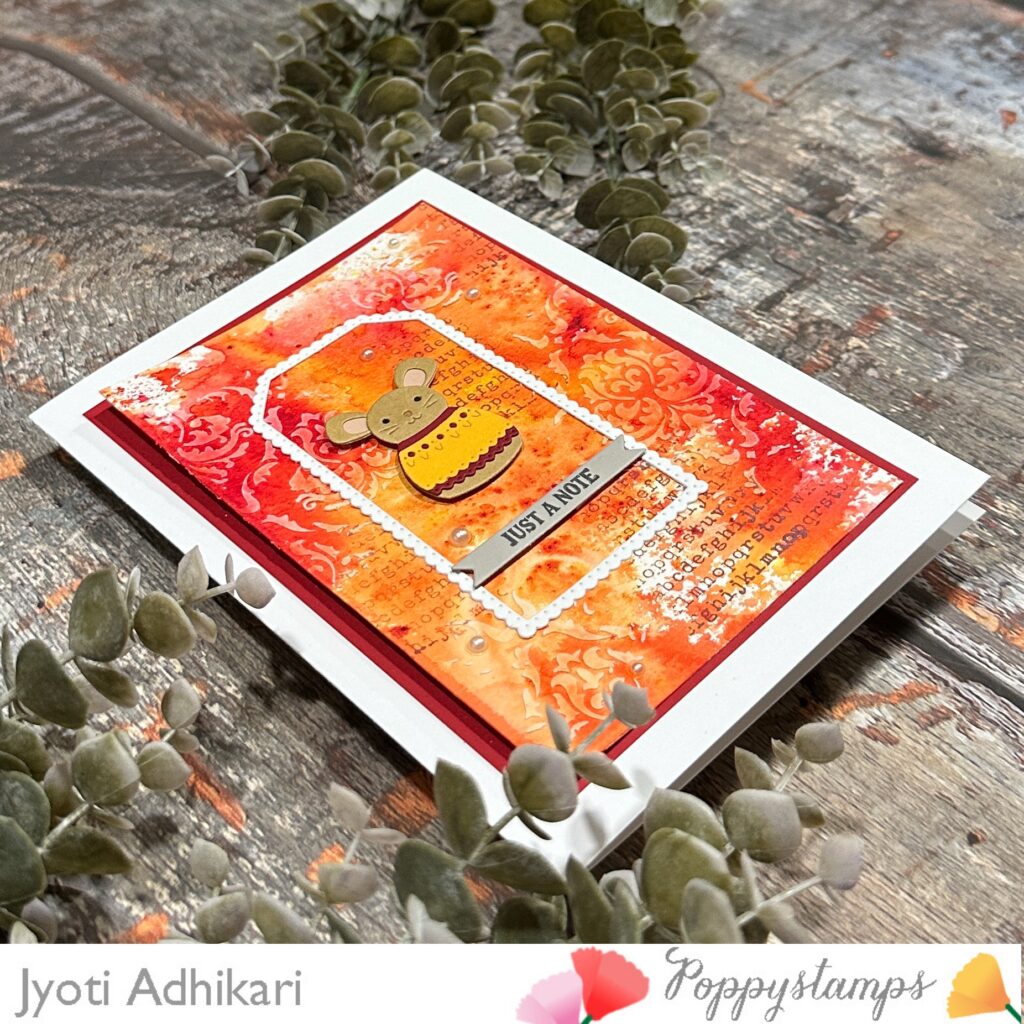
For the focal point, I used this Nordic Merry Mouse Die and created a small mouse image. I intentionally kept the focal image small because I did not want to cover the background that took so long to create.
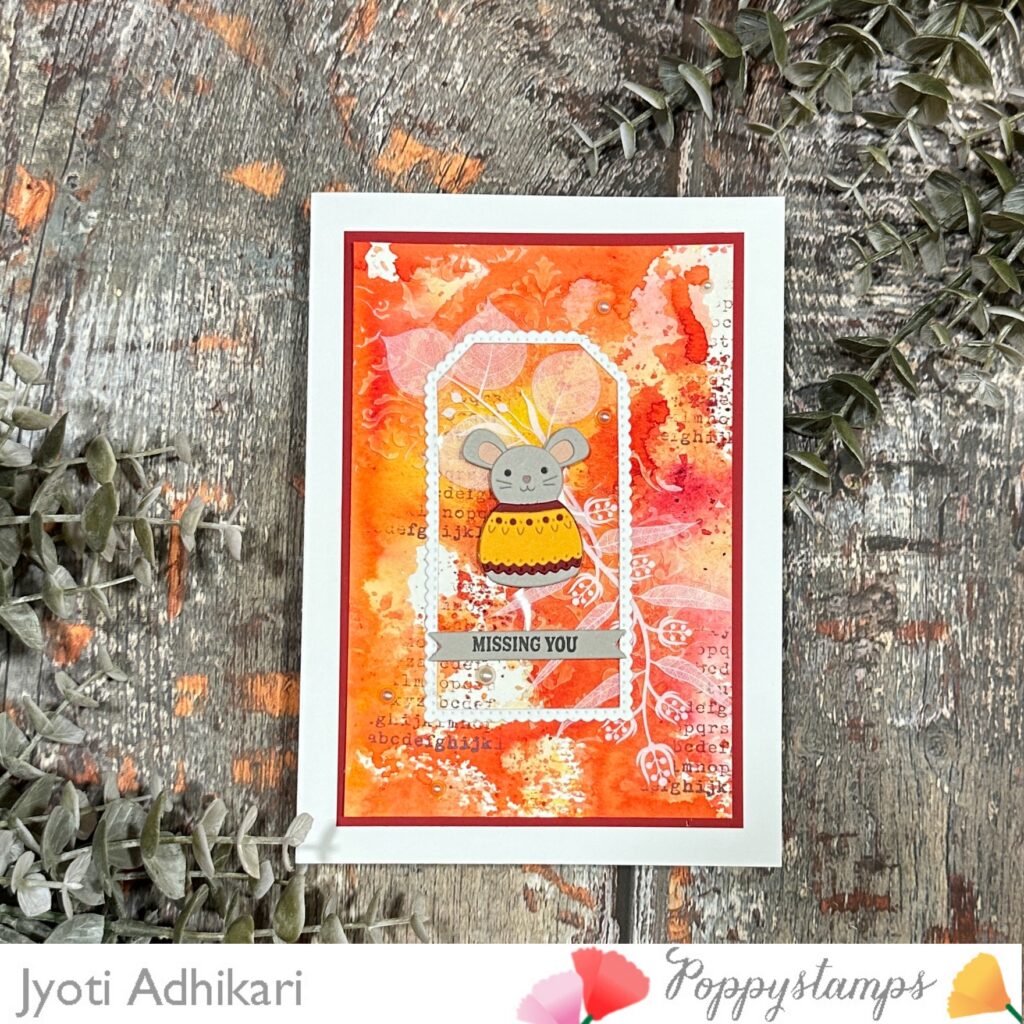
I die cut white frames using the Scalloped Pinpoint Tags die and used them as a frame for the mouse to sit inside. This helps draw the eye to the focal image while still allowing the background to remain visible, which was especially important for these larger cards.
Finishing the Cards
To finish the cards, I stamped sentiments on gray cardstock using the Sentimental Banners stamp set with coordinating dies. I created four cards with the same layout but used different sentiments on each card. This is a great way to create a coordinated card set while keeping each card slightly different.
Conclusion
This project is a great example of how you can turn one mixed media background technique into multiple finished cards. Using a 5×7 card size really helped showcase the watercolor, texture, and stamping without the design feeling crowded. Keeping the layout the same and changing only the sentiments is also a great way to create multiple cards efficiently while still making each one feel unique and handmade.
Hugs,
Jyoti
Scalloped Pinpoint Tags craft die Shop at: PS | SSS |
Arches Watercolor Pad Shop at: AM |
Tim Holtz Glass Media Mat Shop at: AM |
Color Burst Powder Shop at: AM |
Nordic Merry Mouse Shop at: PS |
Tim Holtz Stencil Gothic Shop at: AM |
Tim Holtz Ranger Texture Paste Shop at: AM |


