Creating handmade cards is always a delightful experience, and using new products from the Poppystamps Corner Shop Collection made it even more exciting. Today, I’m sharing a charming birthday card that’s perfect for celebrating in style. Let’s dive into the process of creating this colorful and fun card.
Corner Shop Collection
For this card, I used several fantastic products from the new Corner Shop Collection released on May 24. The key items featured in this project include:
- Corner Shop Birthday Treats Craft Die
- Corner Shop Birthday Celebrations Craft Die
- Corner Shop Dessert Stand Craft Die
- Birthday Banners Clear Stamp Set
- Scallop Pinpoint Rings Craft Die
Coordinating Colors
I decided on a vibrant color scheme for this card. To achieve the perfect combination, I turned to Sarah Renee Clark’s color combination charts. I chose orange, green, and blue as the main colors, inspired by an orange patterned paper with gold foiling from Memory Box. The gold accents in the paper added a touch of elegance, which I complemented with rose gold accents for the cake icings.

Crafting the Card Base
I started by cutting the orange patterned paper to fit an A2 card front. This orange paper with gold foiling set a festive tone for the card. Next, I cut a circle from blue cardstock using the Scallop Pinpoint Rings Craft Die. This die creates a beautifully detailed scalloped edge, making it a perfect backdrop for the cake stand and treats.
Die-Cutting the Elements
Using the Corner Shop Birthday Treats Craft Die, I cut out cakes, cupcakes, and a banner. I used green and blue cardstocks to match the chosen color scheme and added rose gold accents for the icings, which beautifully complemented the gold in the orange patterned paper. I also die-cut the cake stand from blue cardstock using the Corner Shop Dessert Stand Craft Die. The combination of green and rose gold brought a fresh and festive look to the card.
Assembling the Card
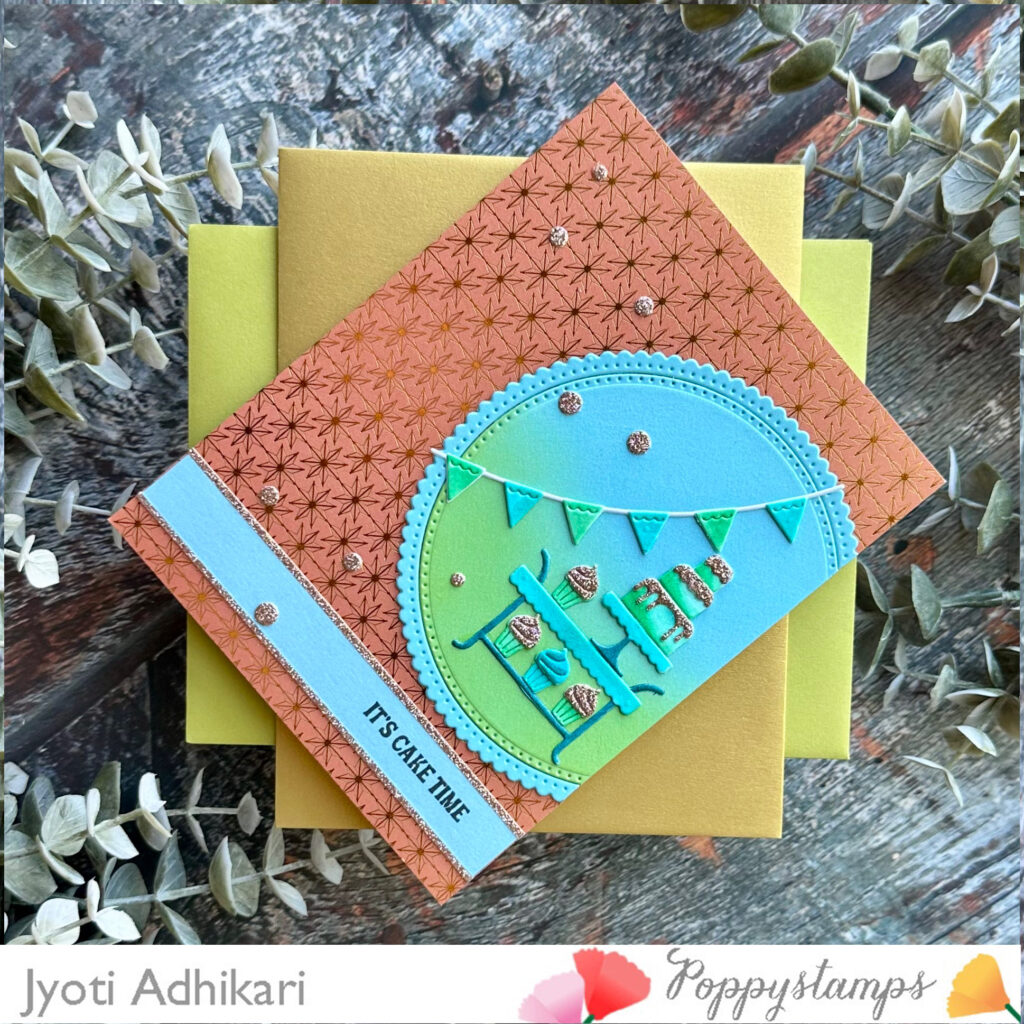
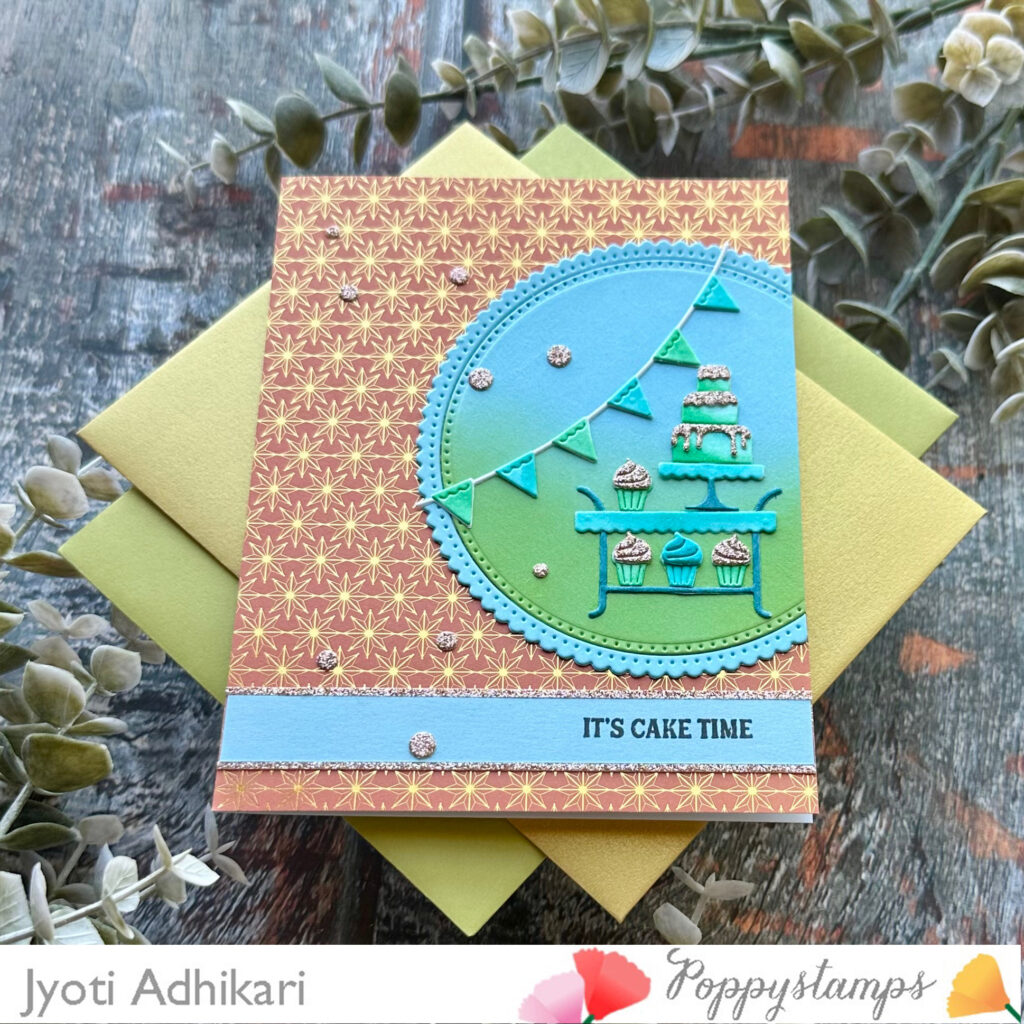
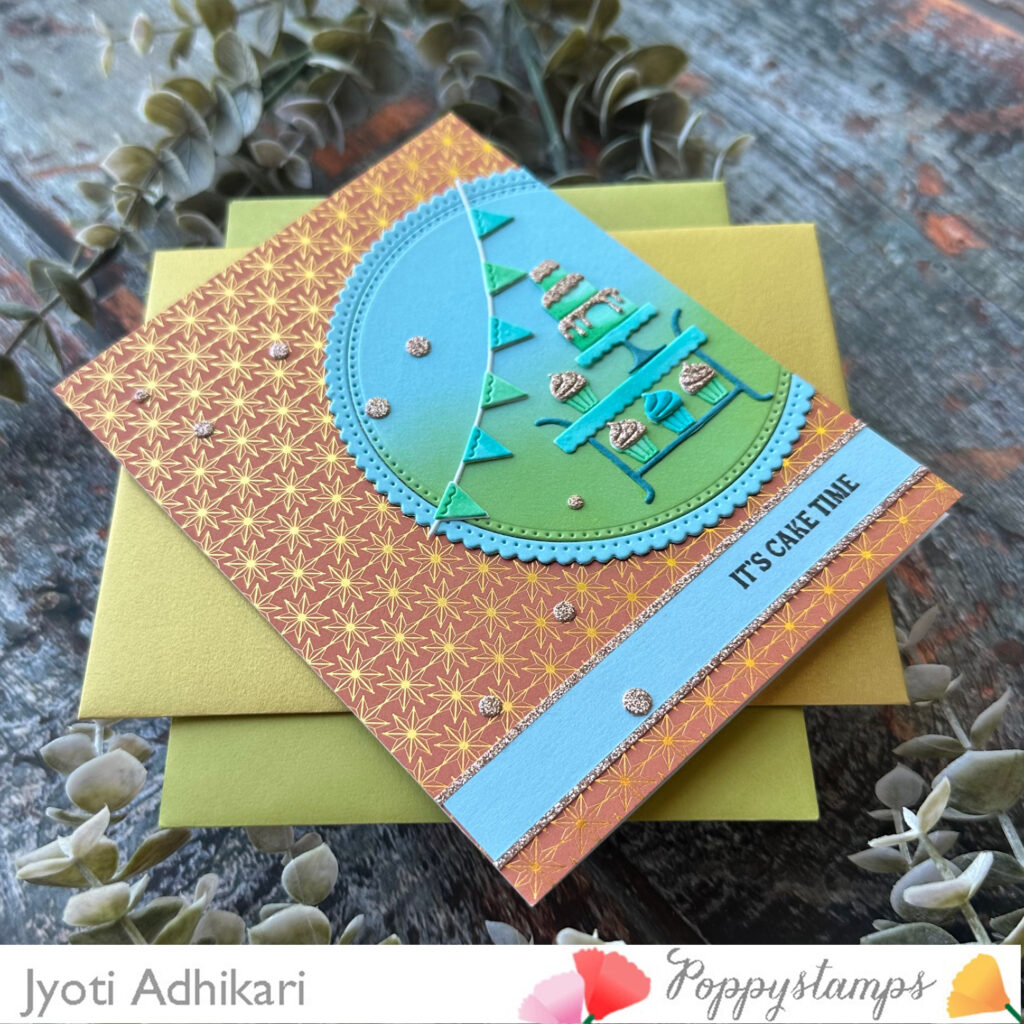
First, I adhered the orange patterned paper to the A2 card base using glue. Then, I positioned the blue scalloped circle along the right-hand side of the card, allowing part of the circle to hang off the edge. After gluing it in place, I trimmed the excess with scissors to keep the card edges clean and neat. Then I arranged the die-cut cakes, cupcakes, and banner on the blue circle, placing the cake stand in the center. The variety of colors and the detailed die cuts created a delightful focal point.
Adding the Sentiment
For the sentiment, I used the Birthday Banners Clear Stamp Set. I stamped “It’s cake time” on a strip of blue cardstock, which matched the scalloped circle. The strip was then placed along the bottom of the card, the sentiment perfectly aligned under the blue circle.
Finishing Touches
To add an extra touch of sparkle, I die-cut tiny circles from rose gold glitter paper using an old background die. These small accents were scattered around the card, enhancing the festive feel and tying in the rose gold detail.
Creating this birthday card with the Poppystamps Corner Shop Collection was a fun and rewarding process. The combination of vibrant colors, detailed die cuts, and elegant accents resulted in a card that’s sure to bring joy to anyone celebrating their special day. I hope this inspires you to explore the new Poppystamps products and create your own beautiful cards. Happy crafting!
Hugs,

Corner Shop Dessert Stand Shop at: PS | SSS |
Corner Shop Birthday Treat Shop at: PS | SSS |
Scallop Pinpoint Rings Shop at: PS | SSS |
Birthday Banners Clear Stamp Shop at: PS | SSS |
Corner Shop Birthday Celebration Shop at: PS | SSS |


