Welcome, fellow crafters! Today, I am thrilled to share a cardmaking adventure that features the enchanting Spellbinders’ FLOWERS AND FOLLIAGE 3D EMBOSSING FOLDER from FROM THE GRADEN COLLECTION by Wendy Vecchi Collection with a brilliant technique I recently learned from the talented Gina K. Brace yourselves for a journey through the creative process of crafting a stunning card that merges intricate foliage, monoline stars, and vibrant colors. Join me in unveiling the magic of double embossing and the art of adding life to your projects with the direct ink pad to paper technique.
Unveiling the Canvas
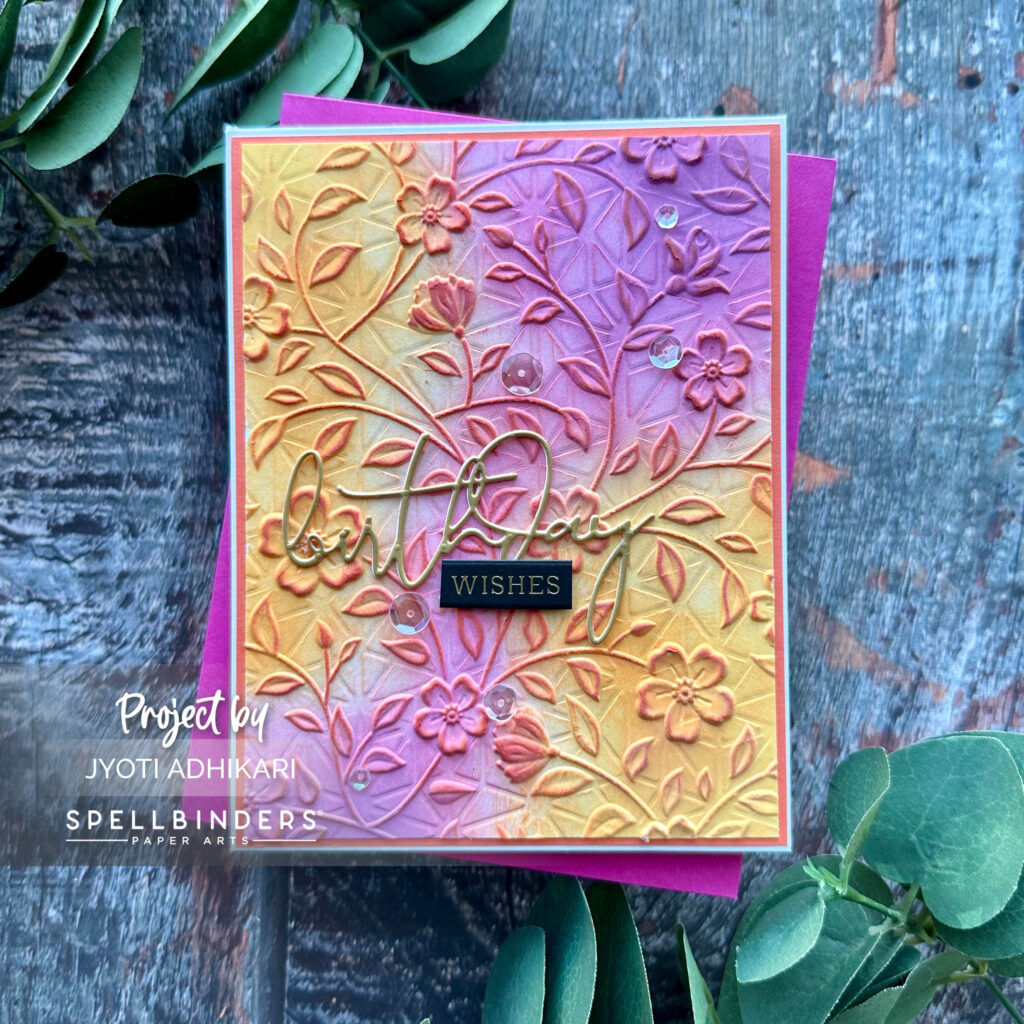
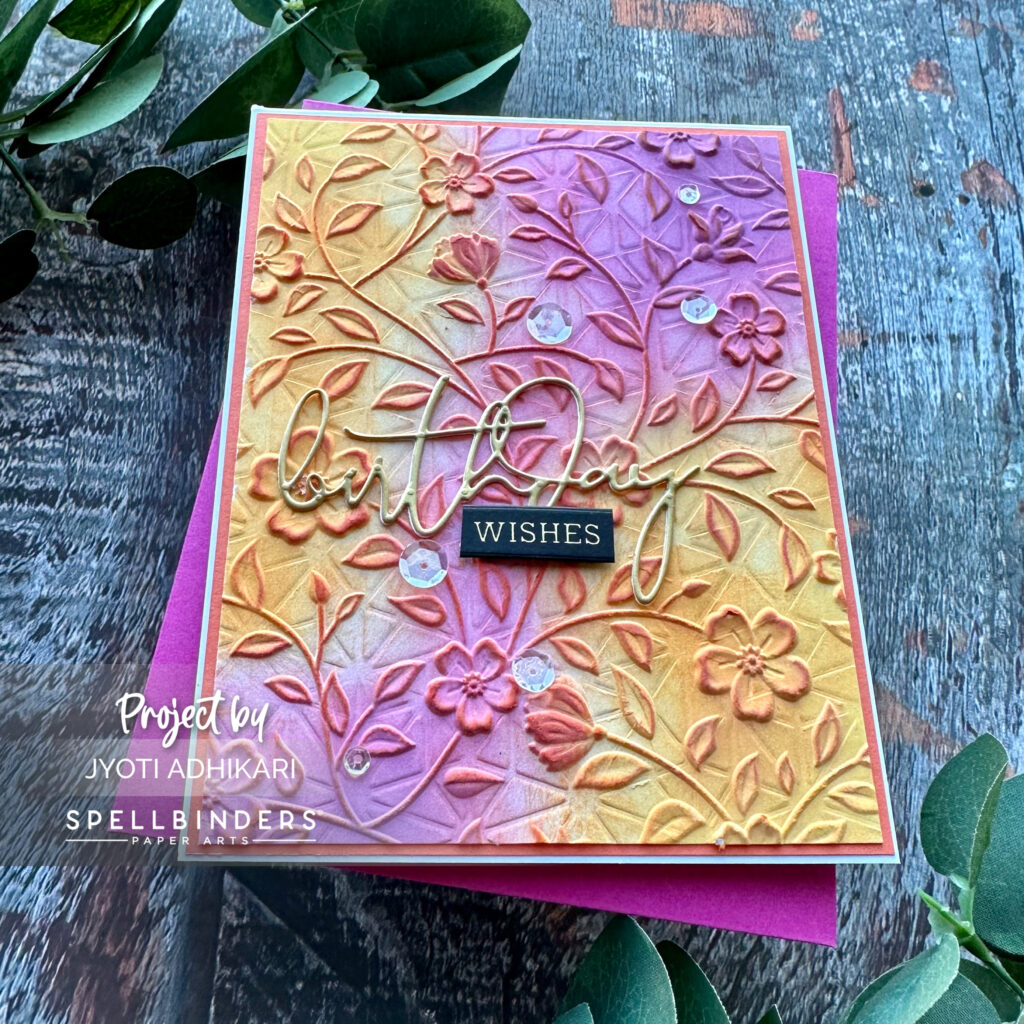
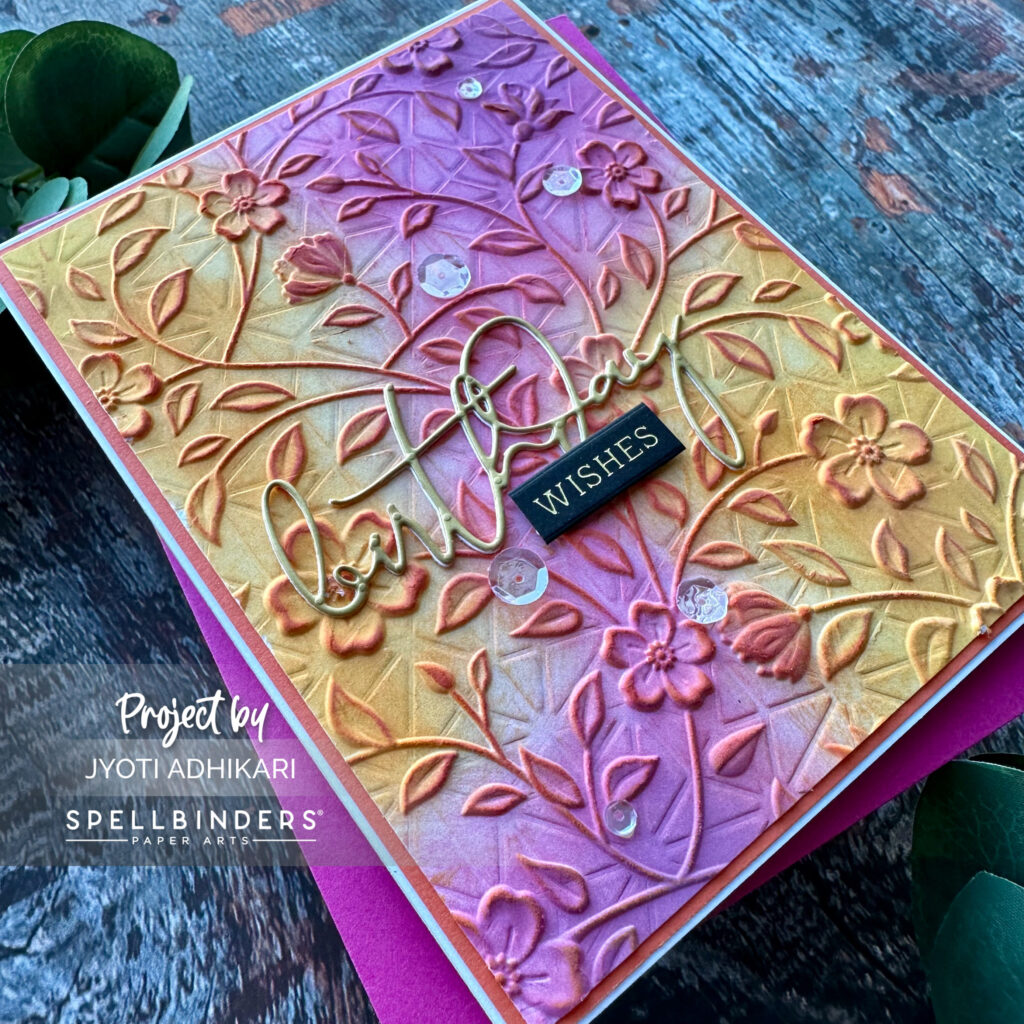
To set the stage, I started with a white card-stock panel and the MONOLINE STARS embossing folder. Running it through the die-cutting machine, I achieved a beautiful embossed image. But the real magic began when I decided to double emboss. Using the debossed side of the stars, I ventured into the new technique. The result? An intricate canvas ready to bloom with creativity.
Double Embossing Technique
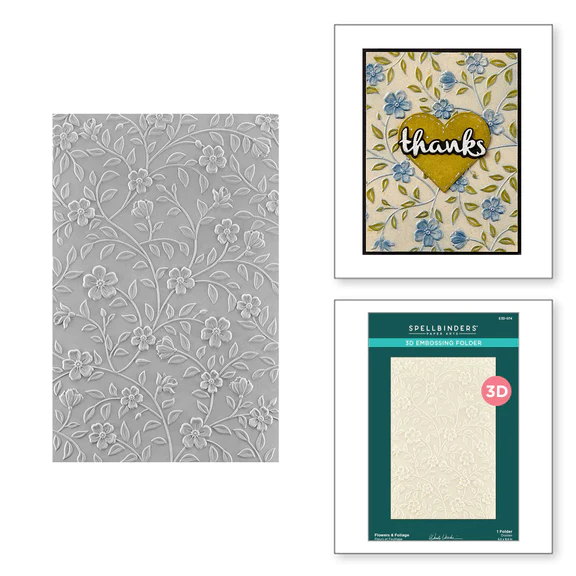
Taking advantage of the 3D capabilities of Spellbinders’ Platinum Die-Cutting Machine, I marveled at the beauty of the double-embossed design. The FLOWERS AND FOLLIAGE 3D EMBOSSING FOLDER , with its delicate details, complemented the monoline stars in a way that made the card come alive. The choice of using the debossed side for the first embossing and the raised side for the second proved to be a stroke of genius, accentuating the empty spaces in the design.

Infusing Vibrancy
Adding color to the intricate design was the next thrilling step. The direct ink pad to paper technique seemed perfect, but with the 3D embossing, a creative challenge emerged. Undeterred, I turned to blending brushes and Picked Raspberry and Carved Pumpkin Distressed Oxide inks. The result was nothing short of breathtaking, with the colors highlighting both the 3D embossed design and the subtle monoline stars beneath.
Sentimental Touch
No card is complete without a heartfelt sentiment. I opted for Yana Smakula’s LAYERED SCRIPT SENTIMENTS, cutting out the word “Birthday” from brushed gold card-stock. Layering it with two white die-cut layers for dimension, I added a small “wishes” foiled sentiment strip underneath. The choice of gold against the vibrant background brought the sentiment to life, completing the phrase “Birthday Wishes” in elegant style.
In the realm of cardmaking, this technique has become my newfound love. I encourage you to embark on your own creative journey, exploring the wonders of double embossing and vibrant ink applications. If you recreate this card, don’t forget to tag me – I can’t wait to see your personalized masterpieces. Happy crafting!
Hugs,
