Welcome to my blog post, where I am excited to showcase three delightful handmade greeting cards using three stunning stamp sets. Each card is crafted with love and attention to detail. Join me as I take you through my creative process and share the steps involved in bringing these cards to life. My cards today feature the three amazing cling rubber stamps from the SPRING COLLECTION BY HOUSE MOUSE.
This collection is full of detailed images of cute mouse and spring blooms. These mice even have names, how adorable.
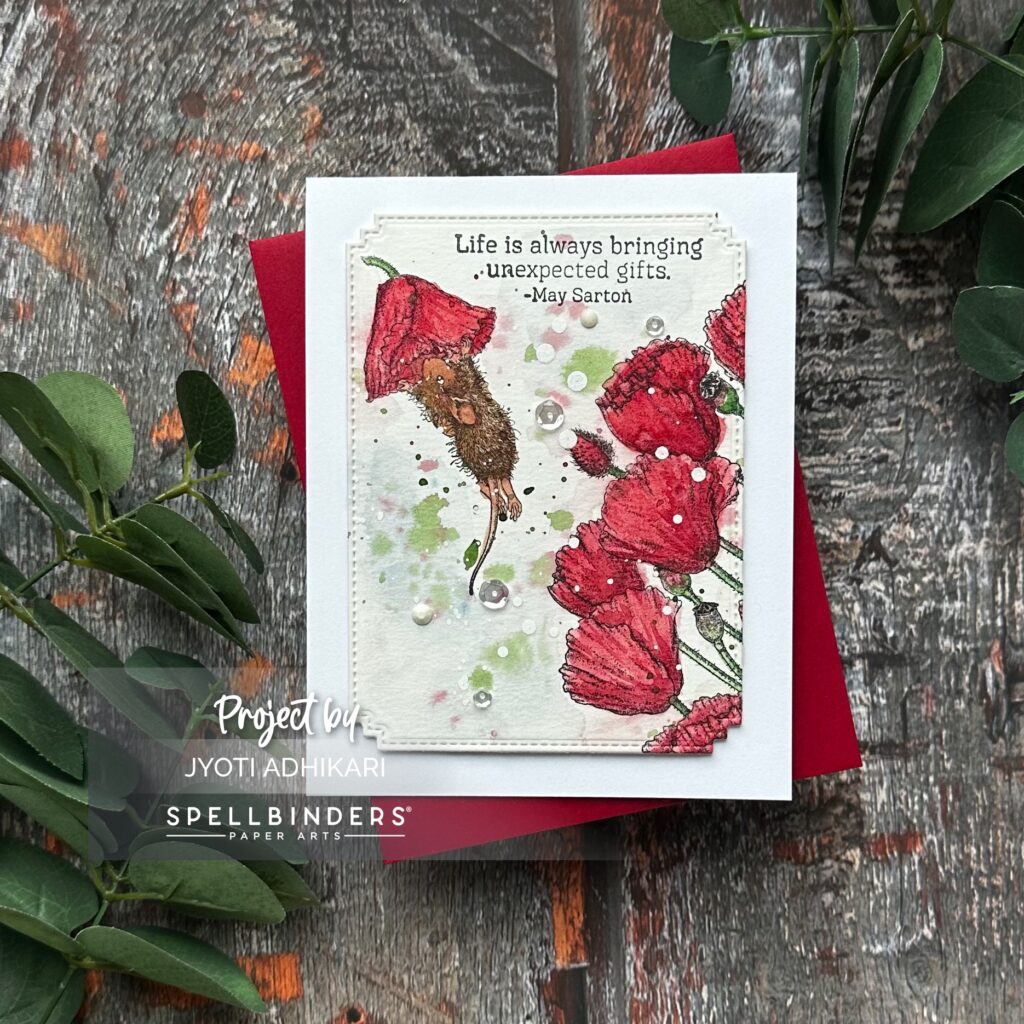
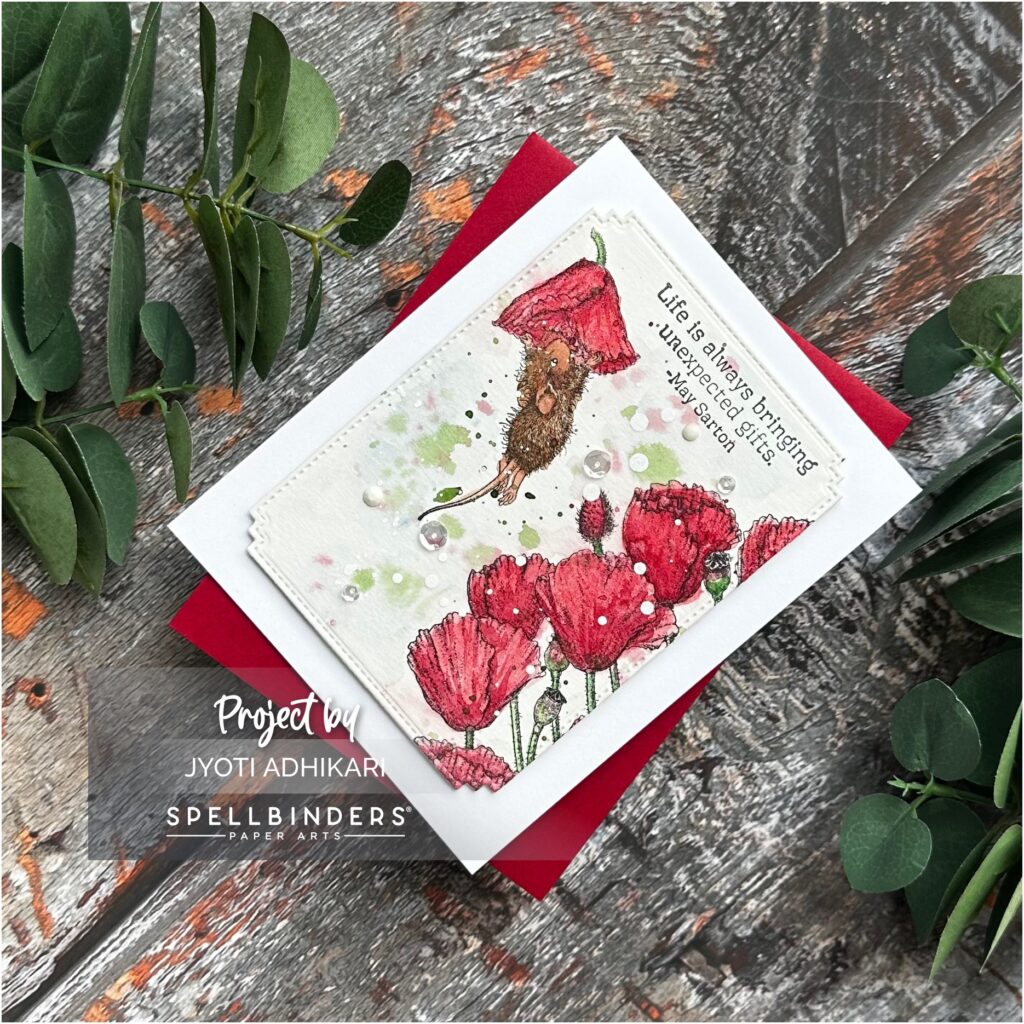
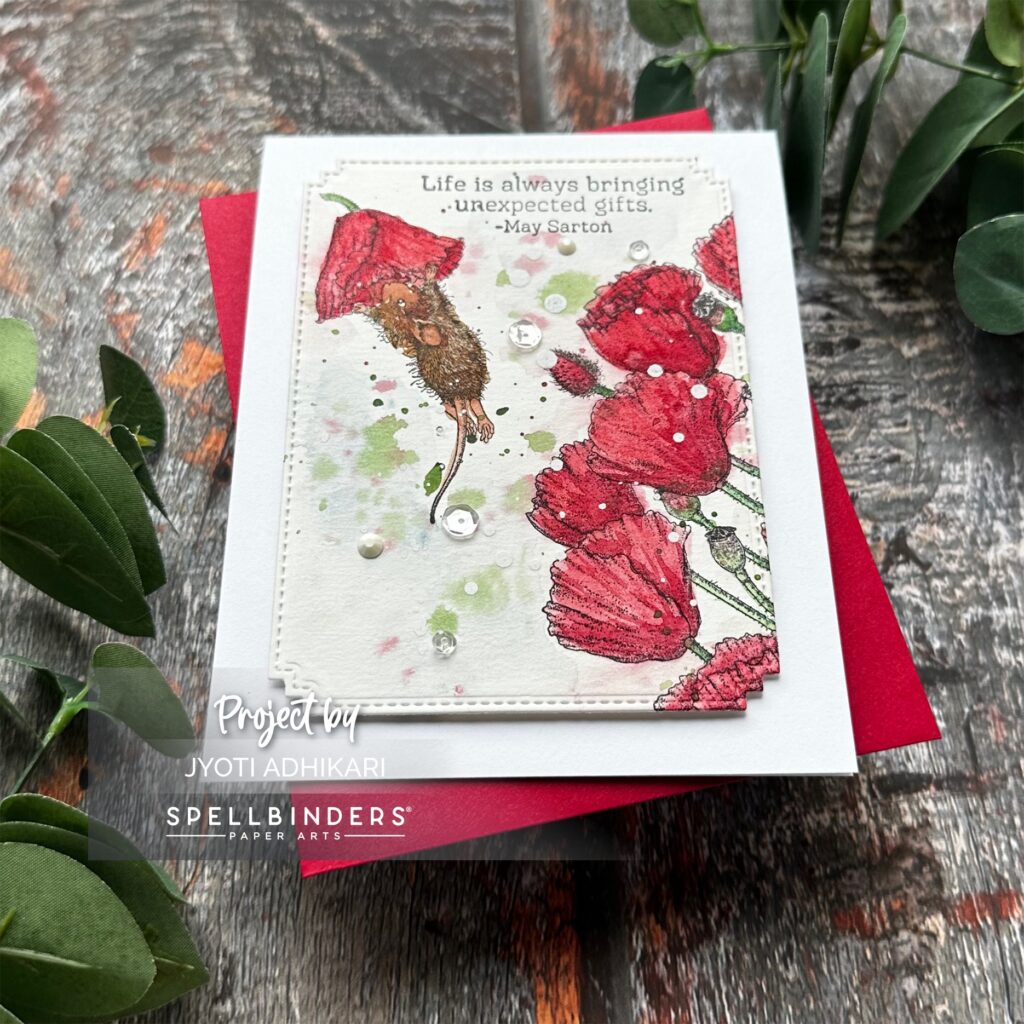
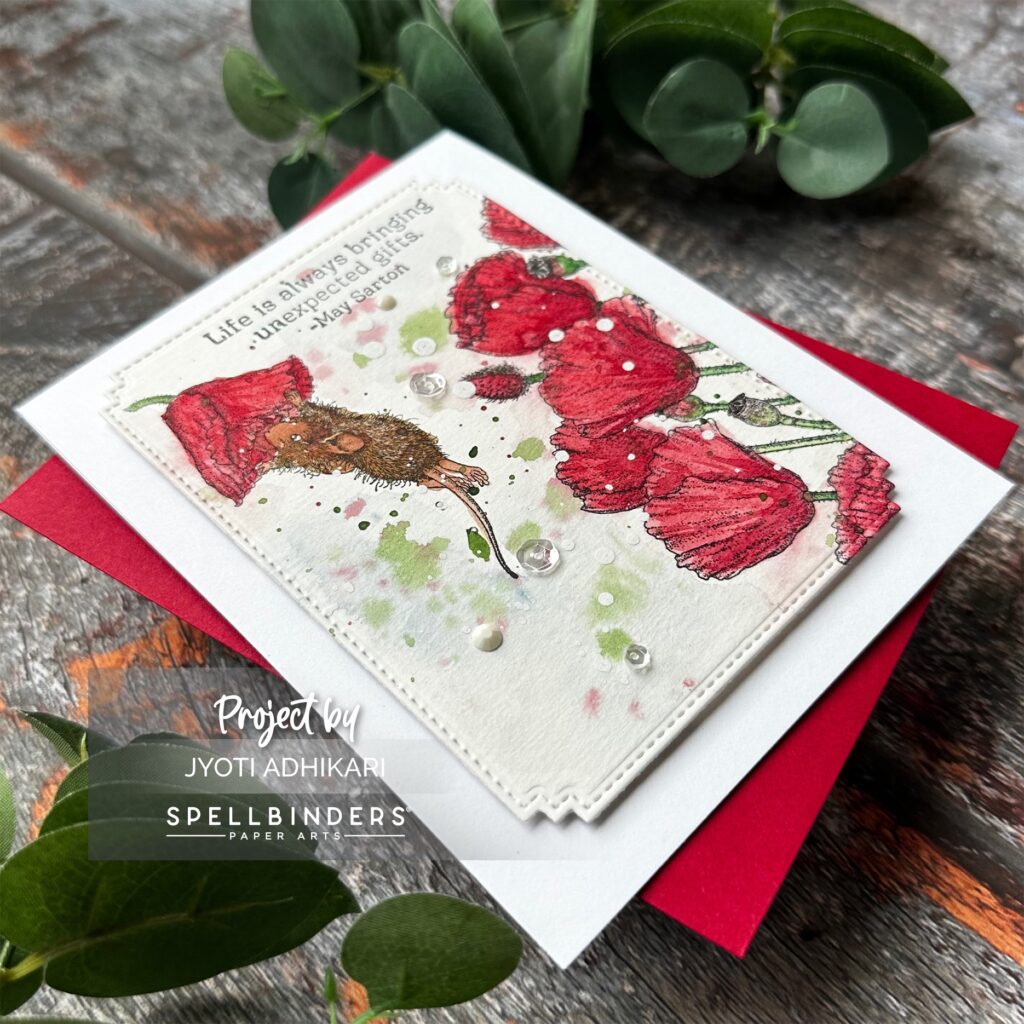
Card 1: Popping By Card
Stamping and Coloring
I began by selecting the POPPING BY CLING RUBBER STAMP from this collection and stamped it onto Canson watercolor paper using Ranger Archival Ink in Jet Black. This high-quality ink ensured a crisp and permanent impression which is also bleed proof when using with water based coloring medium. With my well loved Windsor and Newton watercolor palette, I carefully added layers of color to the stamped image, bringing it to life with vibrant hues of red for the poppies and brown for the mouse.
Splattering and Die-Cutting
To add a touch of artistic flair, I splattered various inks onto the colored image, creating a captivating texture. I also splattered some Dr. P H Martin’s Fine Art Watercolor in Titanium White . I then used the Memory Box Matinee Rectangle Die to cut out the beautifully colored panel.
Adding A Sentiment
I stamped one of the sentiment from this stamp set along the top of my colored image with Ranger Archival Ink in Jet Black. This is rather a quotation than a sentiment. In fact this is a very beautiful message, life definitely is bringing unexpected gifts most of the times.
Card Assembly and Embellishments
Using foam tape, I adhered the watercolored panel to a top-folding 5 1/2 x 4 1/4″ card base, adding dimension and visual interest. For a final touch, I embellished the card with Studio Katia Snow Crystals and Studio Katia Majestic Fusion Sequin Mix, adding a touch of sparkle.
This finished my first card.
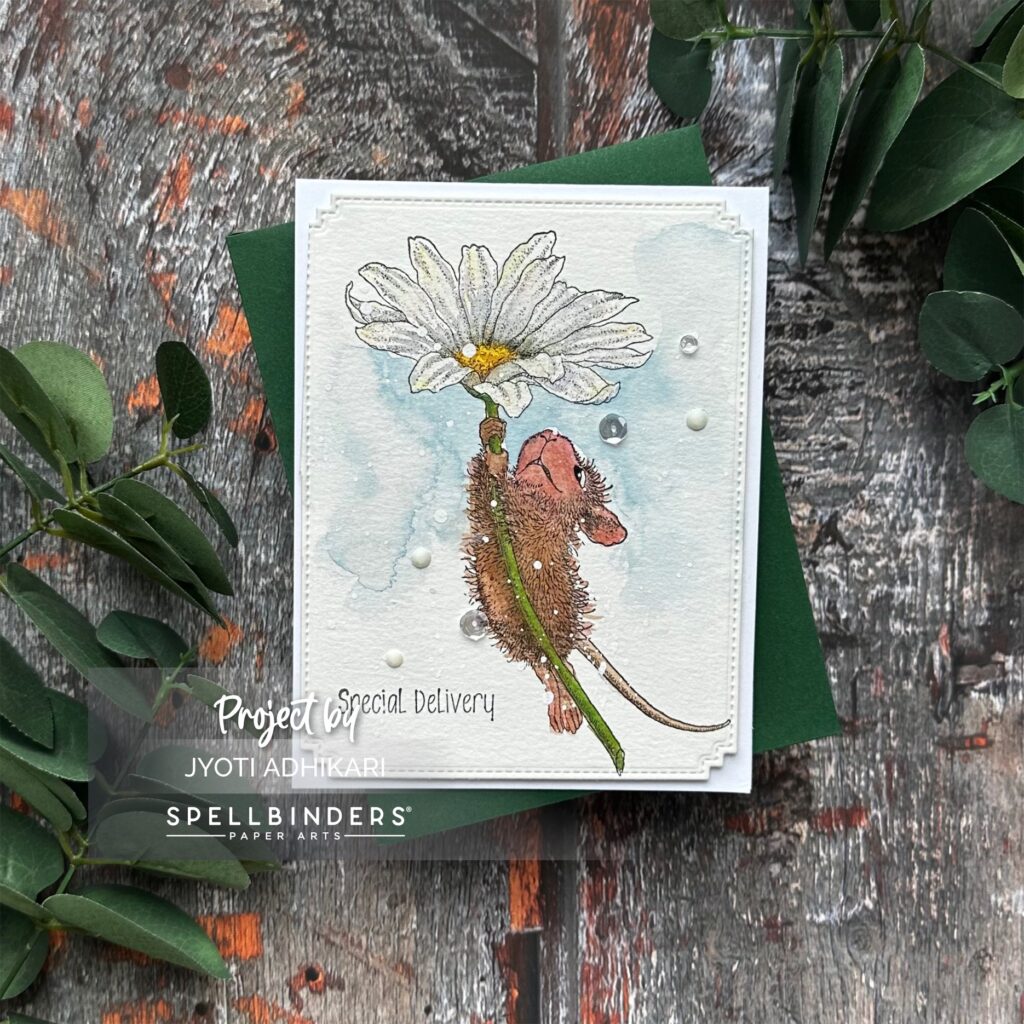
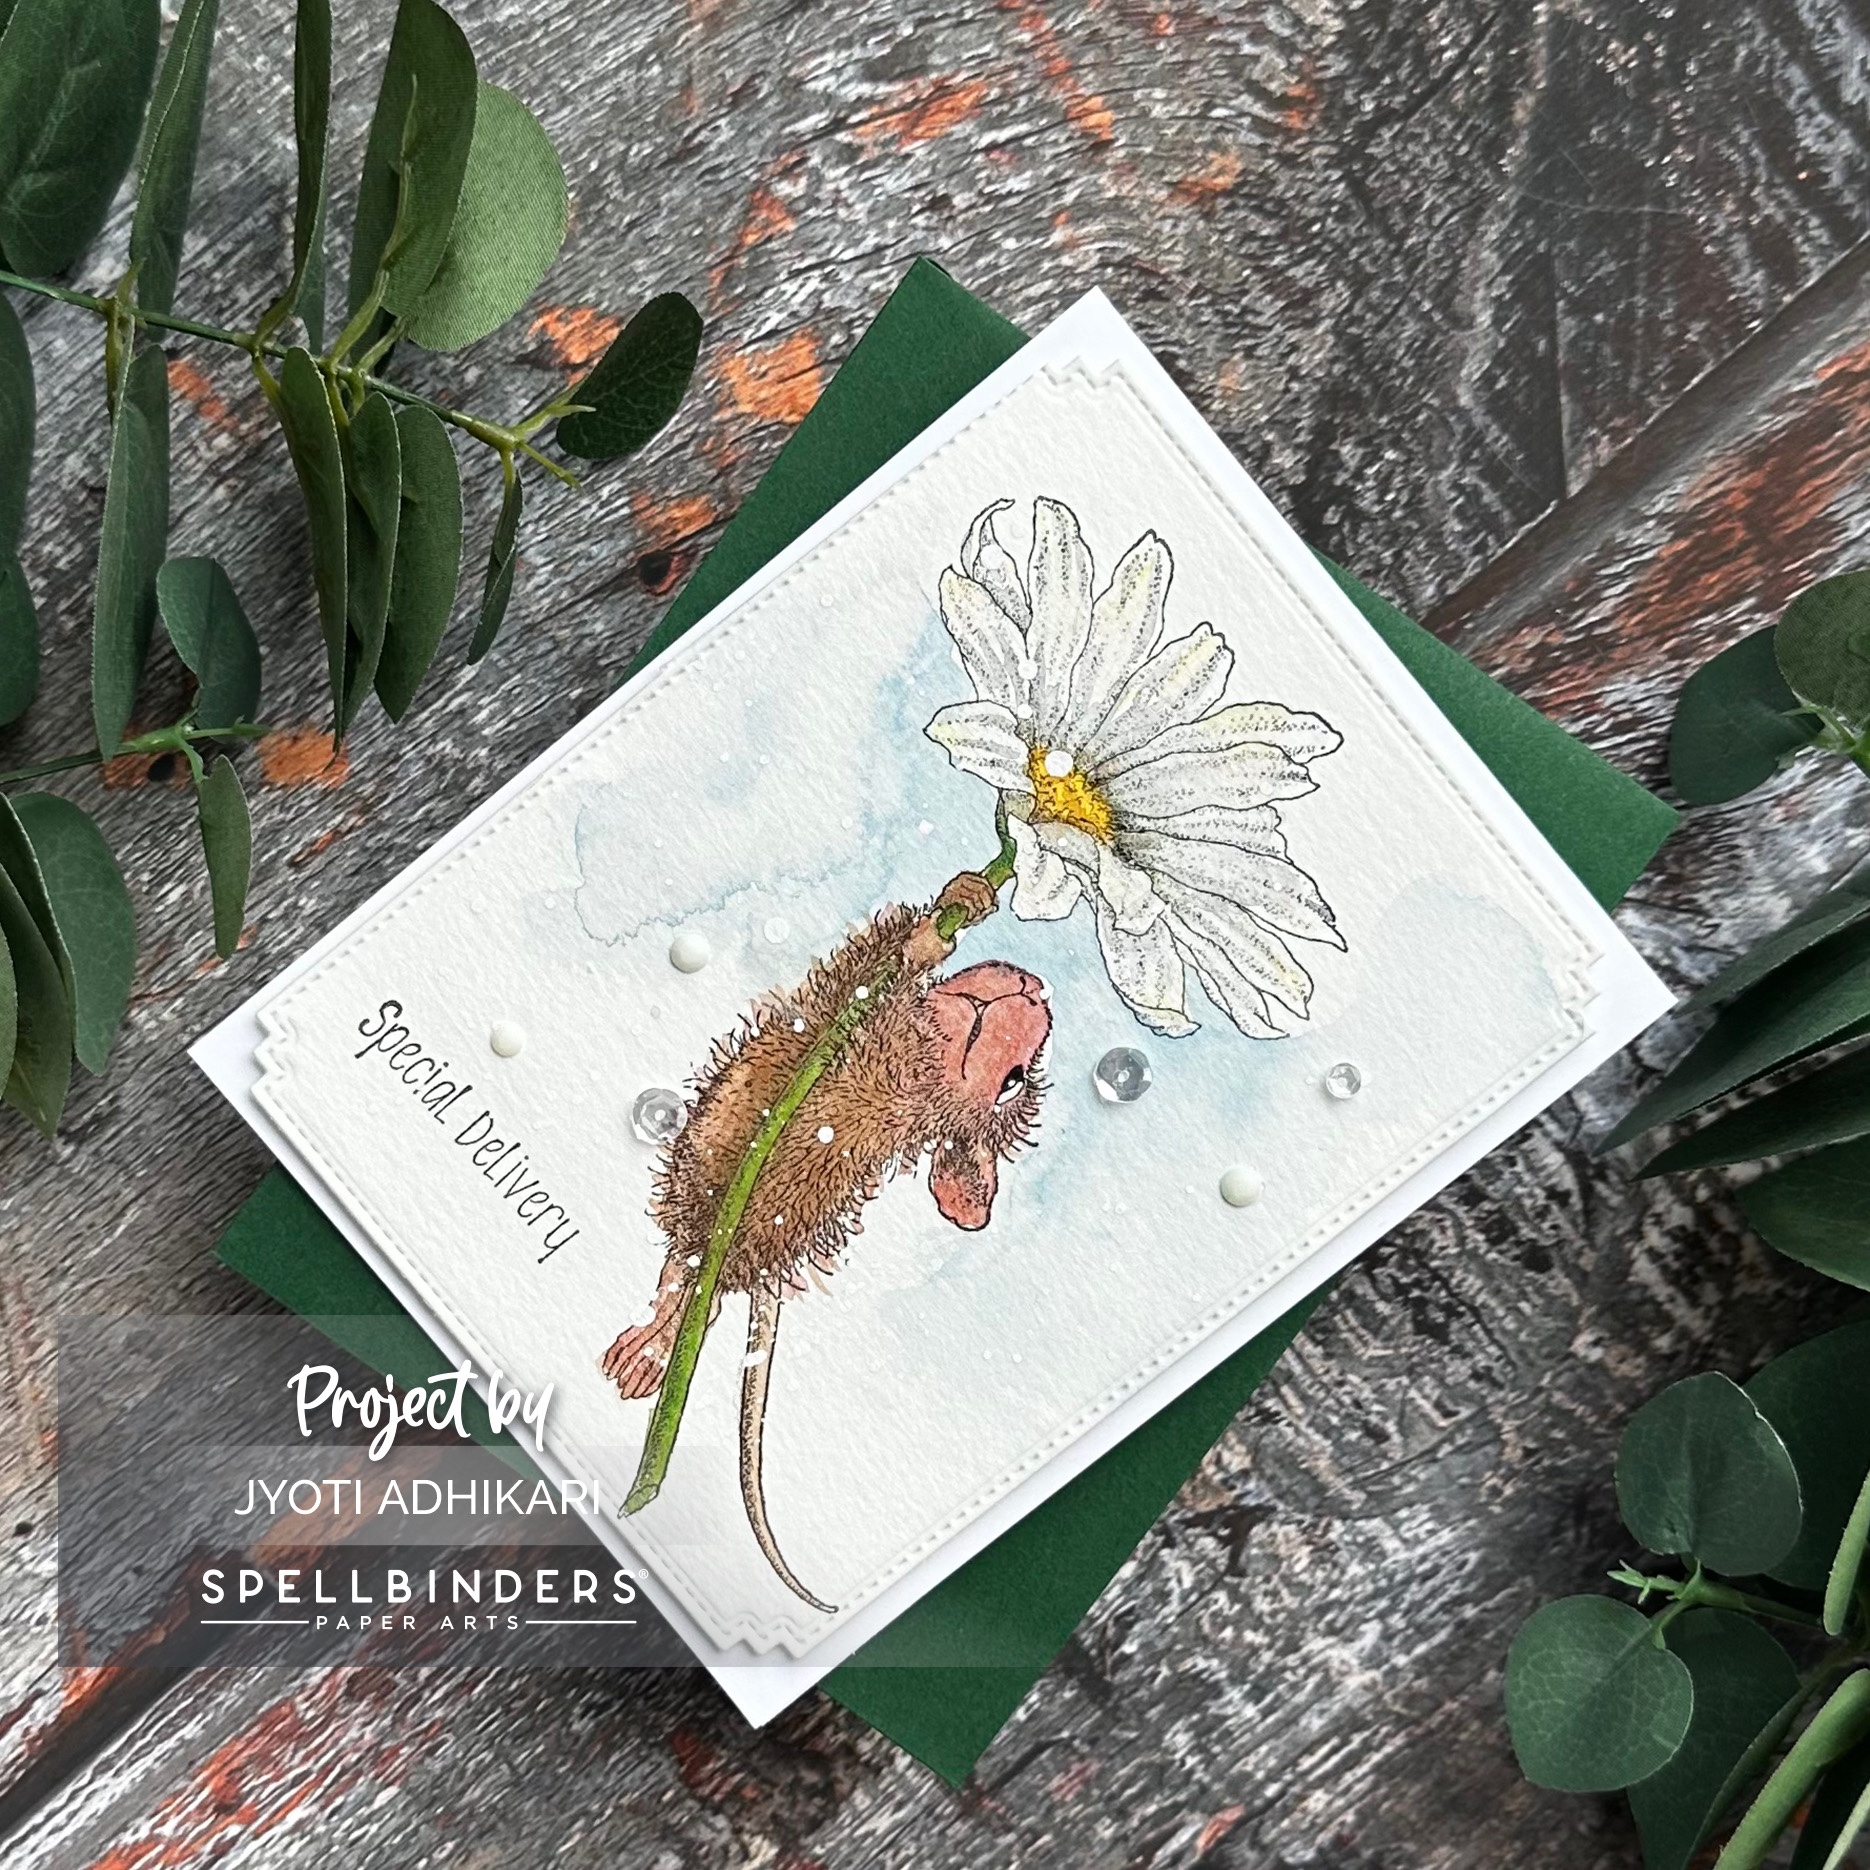
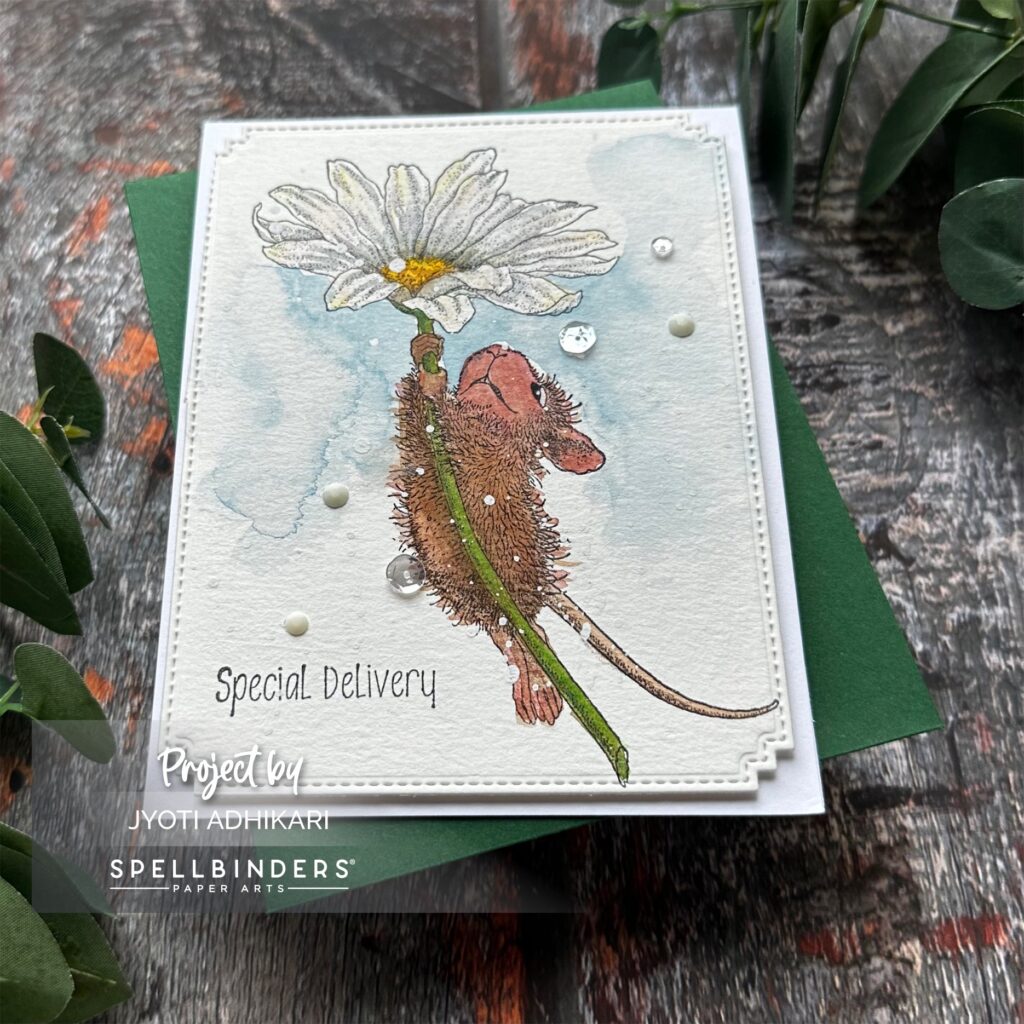
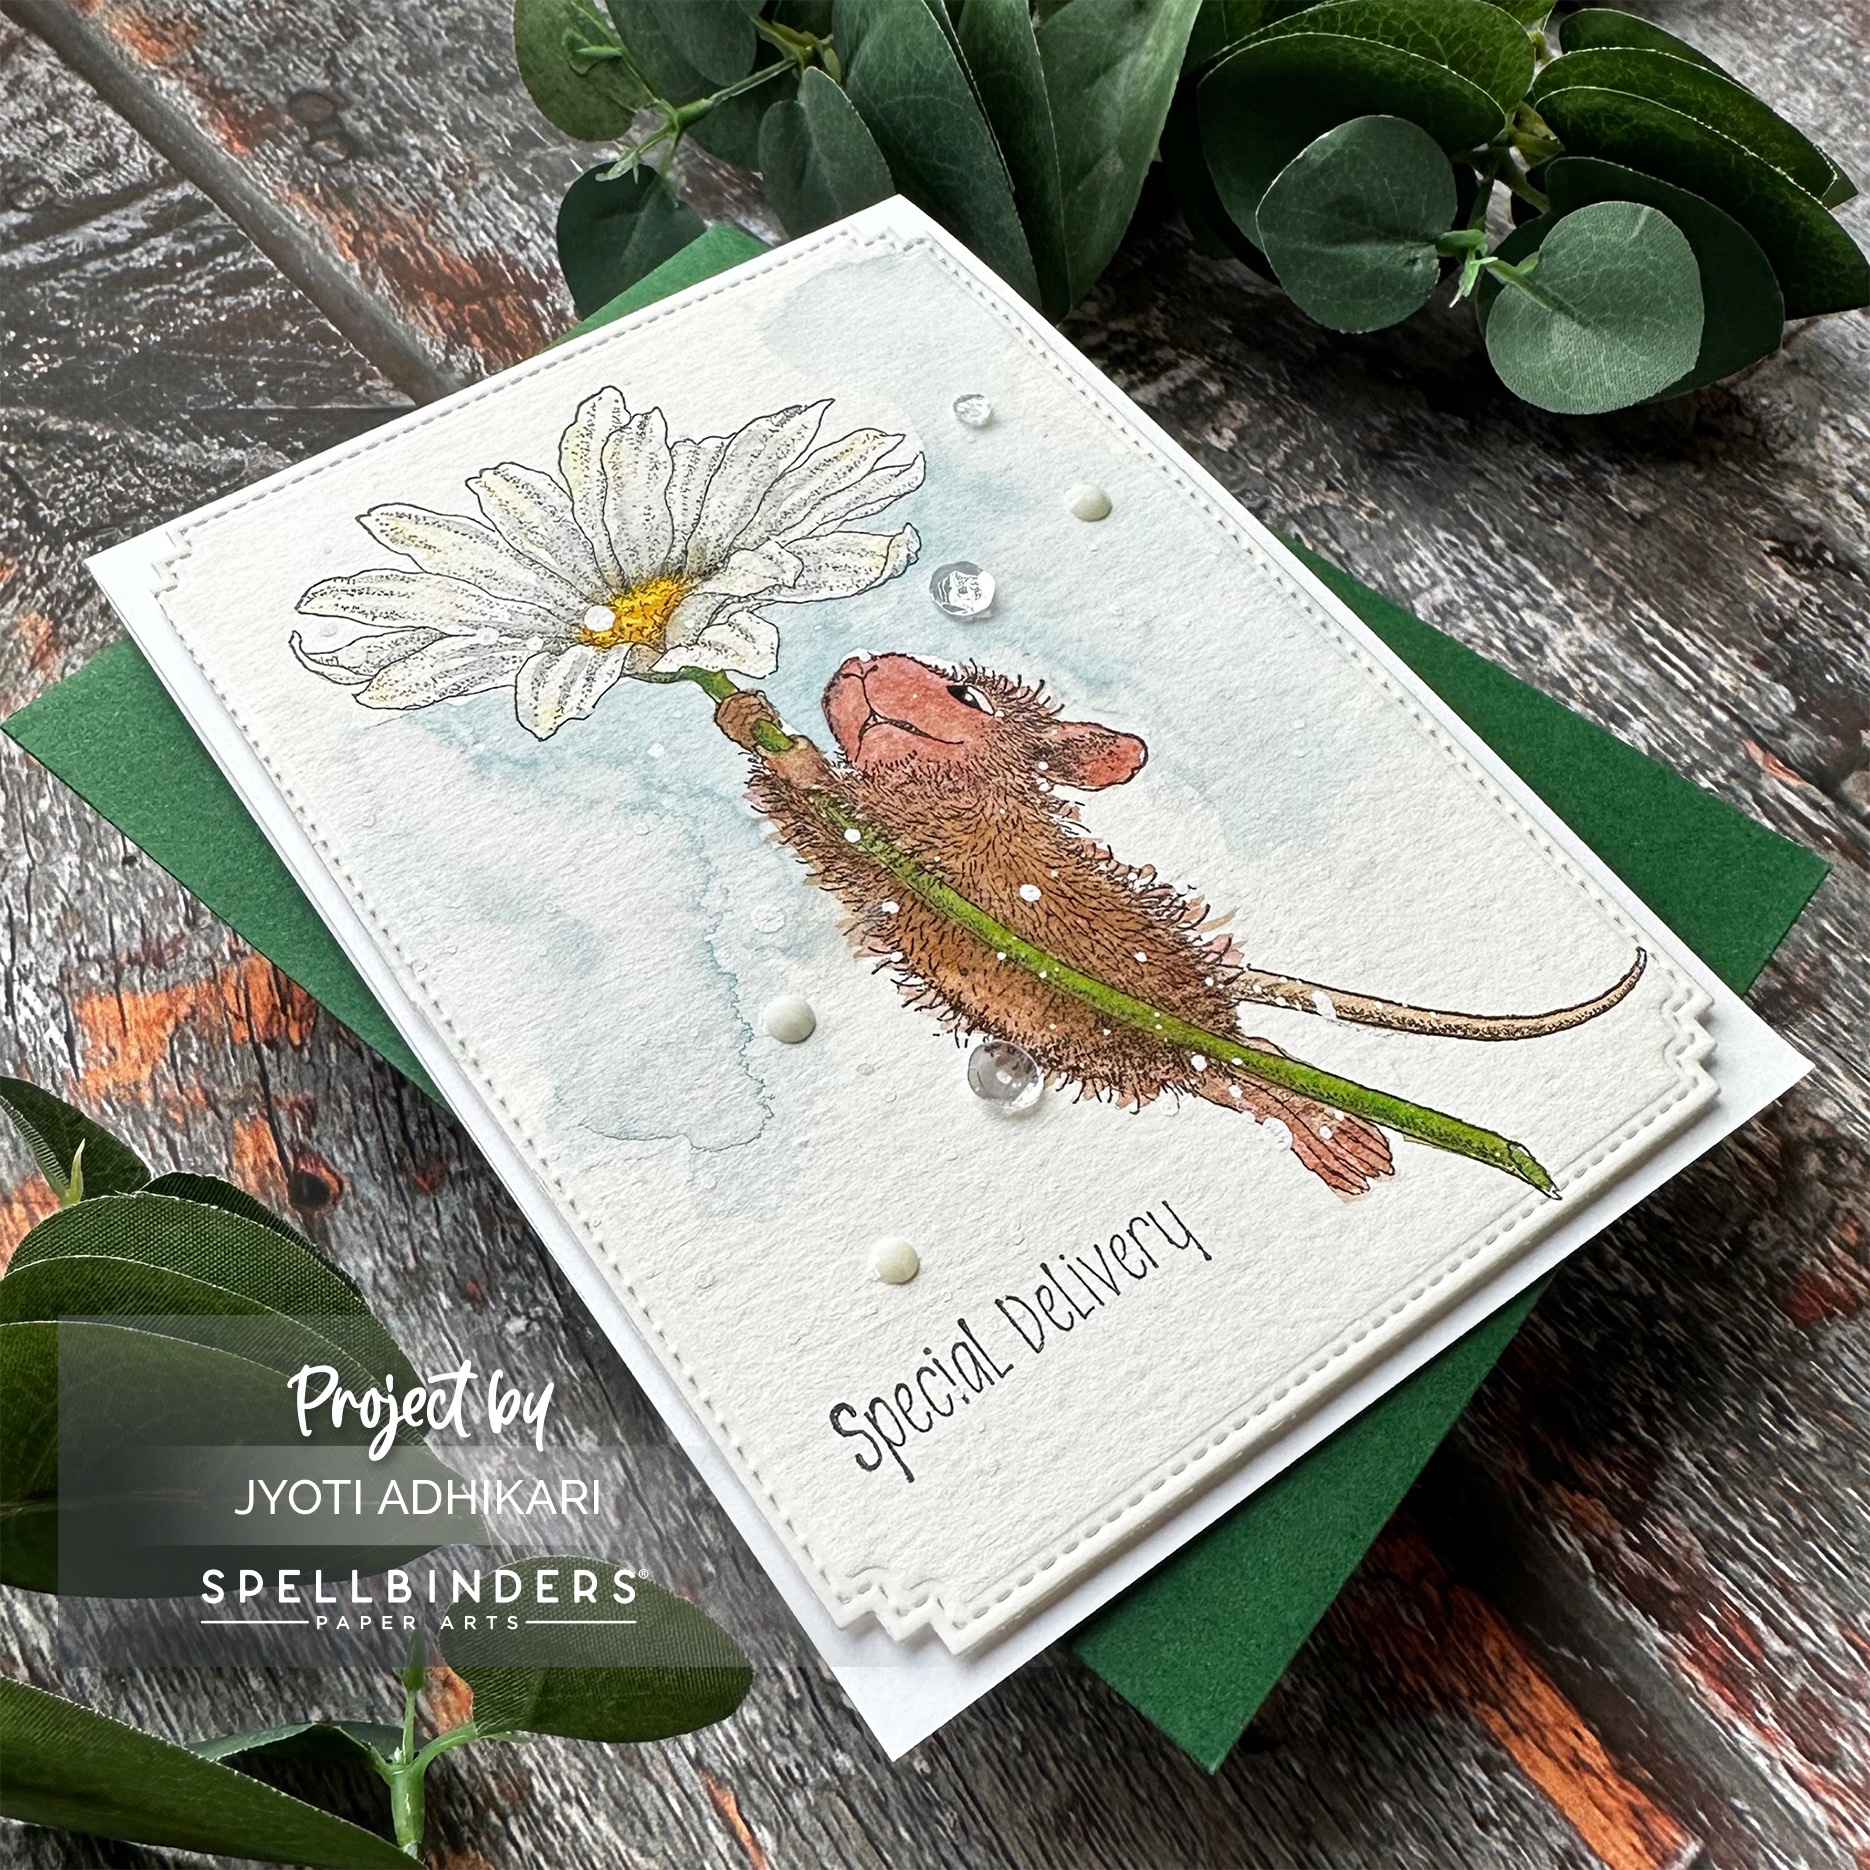
Card 2: Daisy Mouse Card
Stamping and Coloring
For the second card, I chose the DAISY MOUSE CLING RUBBERSTAMP and repeated the process of stamping it onto Canson watercolor paper using Ranger Archival Ink in Jet Black. The delightful image came to life as I carefully applied colors from my Windsor and Newton watercolor palette. I also created a hint of sky with some blue wash for the background.
Splattering and Die-Cutting
To add texture and interest, I splattered Dr. P H Martin’s Fine Art Watercolor in Titanium White added texture and dreamy effect. Using the Memory Box Matinee Rectangle Die, I precisely cut out the colored panel, ensuring clean lines and a professional finish.
Adding A Sentiment
The sentiment comes from the same stamp set. Just a simple ” Special Delivery” stamped with Archival ink in black adds a beautiful message on this card.
Card Assembly and Embellishments
By adhering the colored panel to a top-folding 5 1/2 x 4 1/4″ card base using foam tape, I created a little bit of dimension. To enhance the card’s charm, I embellished it with Studio Katia Snow Crystals and Studio Katia Majestic Fusion Sequin Mix, lending a touch of elegance and sparkle.
I called this card done here.
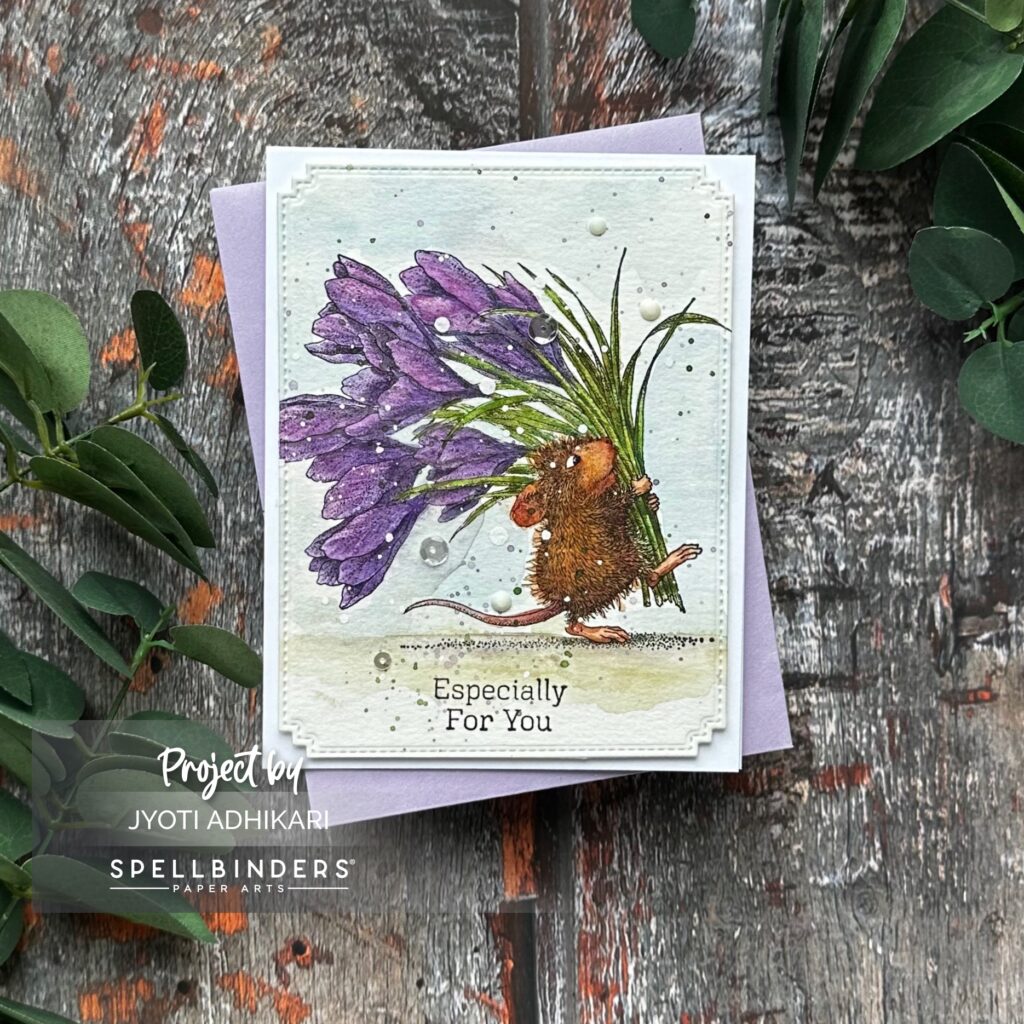
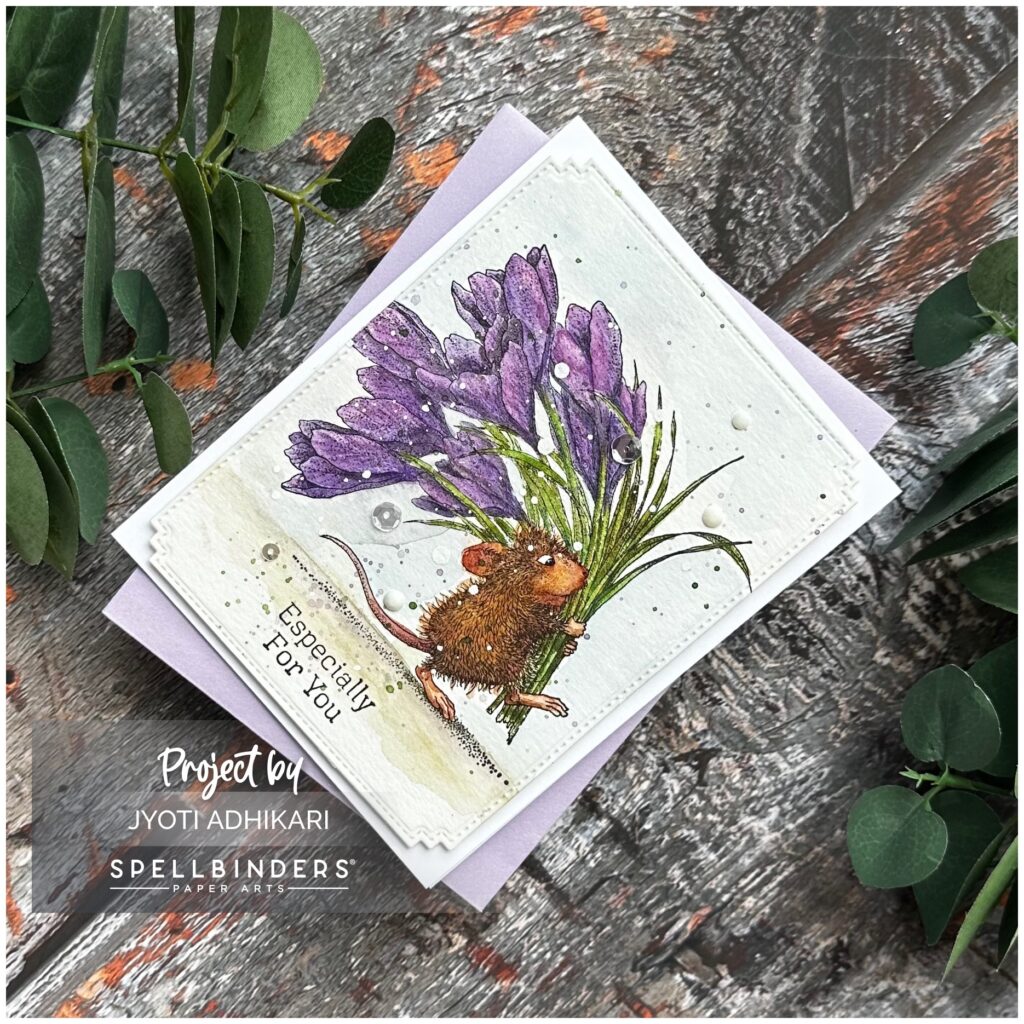
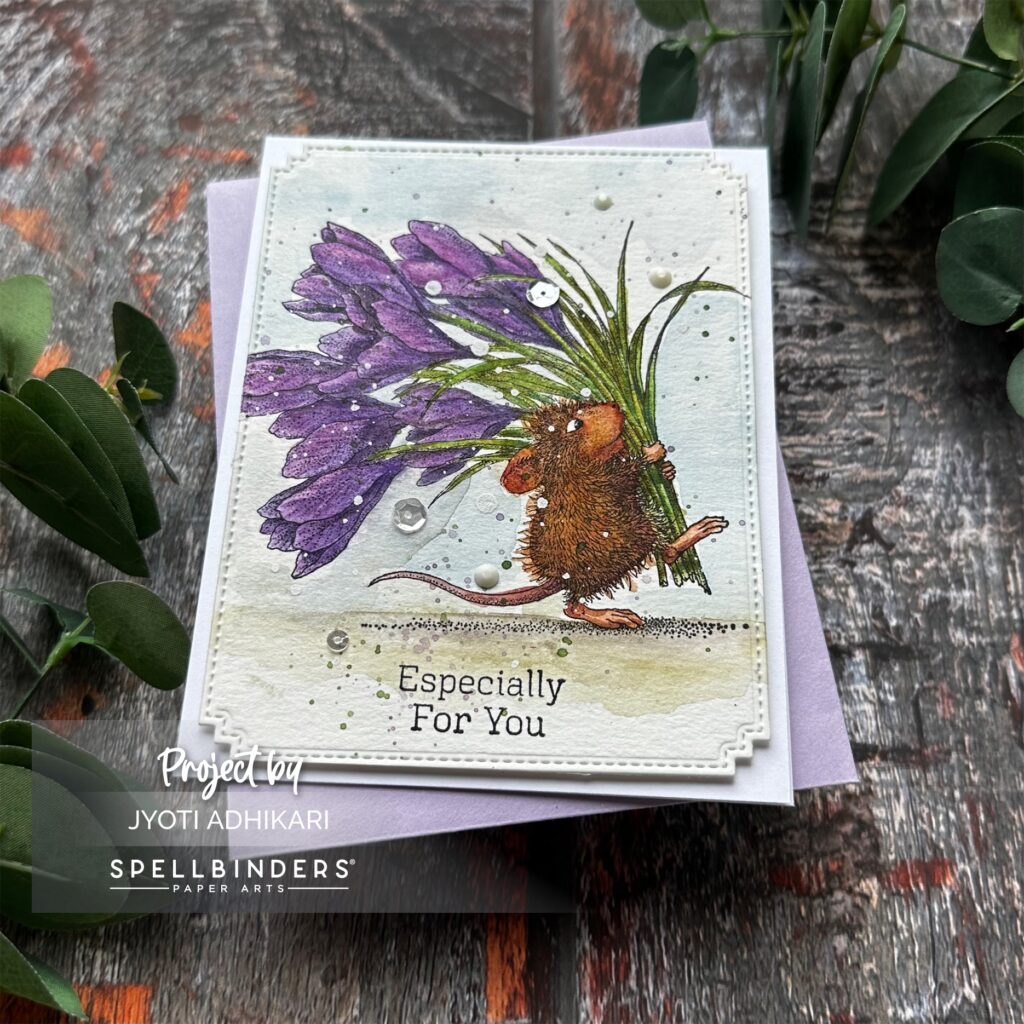
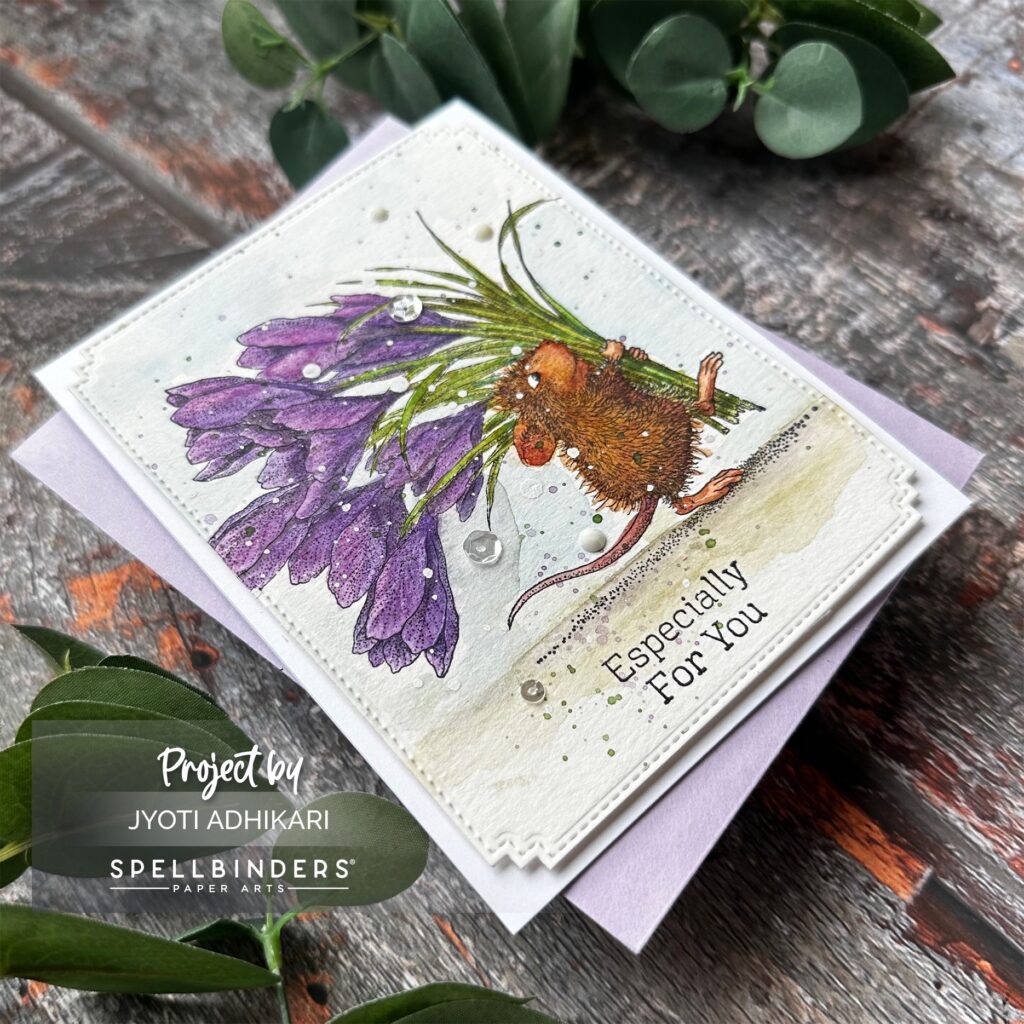
Card 3: Bouquet for You Card
Stamping and Coloring
Finally, the BOUQUET FOR YOU CLING RUBBERSTAMP stole the spotlight for the third card. Continuing with my creative process, I carefully selected the this beautiful stmap from the Spring Collection by House Mouse Designs. Using Ranger Archival Ink in Jet Black, I stamped the charming design onto Canson watercolor paper. The fine details of the stamp came to life as I applied vibrant colors from my Windsor and Newton watercolor palette.
Splattering and Die-Cutting
To add a touch of whimsy and texture, I splattered various inks onto the colored image along with some Dr. P H Martin’s Fine Art Watercolor in Titanium White. Utilizing the Memory Box Matinee Rectangle Die again, I precisely cut out the colored panel, ensuring clean edges and a polished appearance.
Adding A Sentiment
A card cannot be complete without a sentiment. So I stamped the message “Especially For You” along the bottom of my carefully watercolored panel.
Card Assembly and Embellishments
To create dimension, I adhered the colored panel to a top-folding A2 card base using foam tape. After that, for a touch of elegance and sparkle, I embellished the card with Studio Katia Snow Crystals and Studio Katia Majestic Fusion Sequin Mix, elevating its charm and appeal.
This finished my final card for today.
I hope you’ve enjoyed following along with my creative journey as I turned these three beautiful stamp sets into some unique cards. Each card showcases the unique designs and vibrant colors, reflecting the joy and beauty of handmade creations. I had so much fun watercoloring these images.
Remember, you can create your own personalized greeting cards using these stamp sets and explore various techniques to make them uniquely yours. Don’t forget to pair each card with its matching colored envelope for that extra special touch.
Happy Crafting!
Hugs,
