Welcome!
I hope you’re doing great. Today I have a fun technique to share with you and two cards showcasing latest release by Rachel Vass Designs.
The Technique
As most of the cardmakers are familiar with partial die cutting technique with physical stamps and dies. I am talking about digital stamps here. This is nothing new for someone who is a pro with Silhouette Cameo software. If you are not an expert on this technique using the Modify Feature of the software this tutorial is for you.
Now let’s get on with the tutorial.
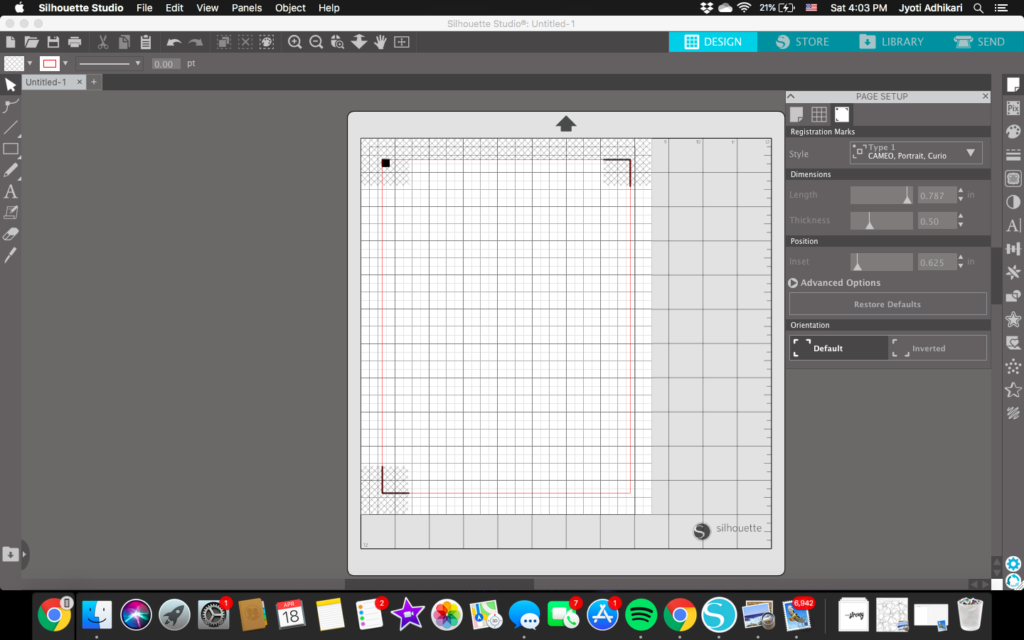
Start by opening a new project and make sure your registration mark is on as we are going to be using the print and cut properties of this software.
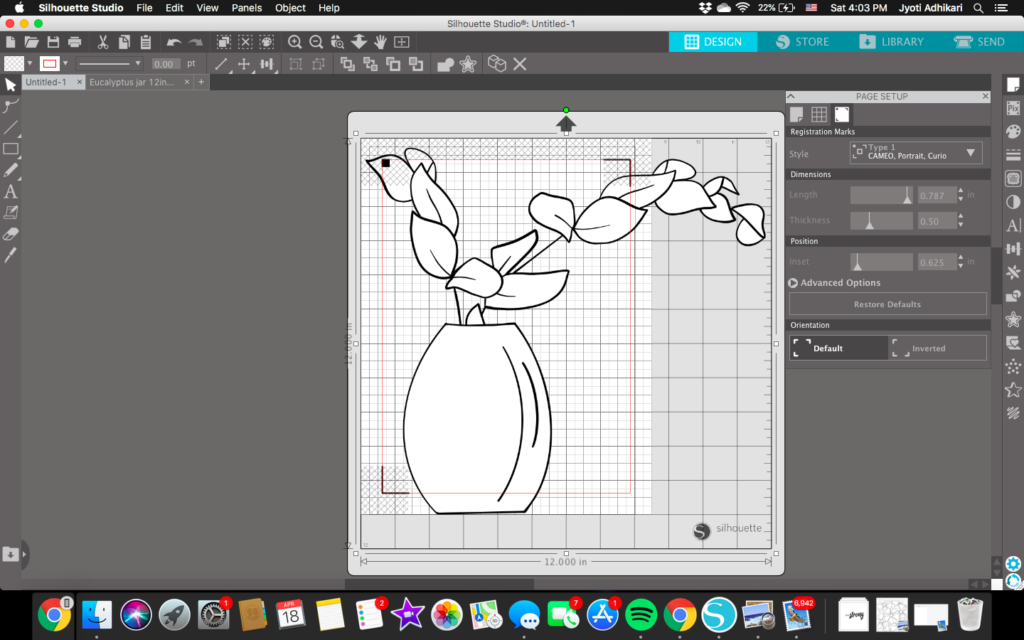
Open the digital image you have saved on your computer and resize it according to your preference. For my project, I reduced the size to fit on an A2 size panel front with a rectangle window in the middle. I also stretched the image a little bit.
Then draw a shape you want the window to be cut along with the image. For my project, I drew a rectangle.
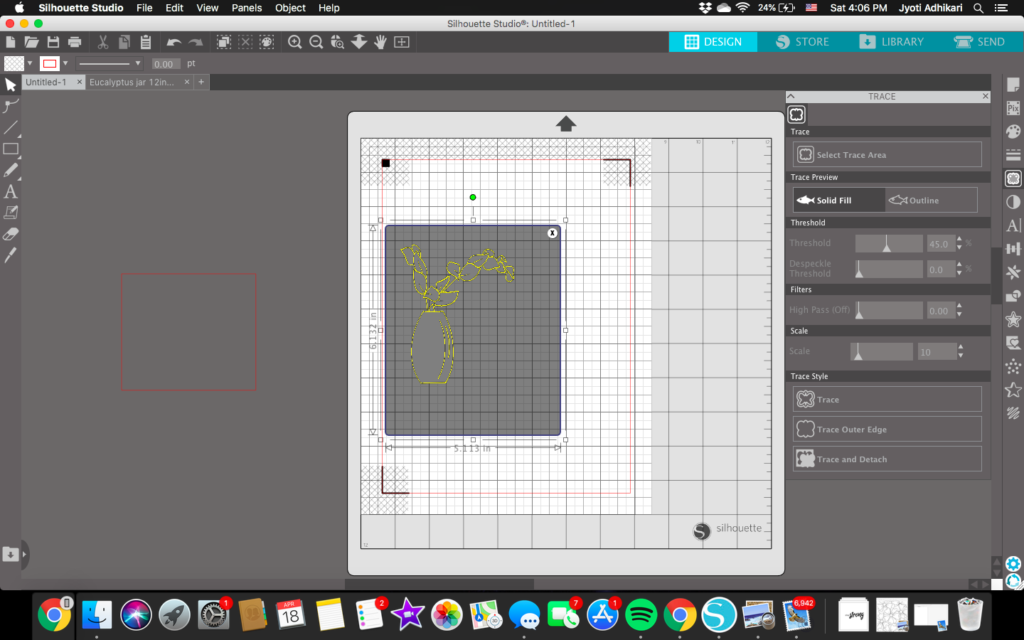
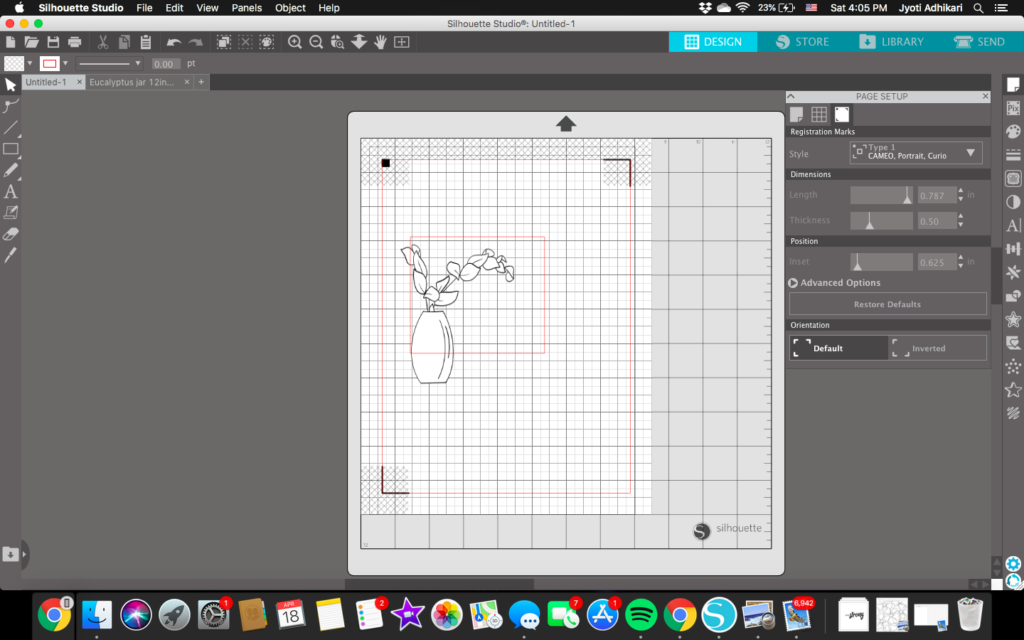
Now move the rectangle shape aside for a while and trace the digital image. I like to offset the image by .05 to create a cut line. Just keep the offset line and delete the actual trace lines.
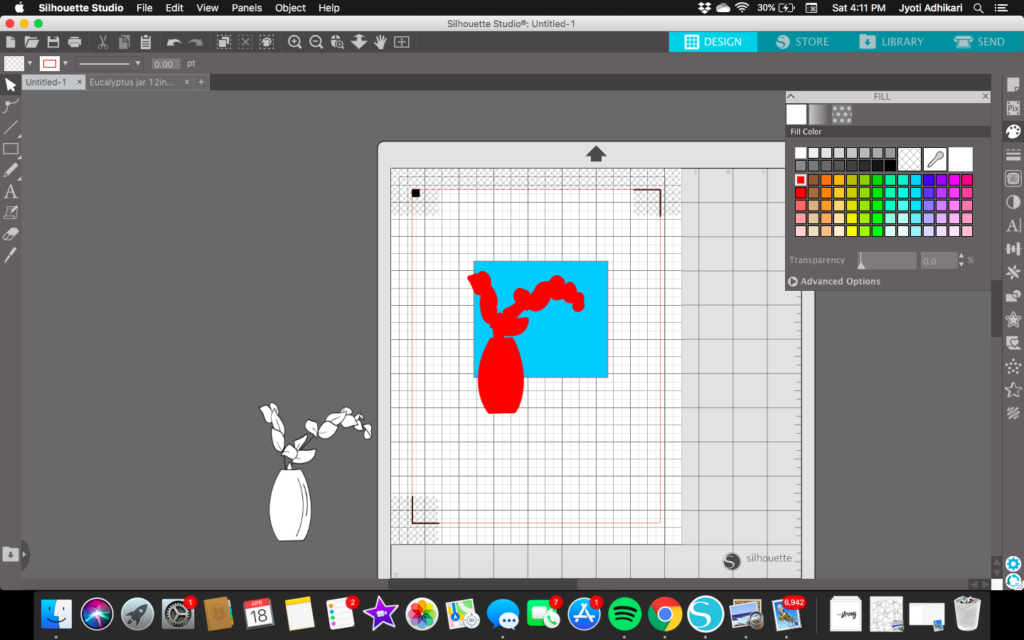
After that move aside the digital image and bring back the rectangle image and the offset image of the stamp in the position how you want on your project. Place the offset image on the front and the rectangle at the back. For the demonstration purpose, I have colored the image so that you can see the position better.
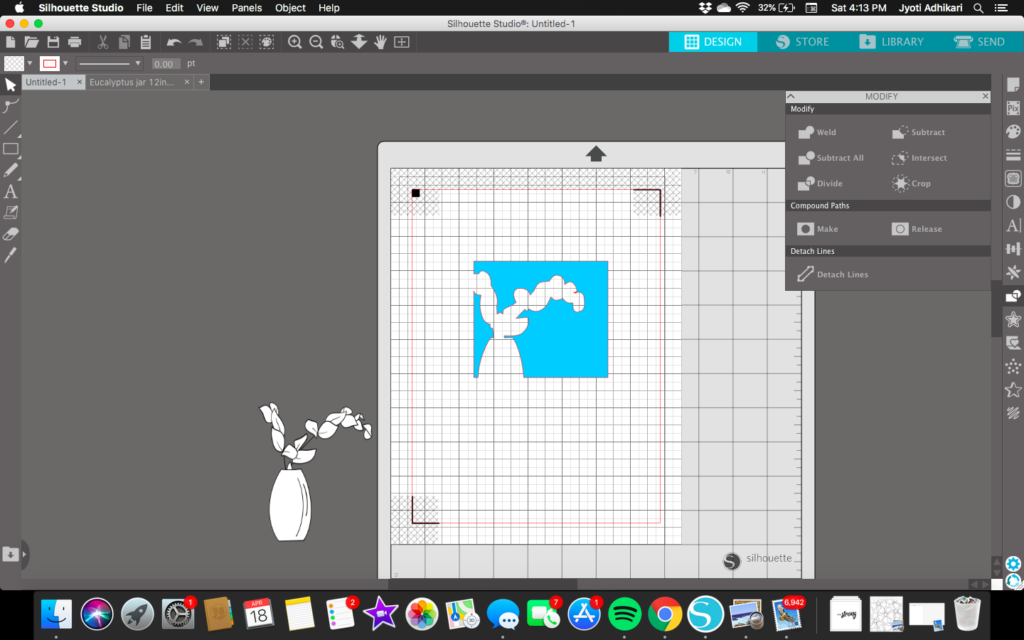
Then hit Subtract feature on the Modify panel. The above picture shows what you should end with. Now bring back the digital image to its original position.
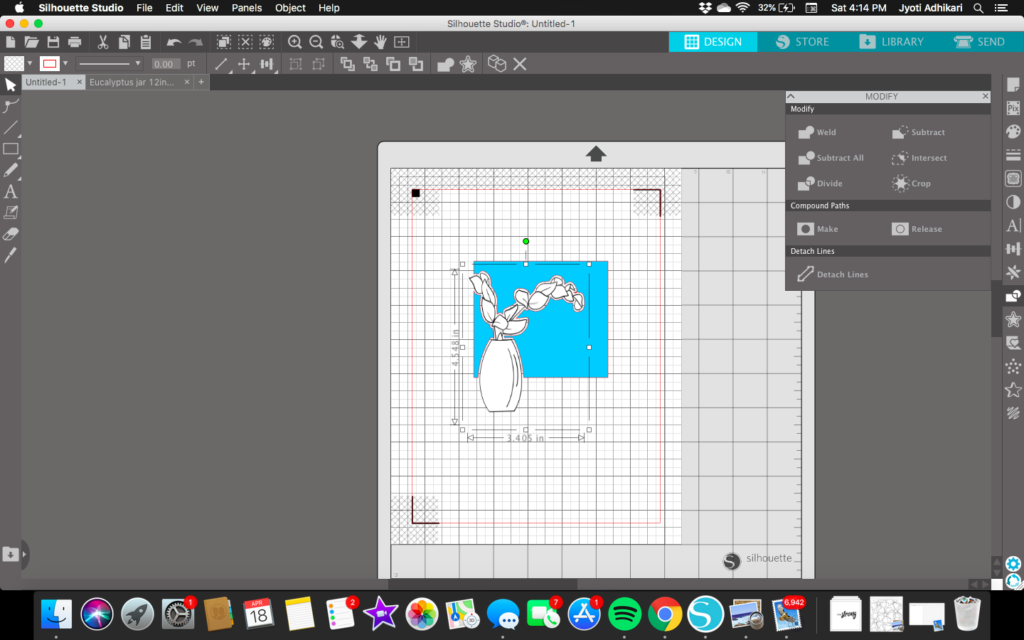
Remove the color of the rectangle before printing it. Then your printout is ready to send it through your silhouette machine to cut.
I hope I was able to explain the technique easily.
Now let’s get to the making of the cards…
First Card

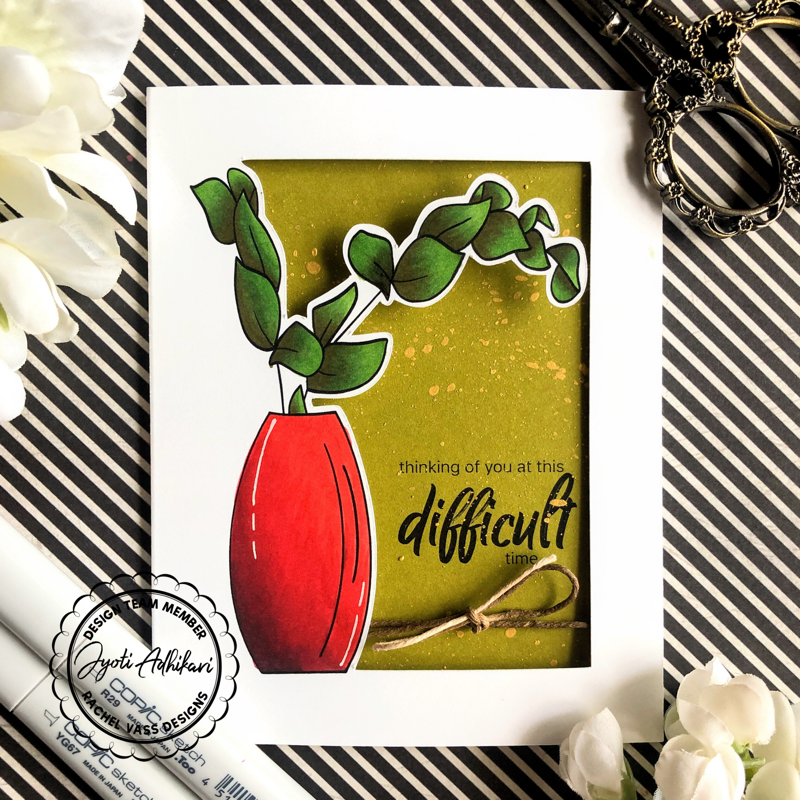
I colored the digital image using Copic markers. The vase in shades of red. And the leaves in the shades of Green.
Copic Colors I used:
R24 R35 R39 G17 G69 and G99

For the inside of this card I cut a green cardstock printed the sentiment that came with the digital stamp. And then I splattered some metallic watercolor in the color gold. Tied a twine I had in my stash into a bow and adhered that panel on the inside on the window.

This one is a tri-fold card. This picture shows how it opens in the inside where you can write your personal message.
The Second Card

For this one, I used another image from the same stamp set which is a new release called Jars by Rachel Vass Designs.
I colored the image in comics. G99 G17 for leaves and C9 C5 C3 for the flower pot. The highlight of the flower pot is blended with C0 which is a colorless blender.

For the inside of the window opening, I wanted a watercolor background. This background is created using Distressed Inks in colors Dusty Concord, Mowed Lawn, and Worn Lipstick. I used some sparkling spray on it. I wish I could capture the beautiful shimmer in the photo.

The sentiment came from the same release. I printed it as I was printing the digital image.

I hope I was able to explain the technique easily and this will inspire you. If you create any project like this don’t forget to tag me on social media.
Please let me know in the comments below how you liked this cards.
Hugs
Jyoti