In the world of paper crafting, there’s a certain kind of joy that comes with creating something beautiful, something that captures the essence of the season, and something that brings a smile to the face of the person receiving it. This is exactly what I experienced when I delved into the creative process of making a card using the products from SIMON’S SNOW GLOBE COLLECTION. In this blog post, I’ll take you through the steps of how I crafted this winter wonderland, step by step.
Step 1: Cutting the Snow Globe Components
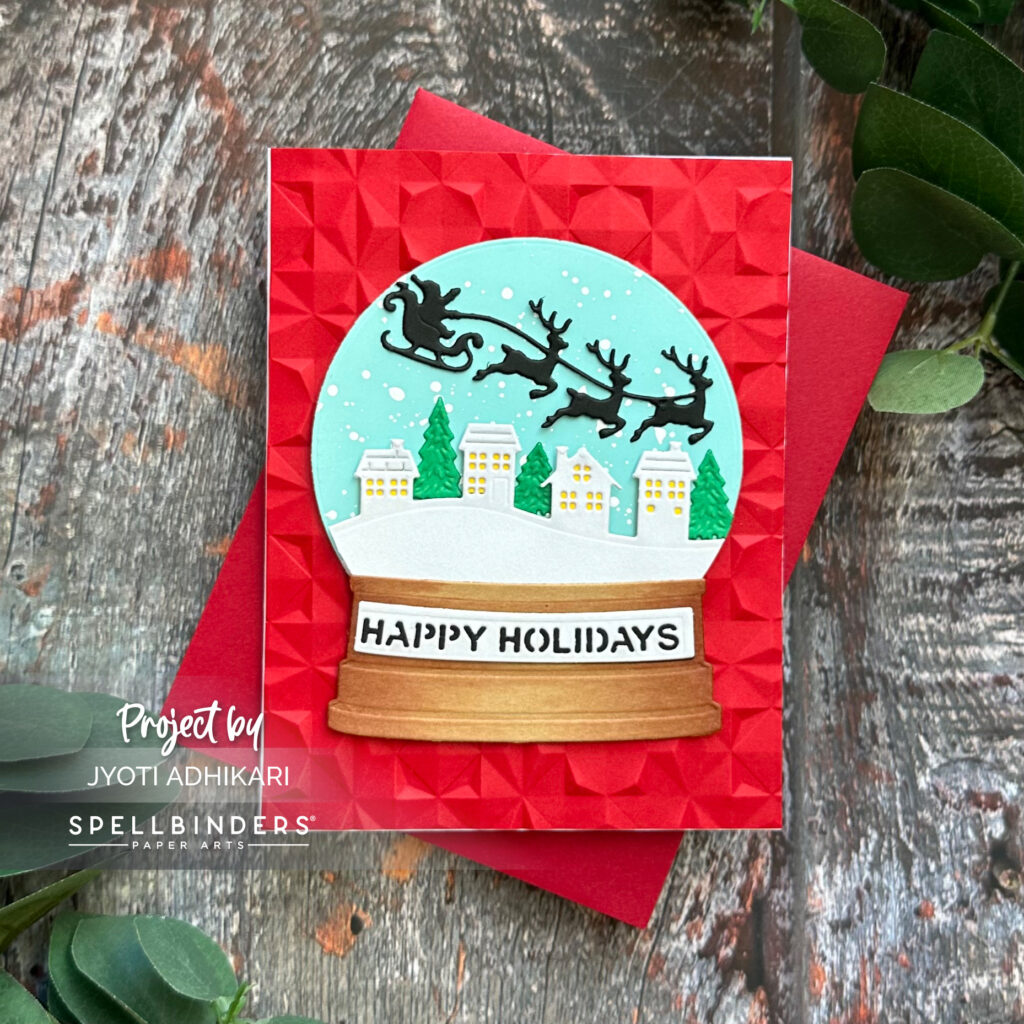
To kick things off, I carefully die-cut all the parts of the snow globe. The light blue cardstock formed the base, the wooden stand was cut from brown paper, and the charming houses and snowballs came to life in sparkly white cardstock. The Santa sleigh and reindeers added a touch of elegance in black.
Step 2: Creating a Snowy Atmosphere
With the light blue circle die-cut as the snow globe’s backdrop, I wanted to mimic the look of a snowy day. So, I splattered some white watered-down acrylic paint across the circle to imitate the magical dance of snowfall. This simple step brought an enchanting quality to the snow globe.

Step 3: Assembling the Snow Globe
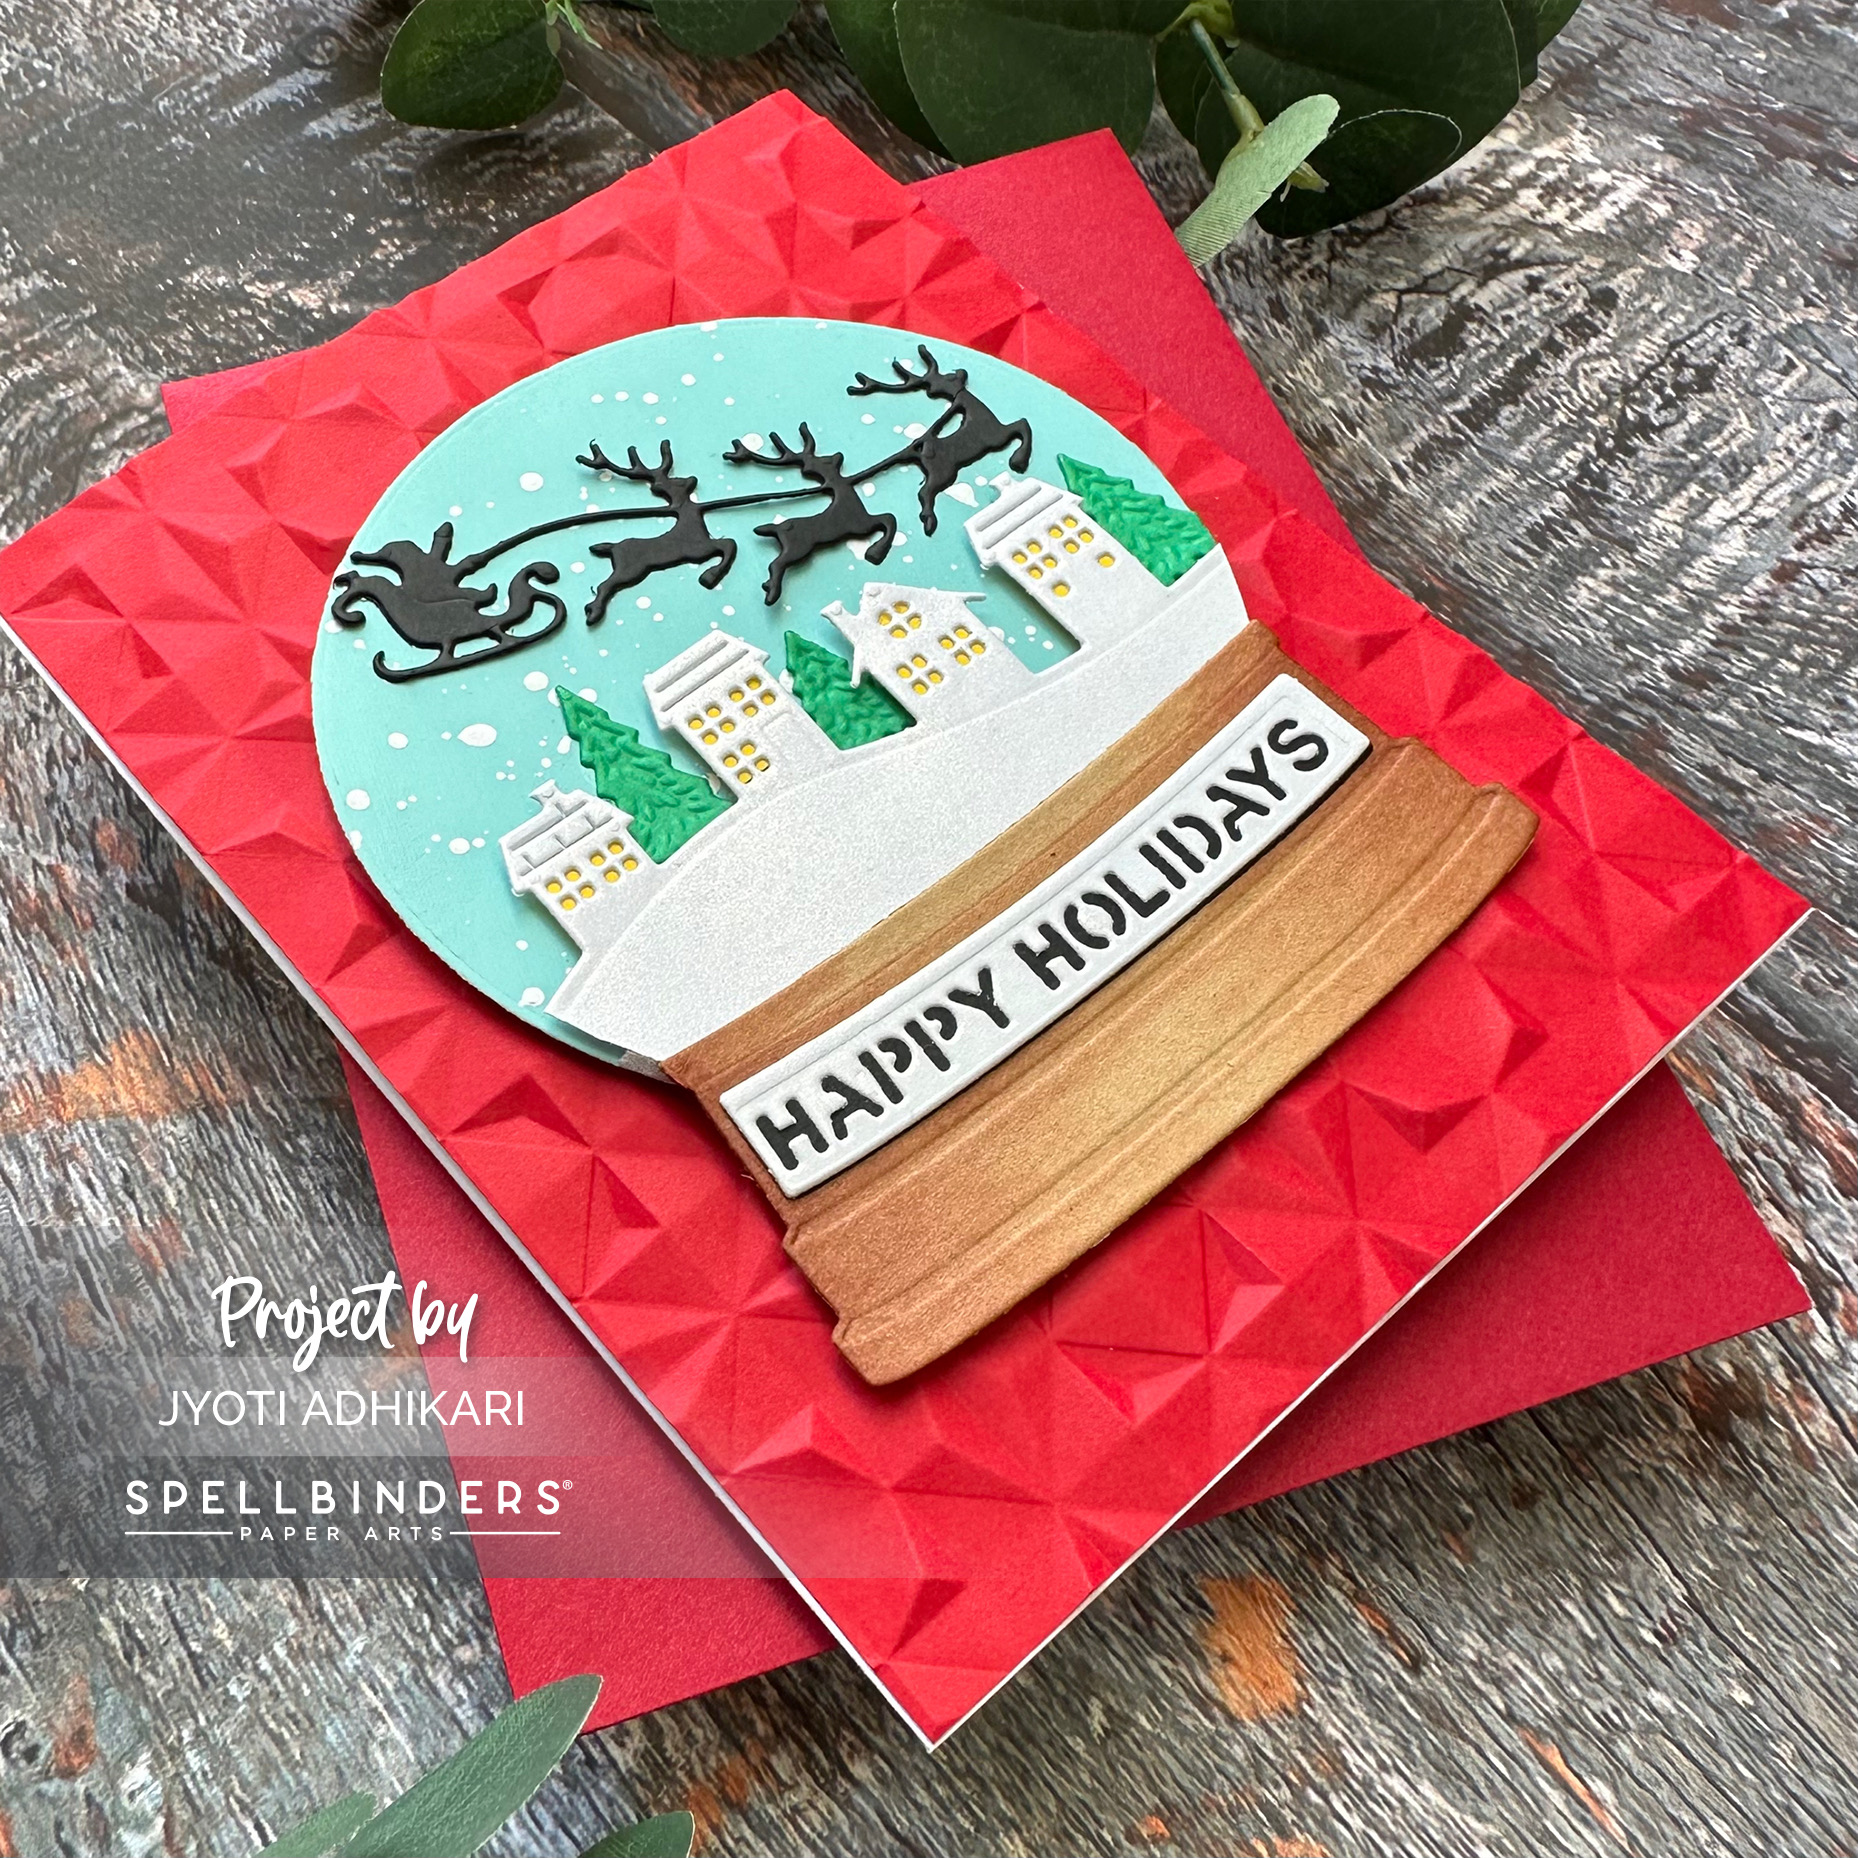
Next, I added the houses on the snowbank using foam tape, ensuring they stood out beautifully. Behind the window openings, I inserted yellow card-stock scraps to create the warm, inviting glow of light inside the houses. To add depth to the scene, I incorporated tiny trees behind the houses, making the entire globe feel like a picturesque winter village.
In the sky above, the silhouette of Santa in his sleigh, led by his reindeers, added an element of enchantment to the scene. It’s amazing how simple paper cutouts can evoke such a sense of wonder.

Step 4: Completing the Snow Globe
The die-cut snow globe base was attached with foam tape. On this stand, I carefully placed a “Happy Holidays” die-cut sentiment, providing a heartwarming greeting to anyone who would receive this card.
Step 5: Setting the Stage with a Striking Background
For the card’s background, I chose a vibrant red card-stock, which I embossed using the GEO QUILT 3D EMBOSSING FOLDER. This added texture and dimension to the background, making the snow globe pop against the vivid color. Afterward, I affixed the embossed red cardstock to an A2 card base, framing the snow globe and completing the card.
In the end, the card turned out to be a magical scene of winter wonder. The Simon Hurley Snow Globe Die Set, with its intricate details and endless possibilities, allowed me to craft a heartfelt greeting that can warm anyone’s heart during the holidays.
So, if you’re looking to infuse a touch of magic into your card-making endeavors, consider trying out the Simon Hurley Snow Globe Die Set. It’s not just paper and ink; it’s a snowfall of creativity and a gift straight from the heart. Happy crafting!
Hugs,
