Spellbinders Large Die for Nov 22 is yet another beautiful kaleidoscope slimline die set. I love the layered look of kaleidoscope dies and the possibility of endless combinations I can use this die for.
Hello everyone!
Today I am sharing two cards I created using the Large Die Of the month club kit die set for Nov 22 from Spellbinders. Here is what it looks like:
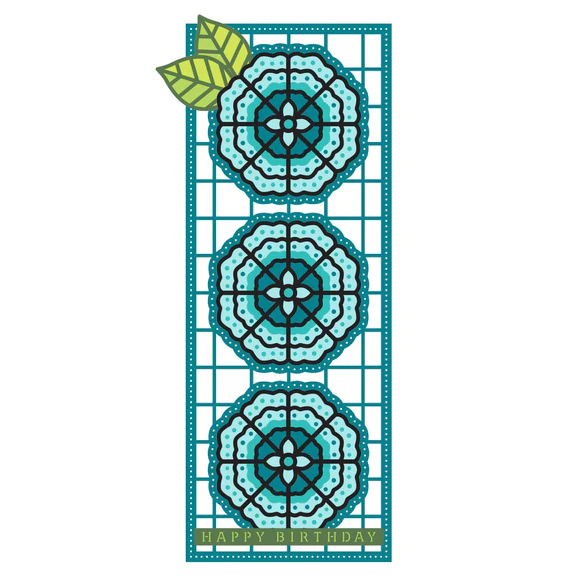
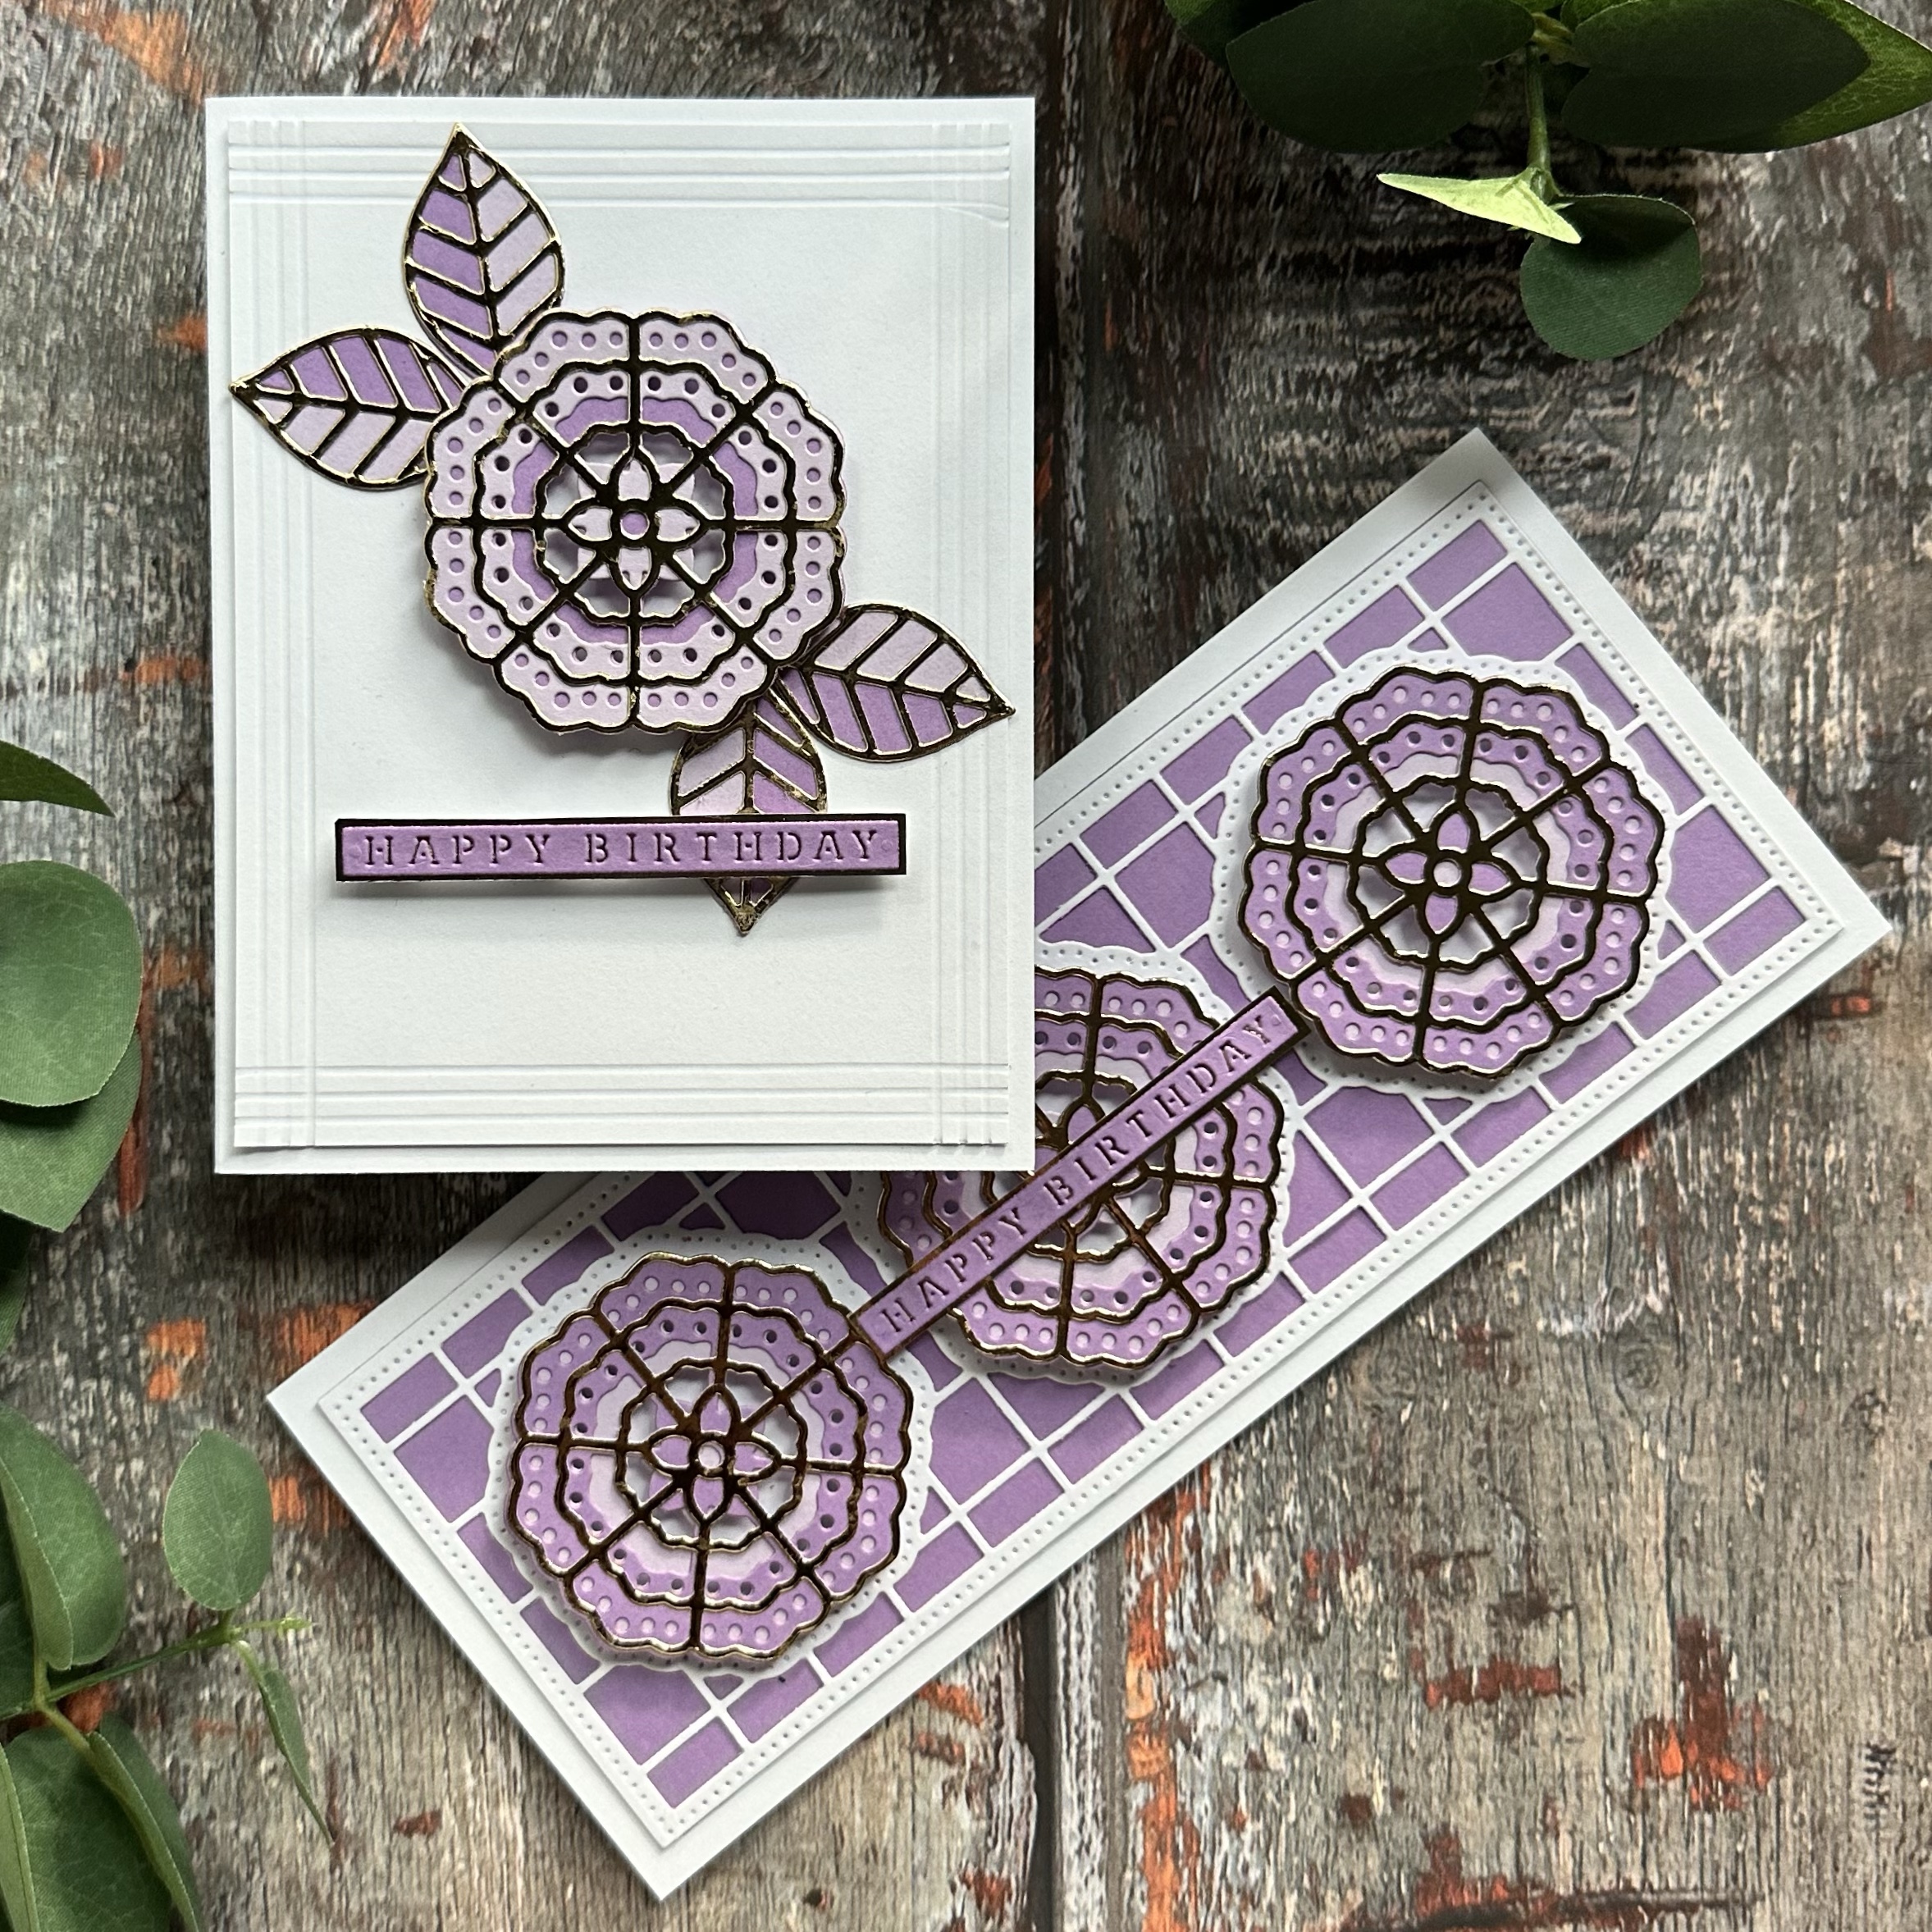
This die set makes an easy but beautiful card as the card layout is self-explanatory. It’s just a matter of deciding the color combination of your choice. I picked light shades of purple and gold on white background for my cards.
First Card
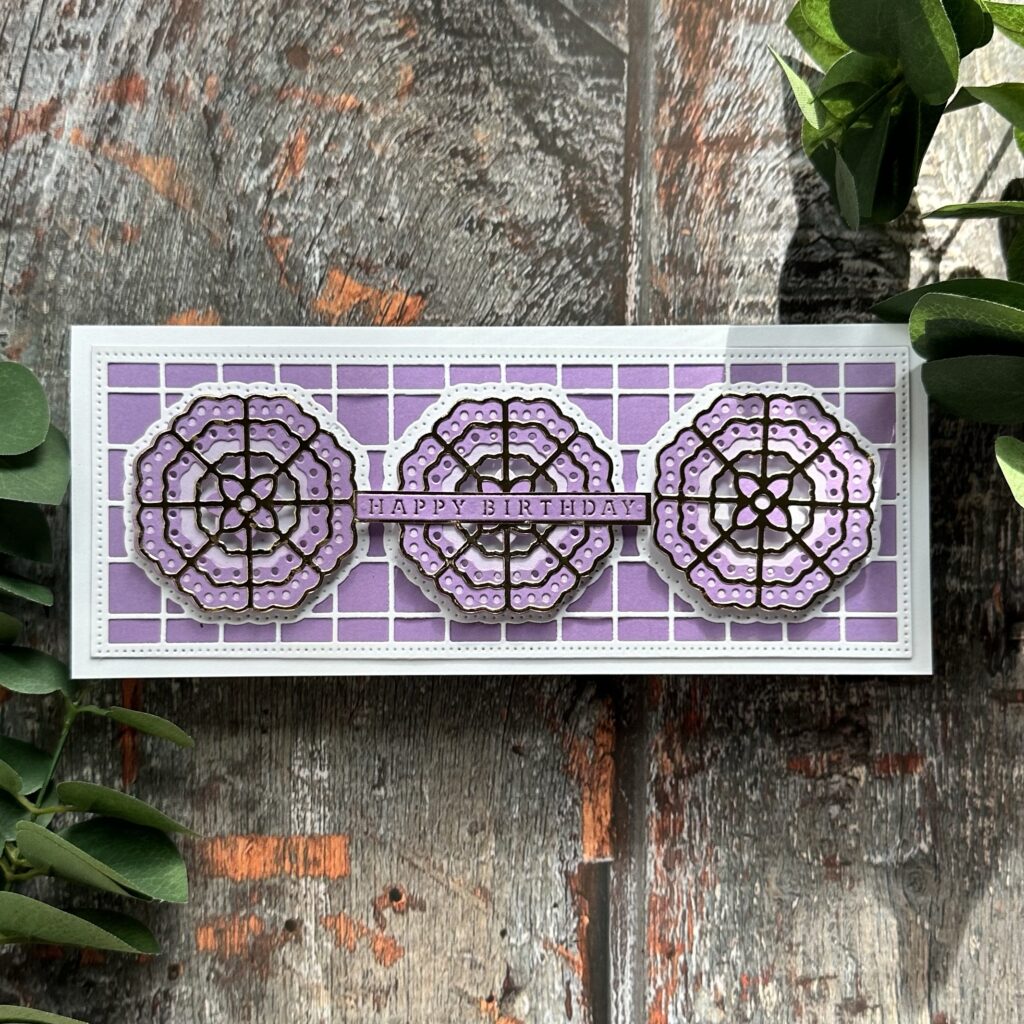
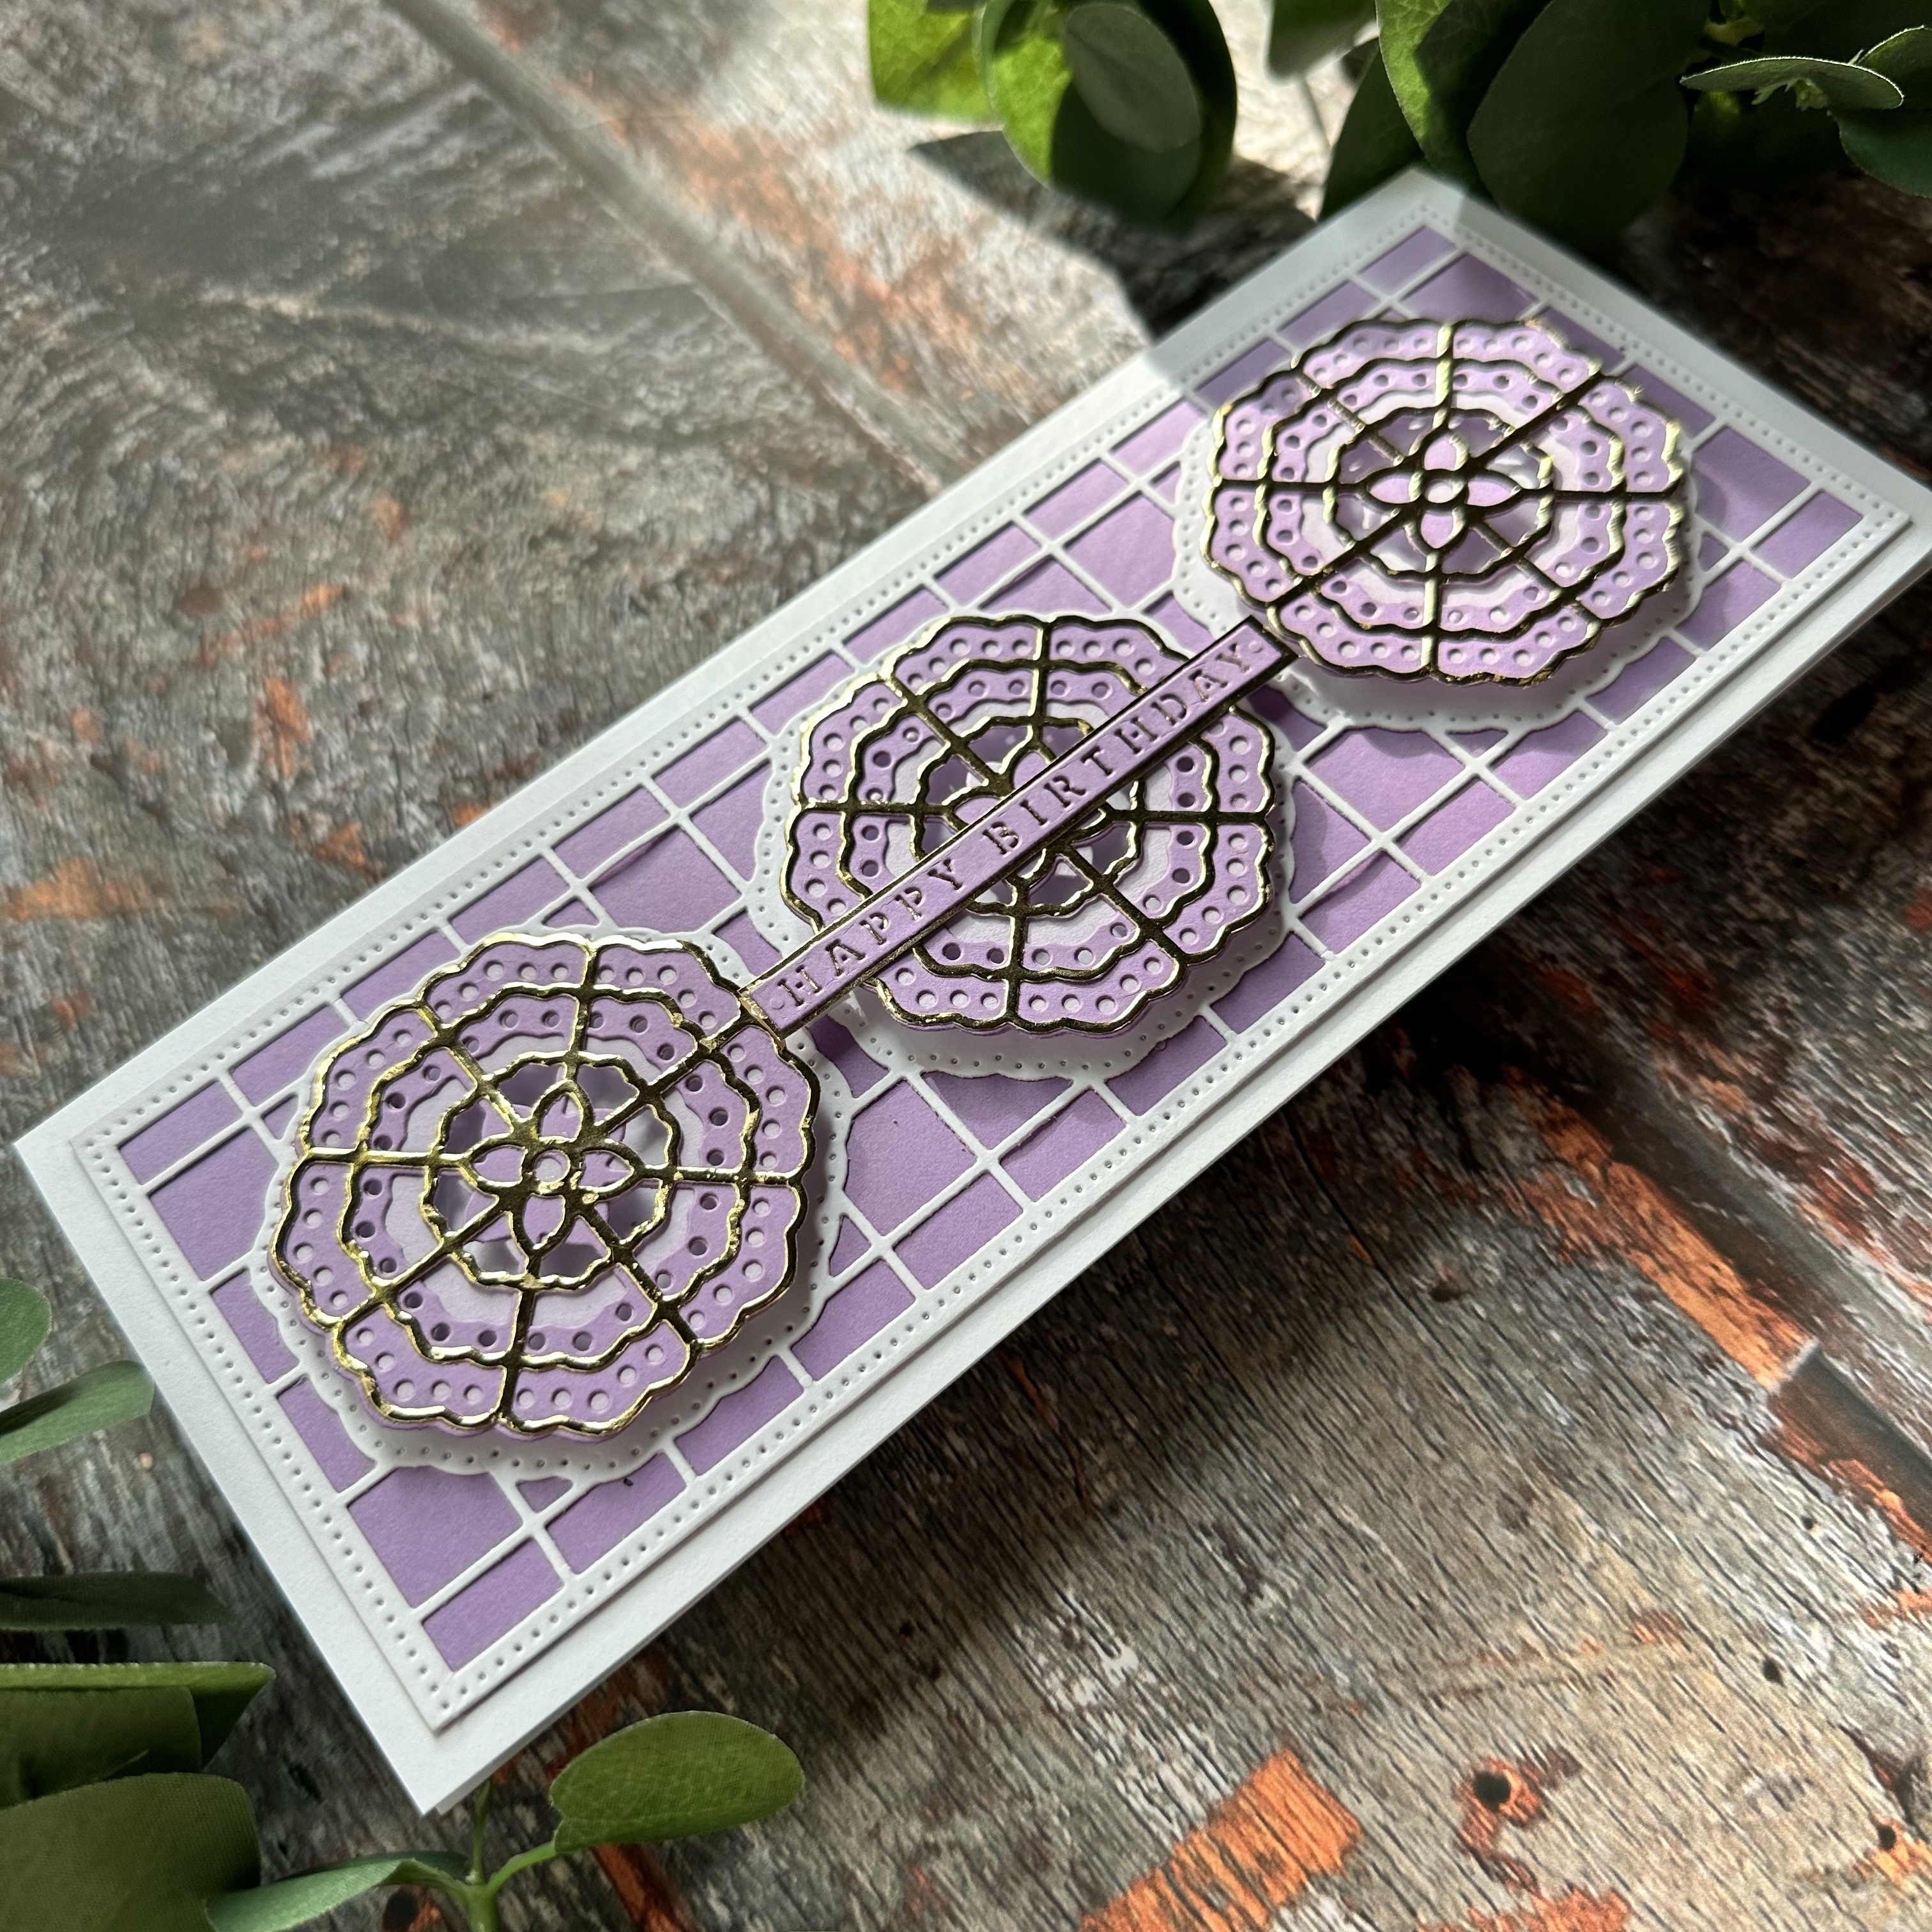
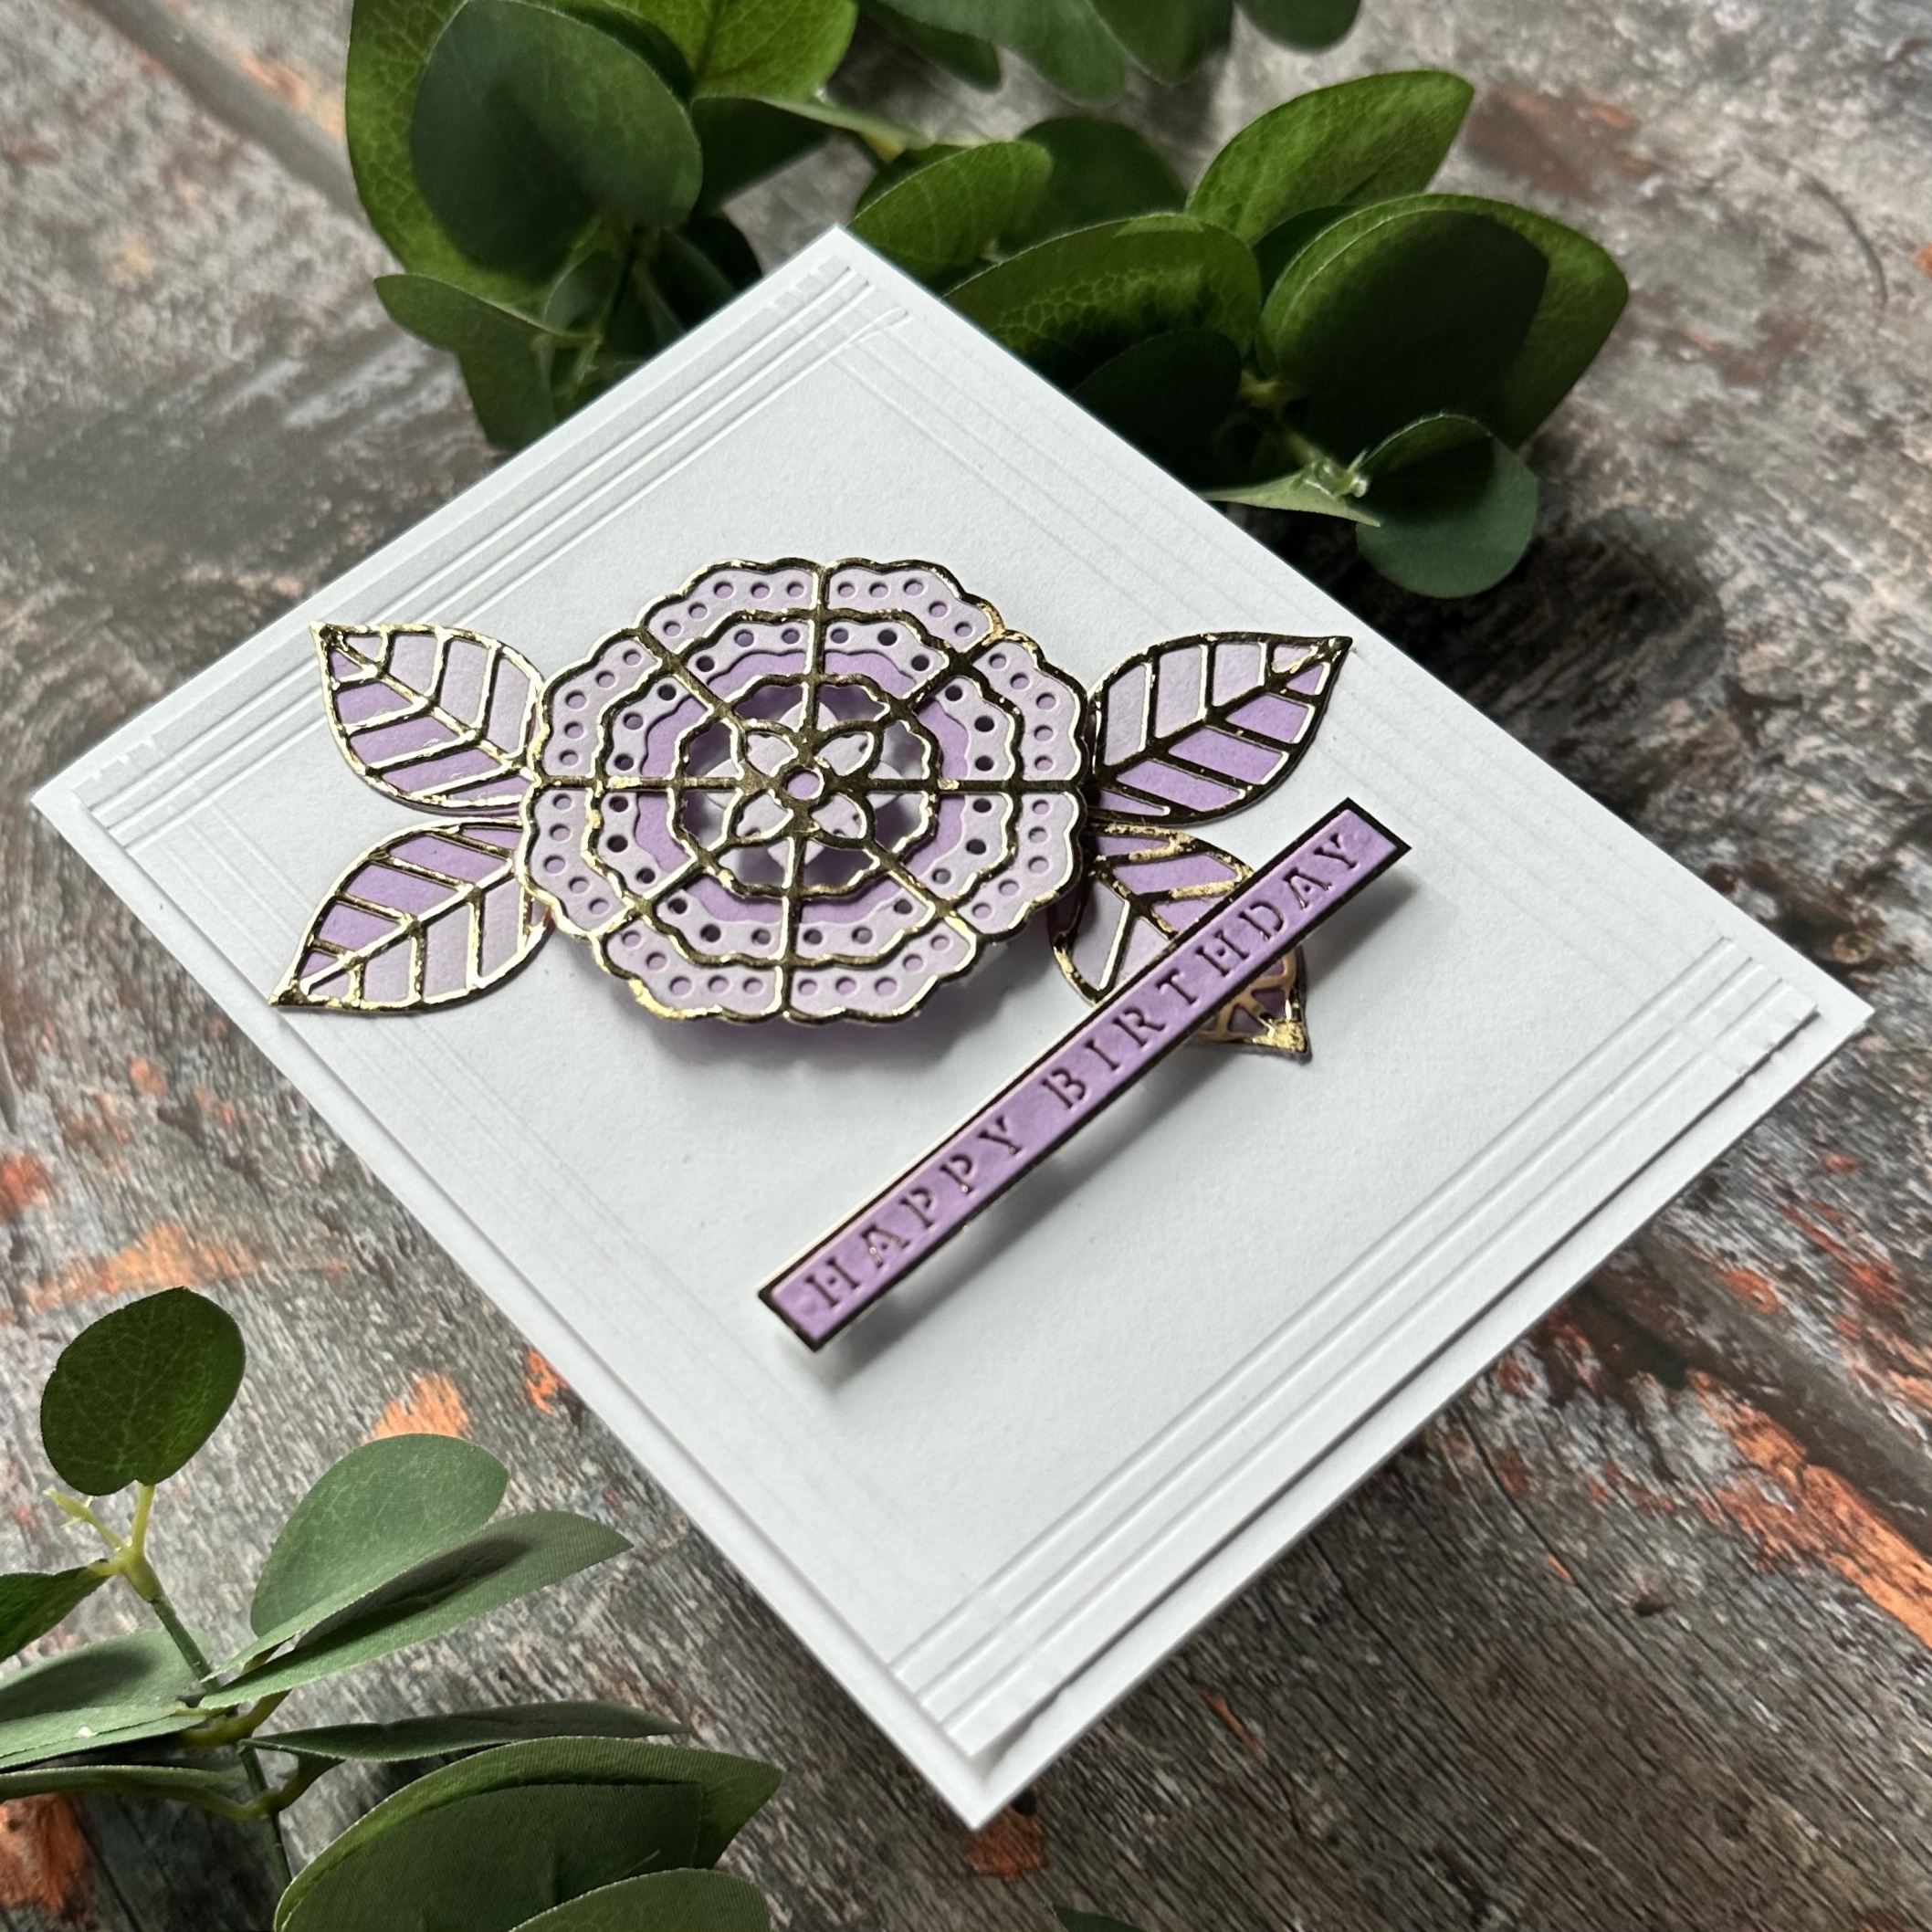
My first card is this slimline happy birthday card. For this card, I used the die set as it is intended. I die-cut all the pieces out with two light shades of purple cardstock and white cardstock. For the top highlighted thin layers of the flowers, I used Mirror Gold Cardstock.
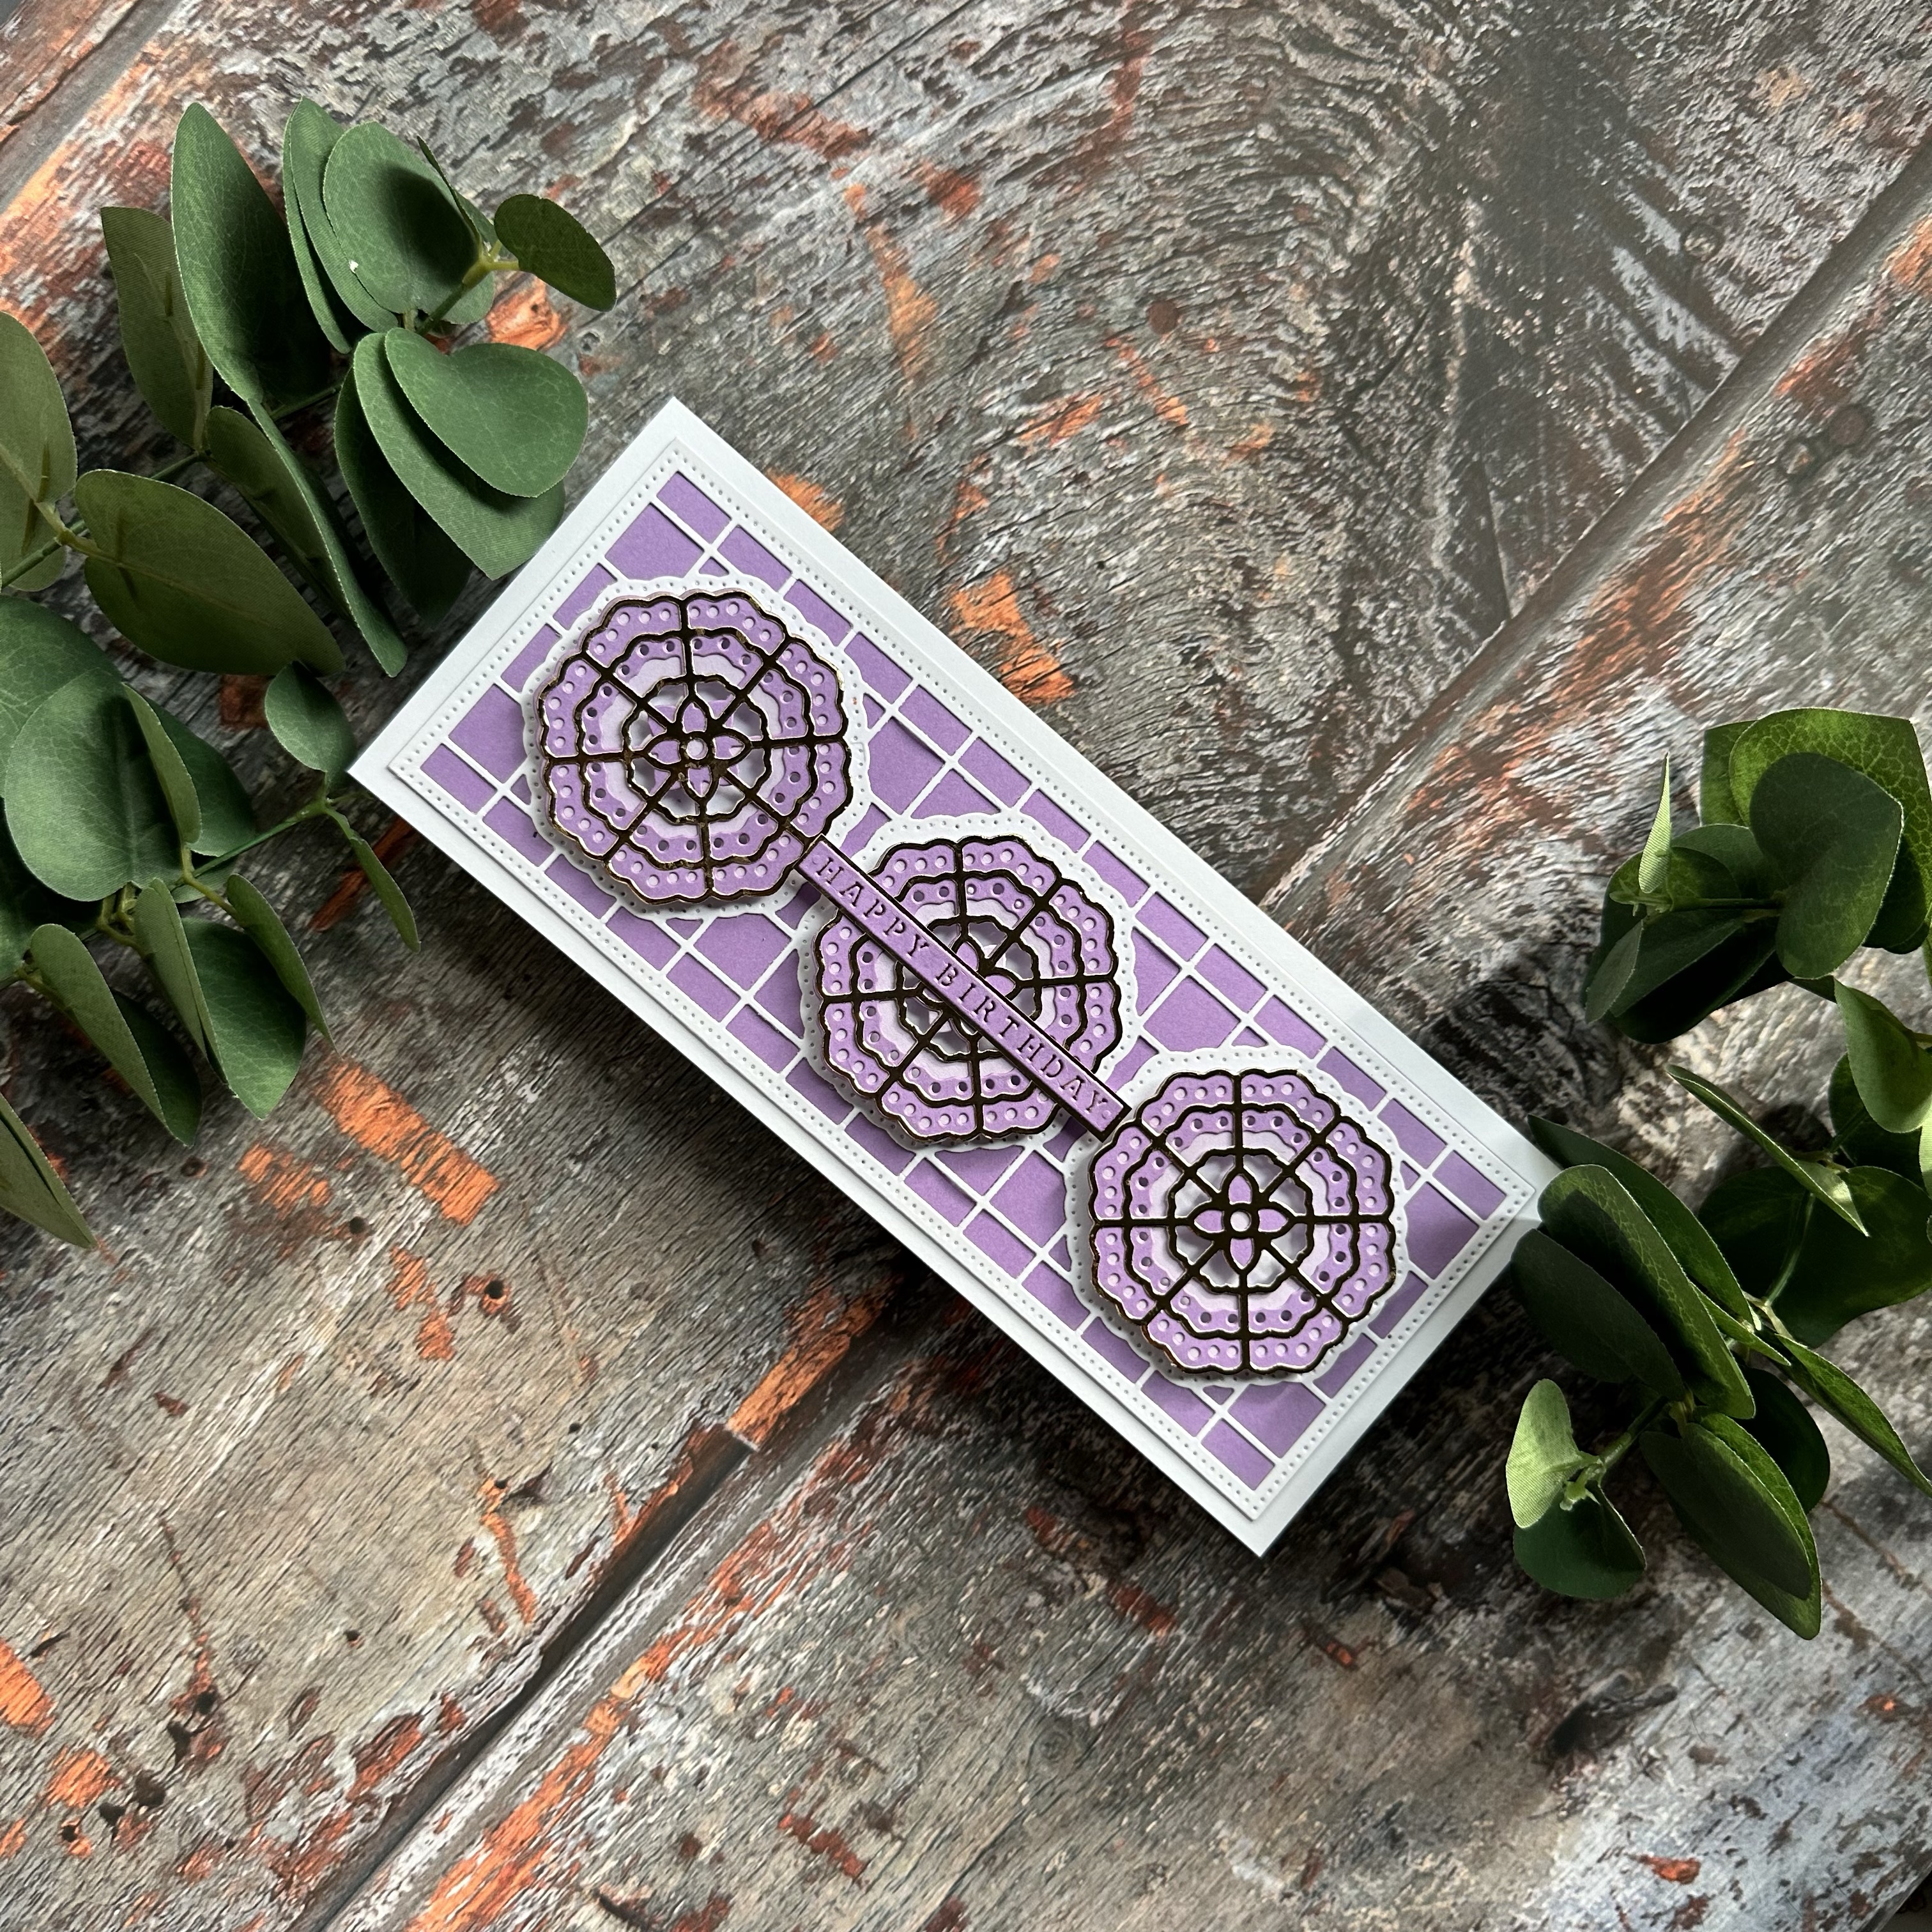
I added a piece of purple cardstock behind the gridlike background design. After assembling the three layers of the flower design I popped these up with foam tape for extra dimension.

For the sentiment, I used the same purple cardstock to cut out happy birthday and then layered a piece of the gold strip behind it. I then added the sentiment strip with liquid glue on the center flower.
With this my card is ready. I do not think any extra embellishment is required for this card.
Second Card
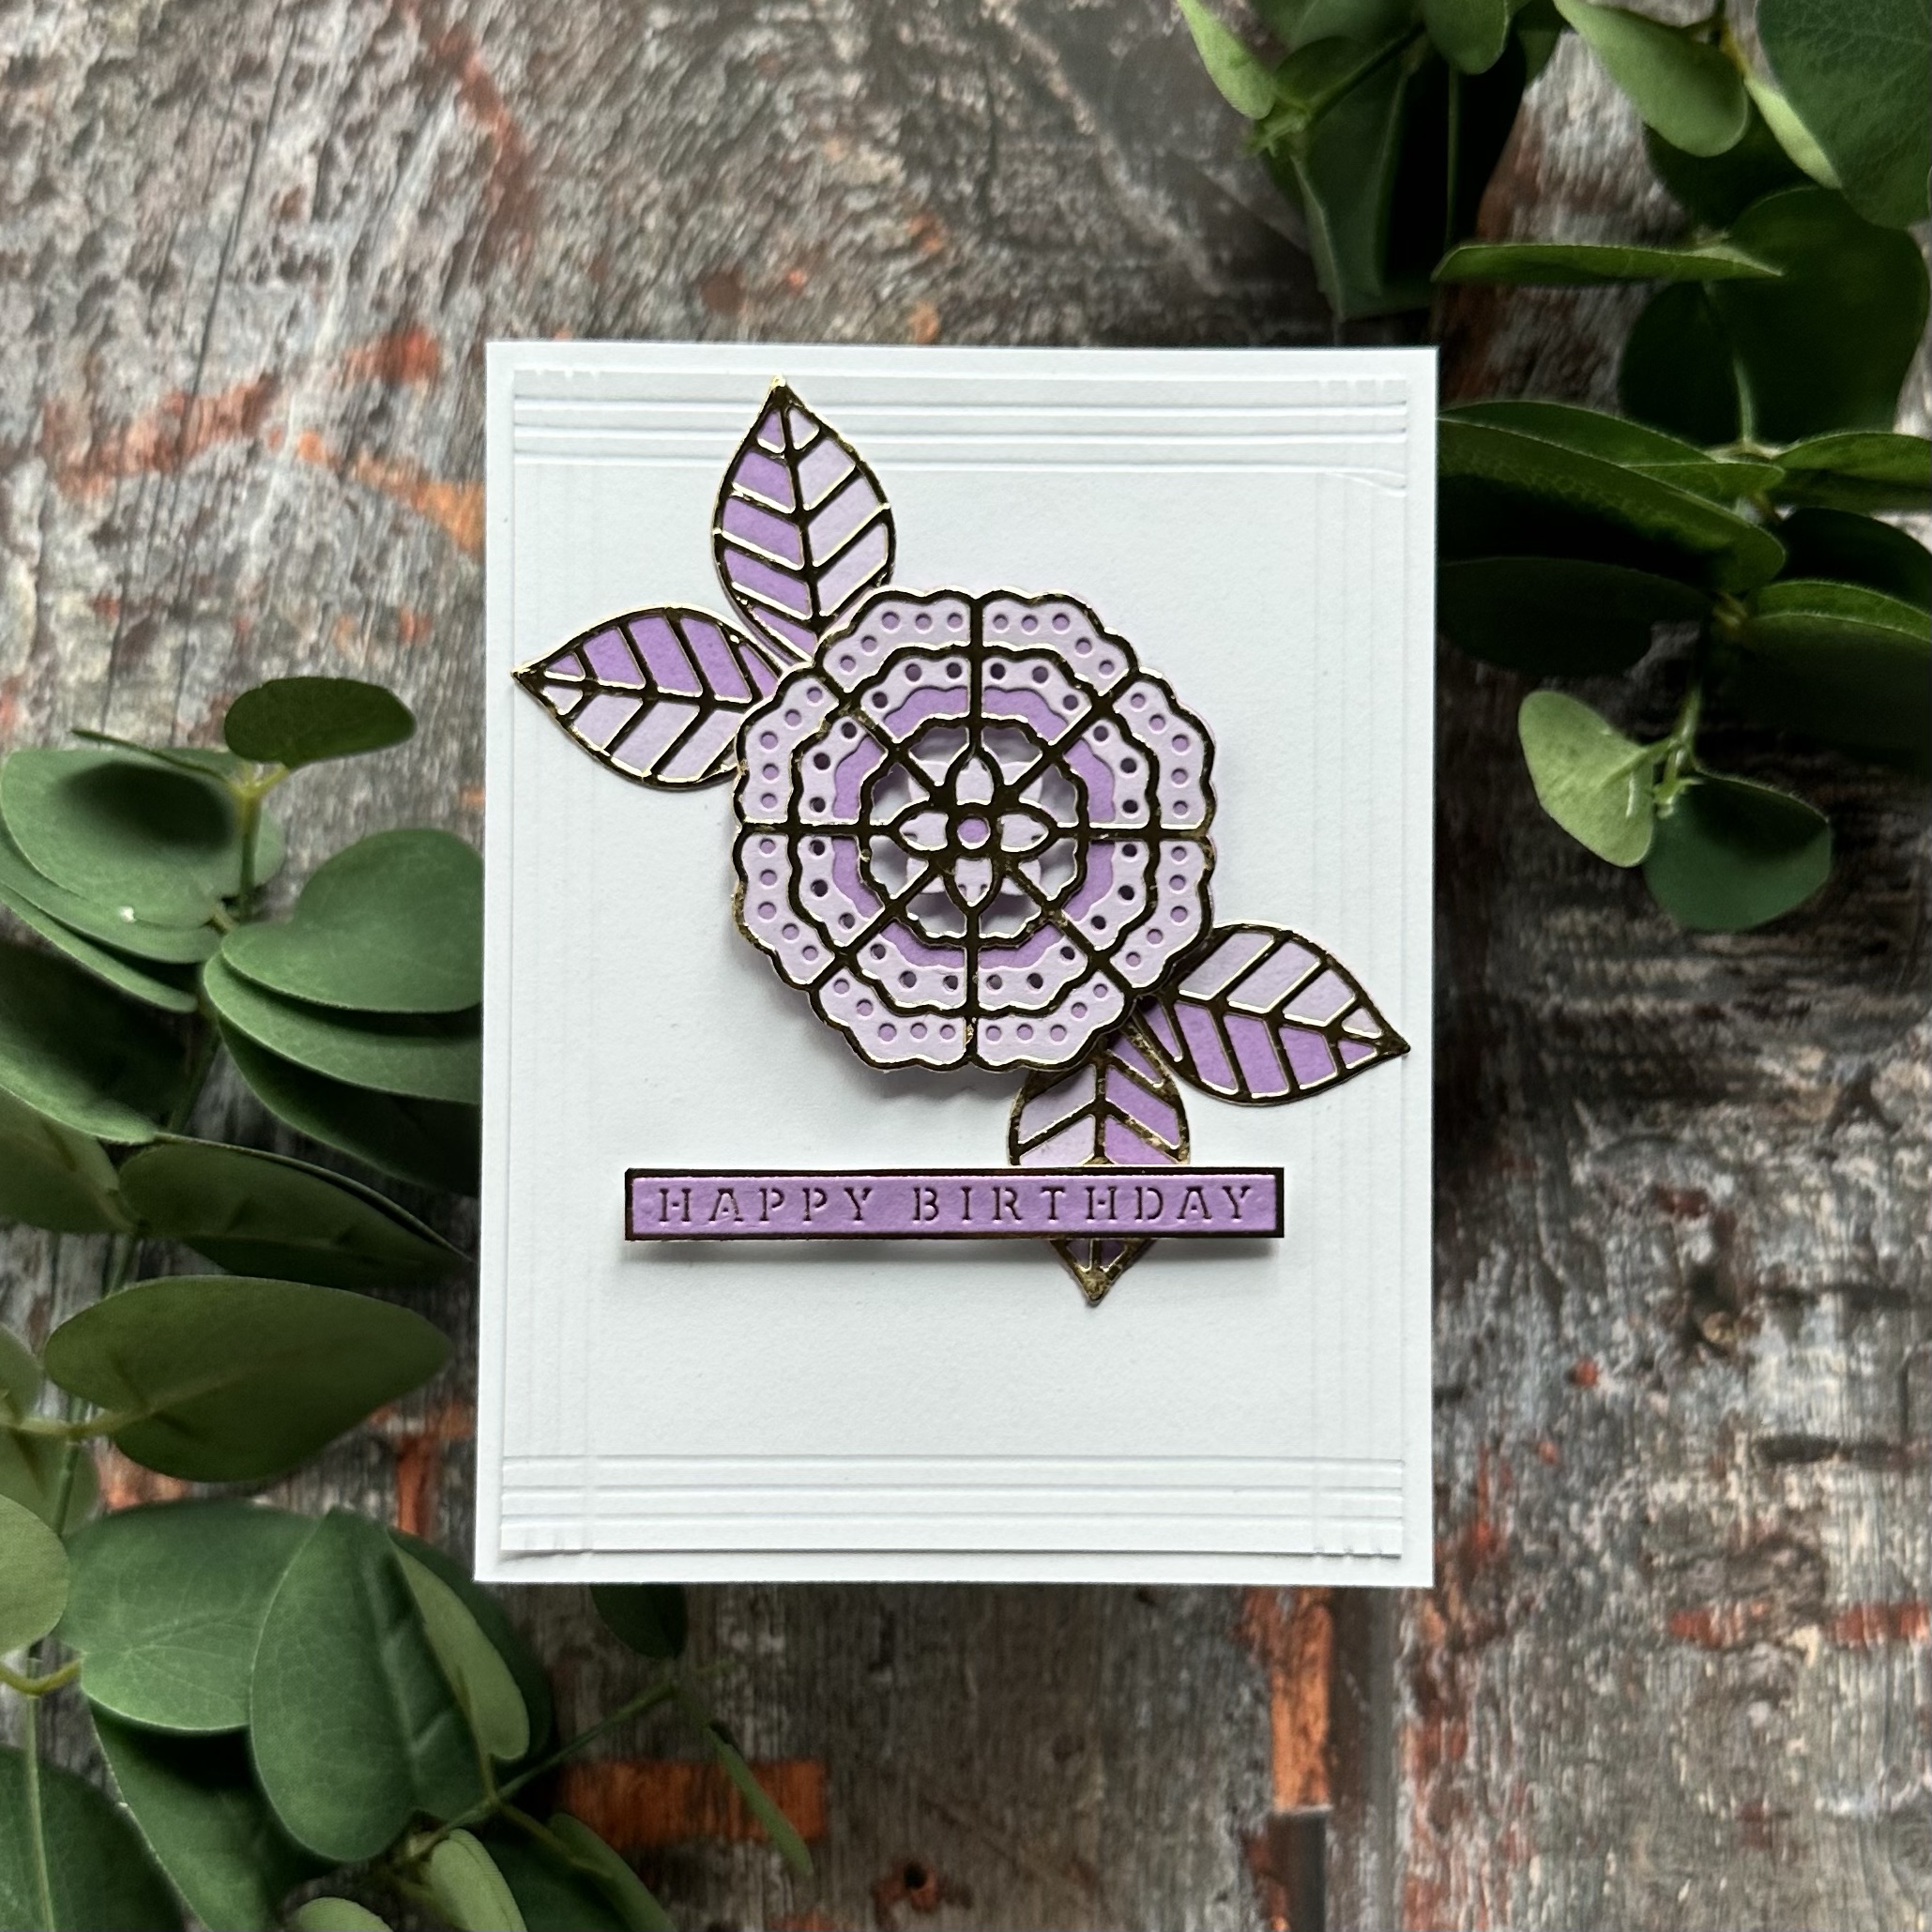
My second card is an A2 size card. Just to show you that you are not limited to creating cards only the way this die is intended. There are endless possibilities for using this die. Here I have used only one flower and four leaves to create an A2-size card. You can also create a whole background with just the flowers or just the leaves.
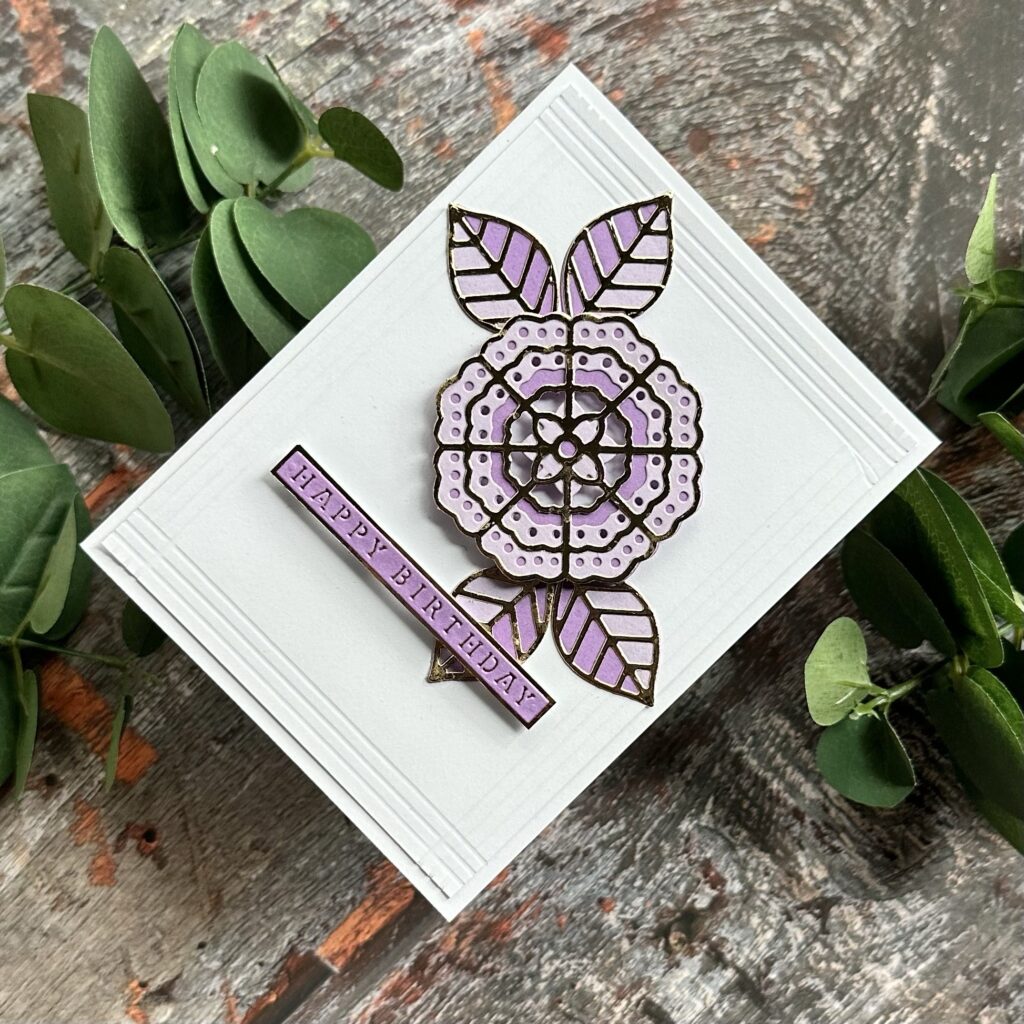
I used the same color palatte like my first card for this one too. For the background I just created three debossed lines around it using a score board and bone folder. We all have that as it’s an essential tool in cardmaking.
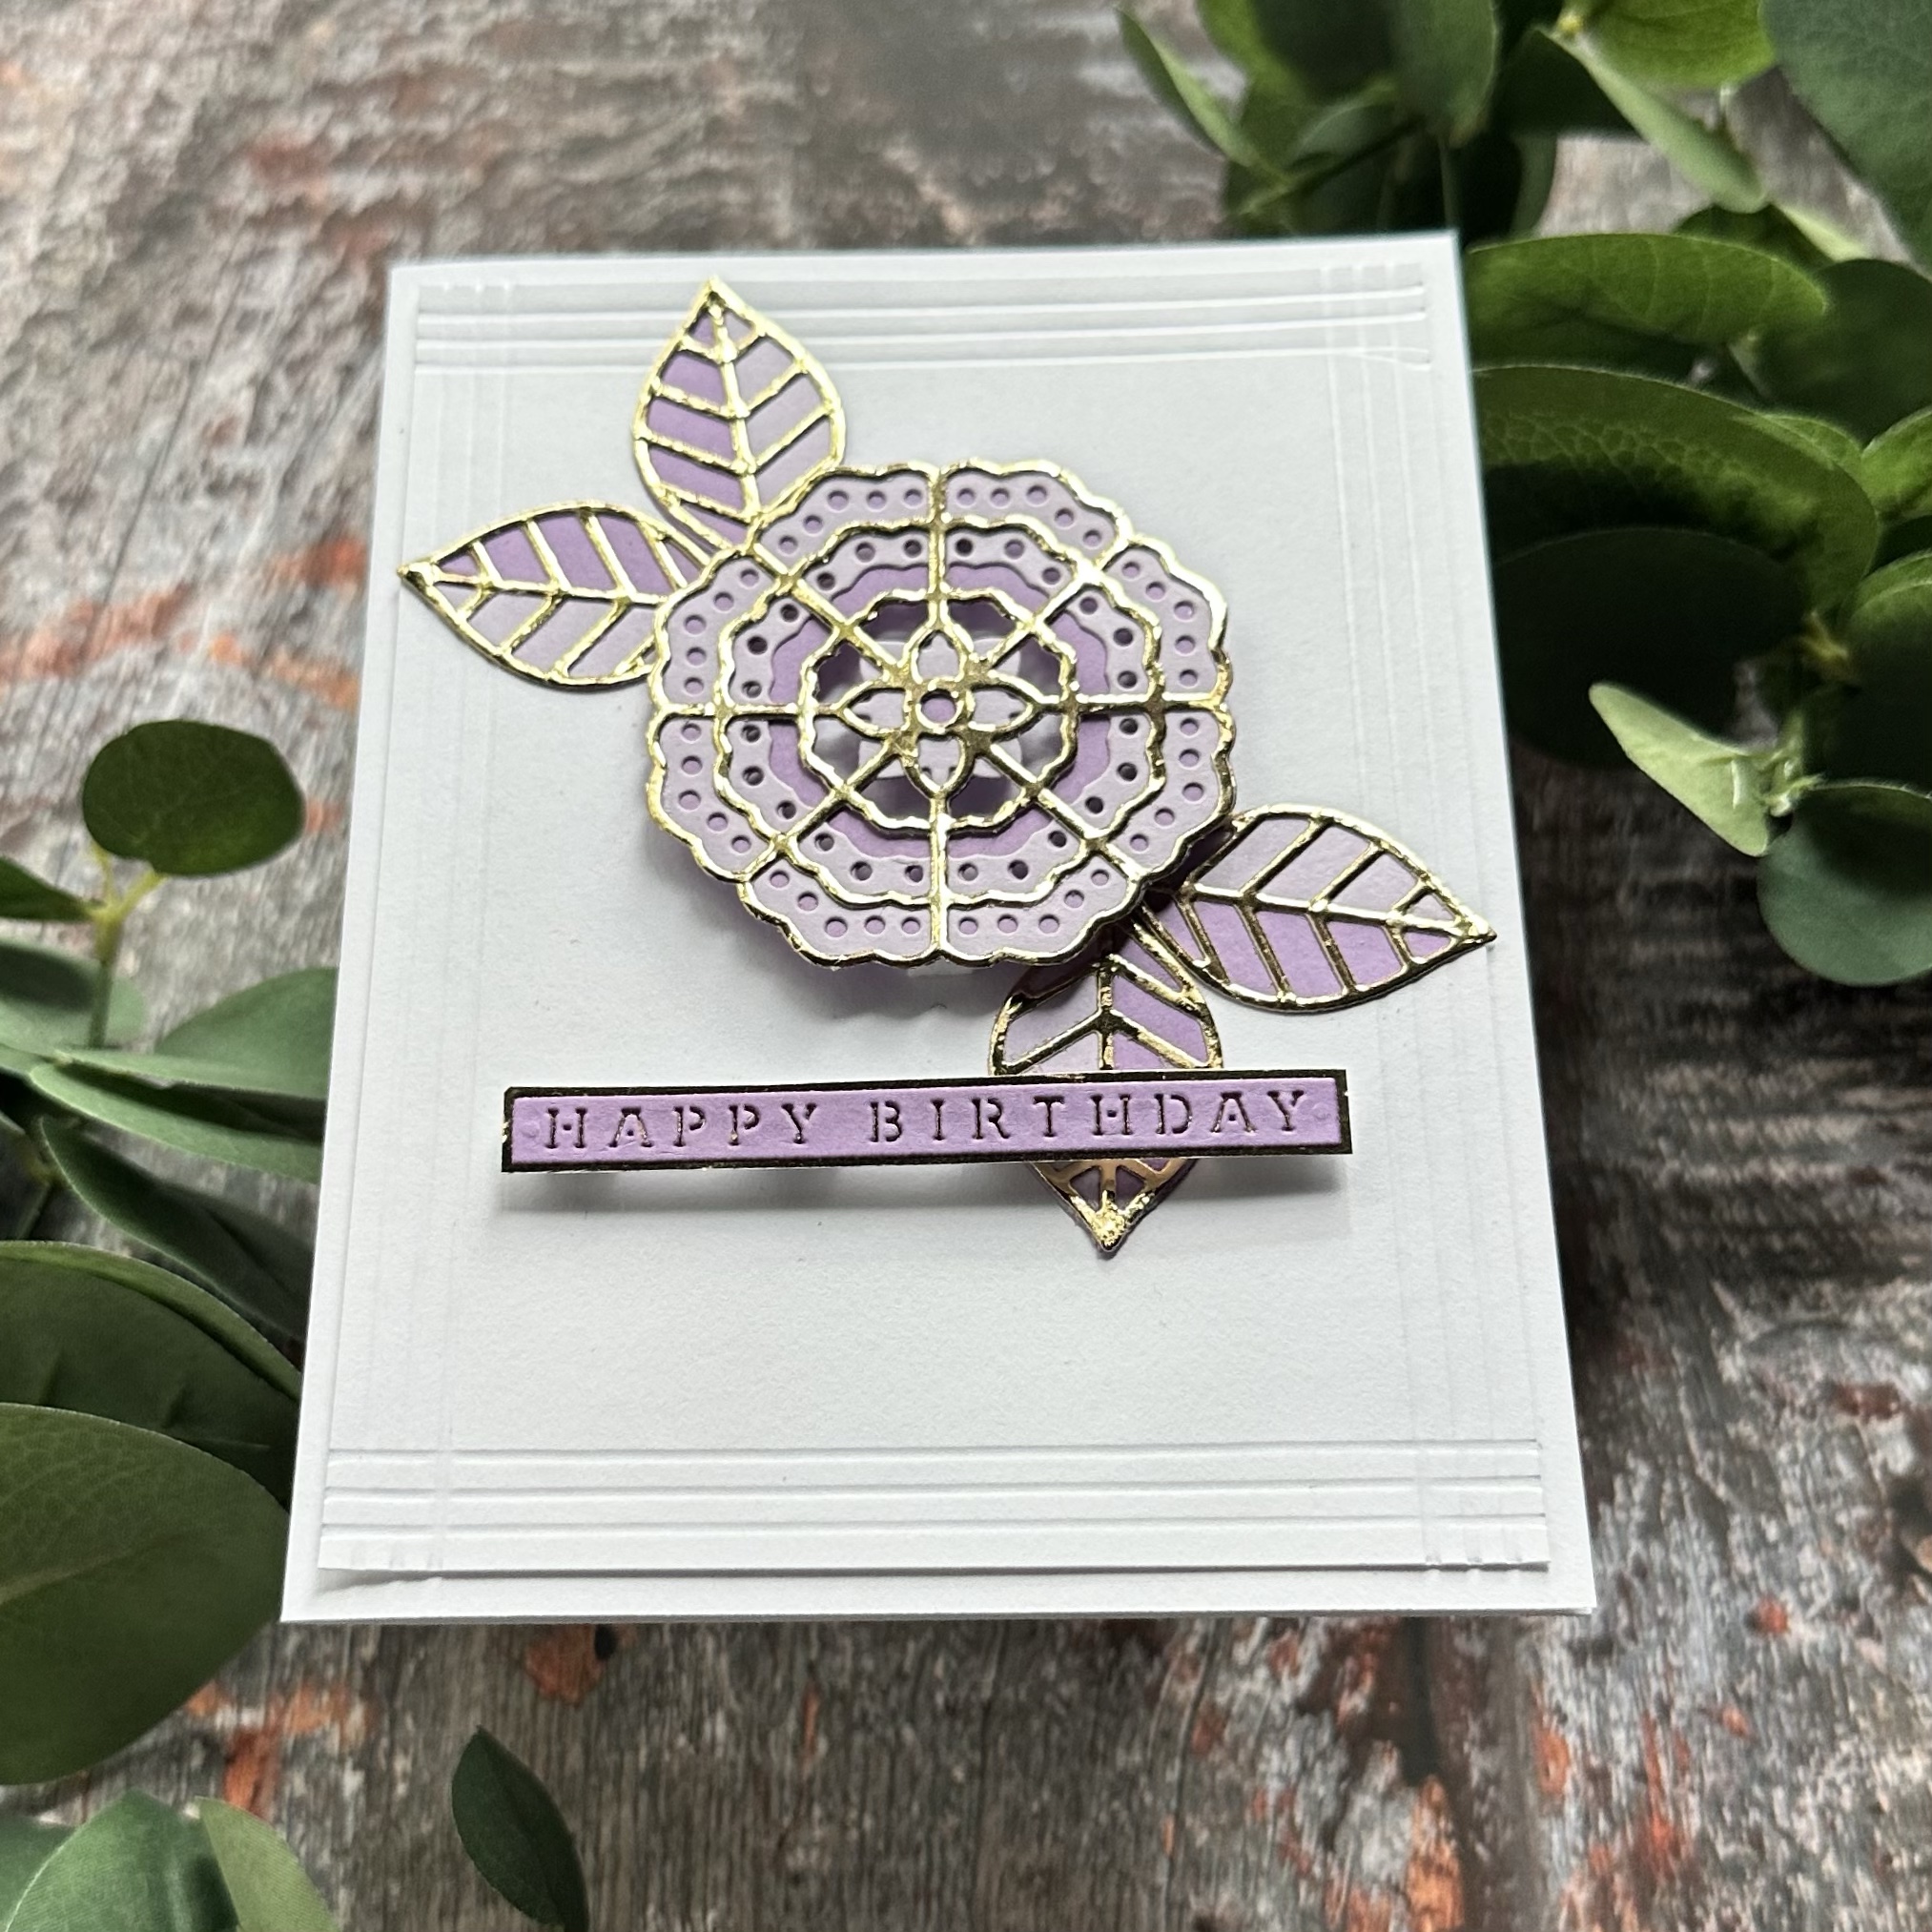
I assembled one flower and four leaves. Then I added the flower in the upper center of my cardfront with two leaves peeking out from two corners.
To finish this card I just added a strip of Happy Birthday sentiment created same way as on my first card along the bottom of my flower.
What I loved aout these two cards was how easy were they to create. Hope this inspires you. Here is the link to the card I created using previous month’s Large Die Club.
Hugs,
