In the world of crafting, inspiration often blooms from the most unexpected places. In today’s blog post, I’m excited to share the story of a heartfelt ‘thank you’ card that began with a PLAYFUL POINSETTIA 3D EMBOSSING FOLDER. With a dash of creativity and a touch of metallic charm, this card is a beautiful way to express gratitude. Join me as we explore the step-by-step process behind this unique creation.
The 3D Embossing Adventure
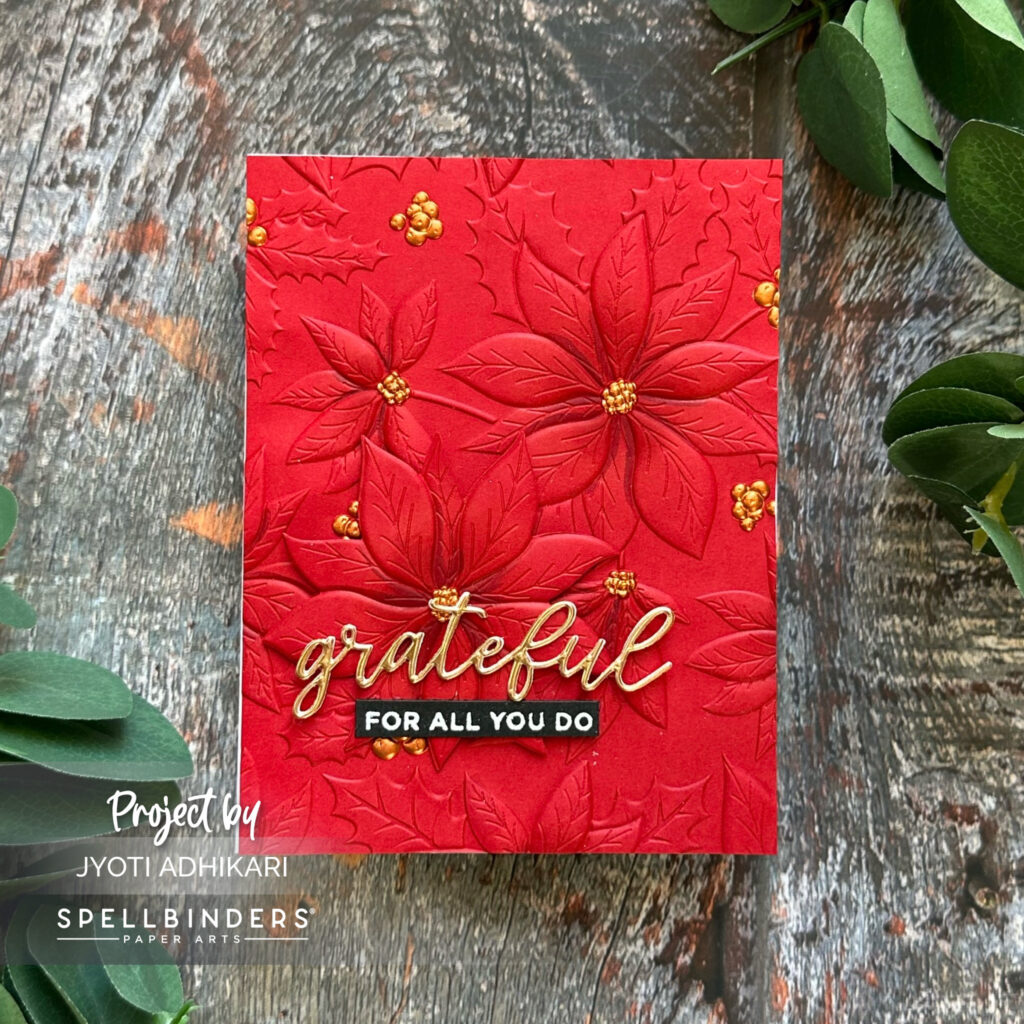
This crafting journey begins with a vibrant red card-stock, the canvas for the poinsettia design. Carefully embossed a 4.25 by 5.5 inches card-stock using the PLAYFUL POINSETTIA 3D EMBOSSING FOLDER. The result was a beautiful, textured background, perfect for adding impact and charm to our card.
But that’s not all this embossing folder has. It also boasted a die that could cut out one of the embossed poinsettia flowers, adding another layer of artistry to the project. I first die cut a piece of red card-stock then by simply aligning it with the matching flower, embossed this piece ready to be added on a card.
Coloring the Petals
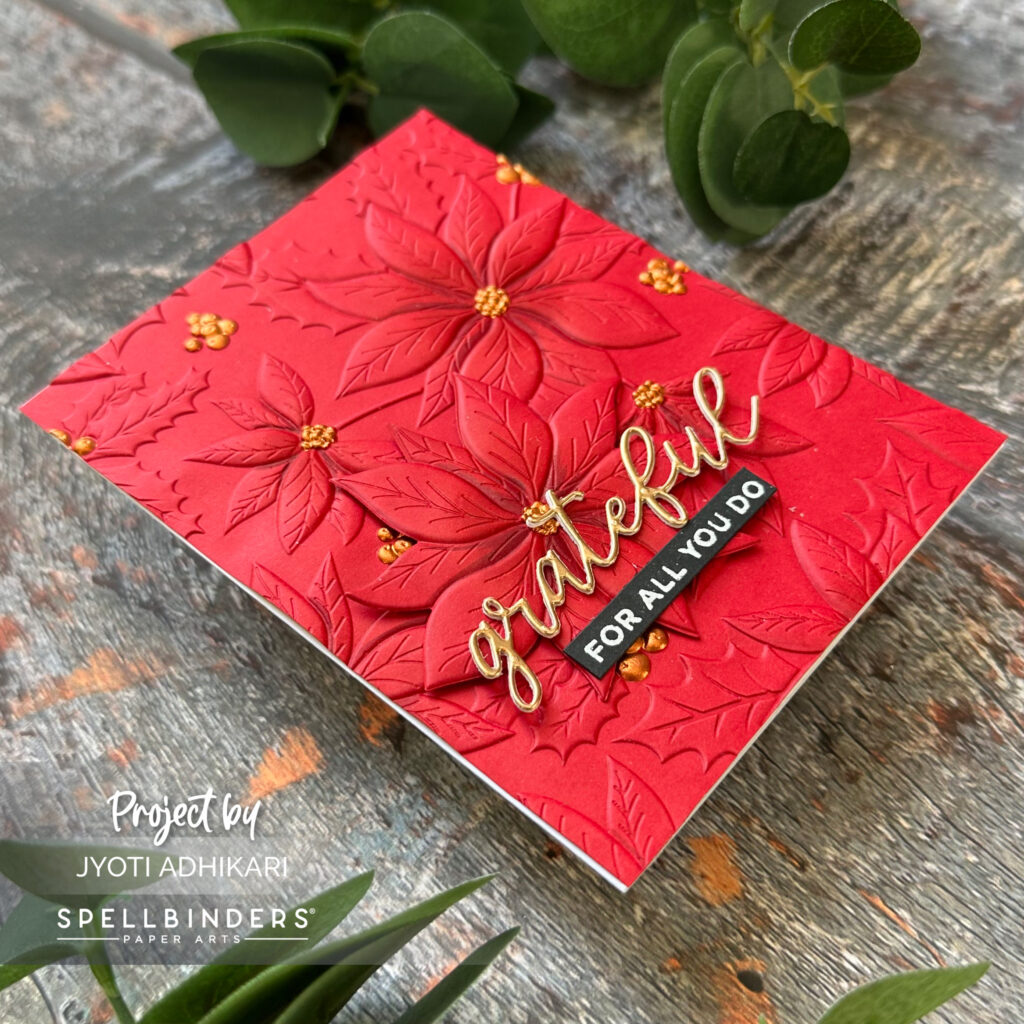
With the poinsettia in and the background in hand, the next step was adding color to the poinsettia petals. A slightly darker shade of red COPIC marker was used to gently define the petal’s corners, giving the flower a little depth.
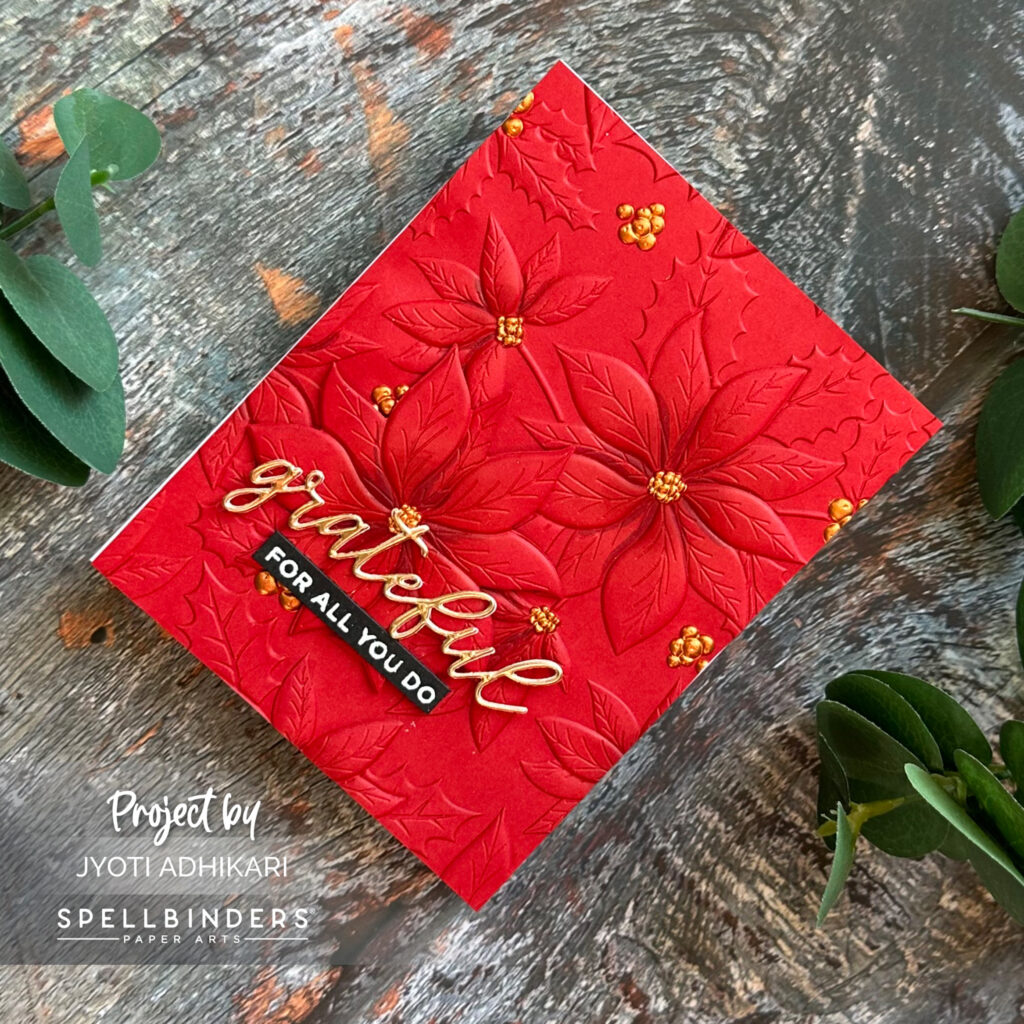
However, the center of the poinsettia gave me a unique idea. I used copper iridescent metallic watercolor paint to color it with shimmering elegance. The result was a delicate, enchanting look that transformed the embossed flowers into works of art. I did this to all the poinsettia on the background and the die-cut one.
The Art of Arrangement
With our main elements complete, it was time to arrange them. One of the die-cut and embossed poinsettia flowers was placed lovingly on the lower left side of the embossed and colored background using foam tape. The final composition was then mounted onto an A2 card base.
The Heartfelt Sentiment
No card is complete without the perfect sentiment. For this creation, I chosen the SERENADE SENTIMENTS ETCHED DIES that could craft sentiments and their shadow layers. I cut ‘Grateful’ once with copper metallic card-stock and twice with white. Layered together for stability, I then added it on the poinsettia with liquid glue.
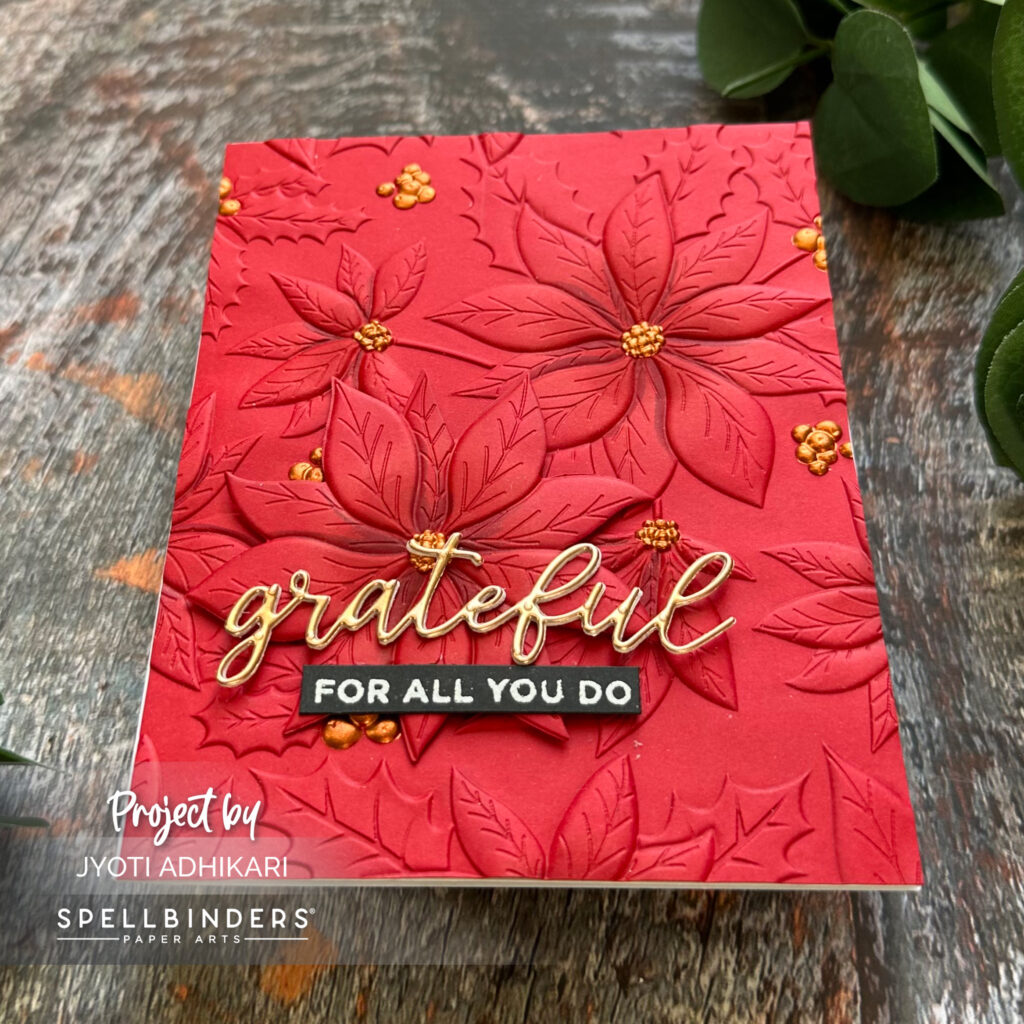
Beneath the ‘grateful’ sentiment, I added a strip of stamped and heat-embossed text that read, “for all you do”. This completed the sentiment, making it read “grateful for all you do.” What a thoughtful sentiment for my poinsettia card!
And there you have it—a ‘thank you’ card like no other, created with a touch of embossing magic, a stroke of metallic elegance, and a heartfelt expression of gratitude. Every card carries a story, and this one is a tale of blooming thanks. 🌹🙏✨
Hugs,

Simplicity at it’s best.
Thank you so much for the lovely comment and I appreciate you stopping by
Beautiful.
Thank you so much Catherin. I appreciate you stopping byy.