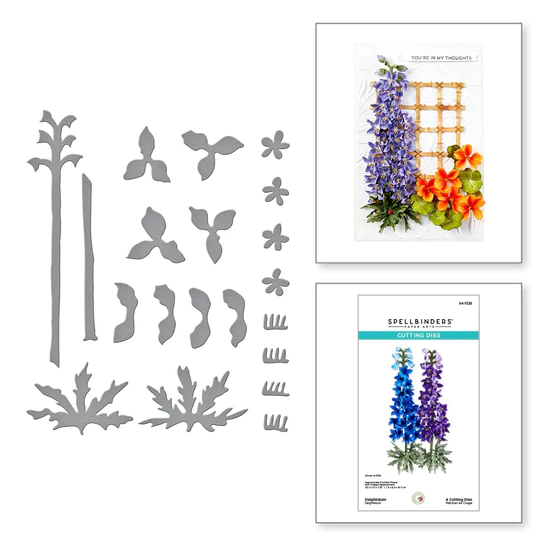
Welcome to my creative journey as I delve into the world of cardmaking inspired by the enchanting Delphinium flower. In this blog post, I’ll walk you through my process of crafting a stunning card using the THROUGH THE ARBOR GARDEN COLLECTION from Spellbinders. From selecting the materials to adding the final touches, join me as I bring this botanical beauty to life on paper. I am featuring the DELPHINIUM ETCHED DIE from this collection.
Choosing Materials and Design
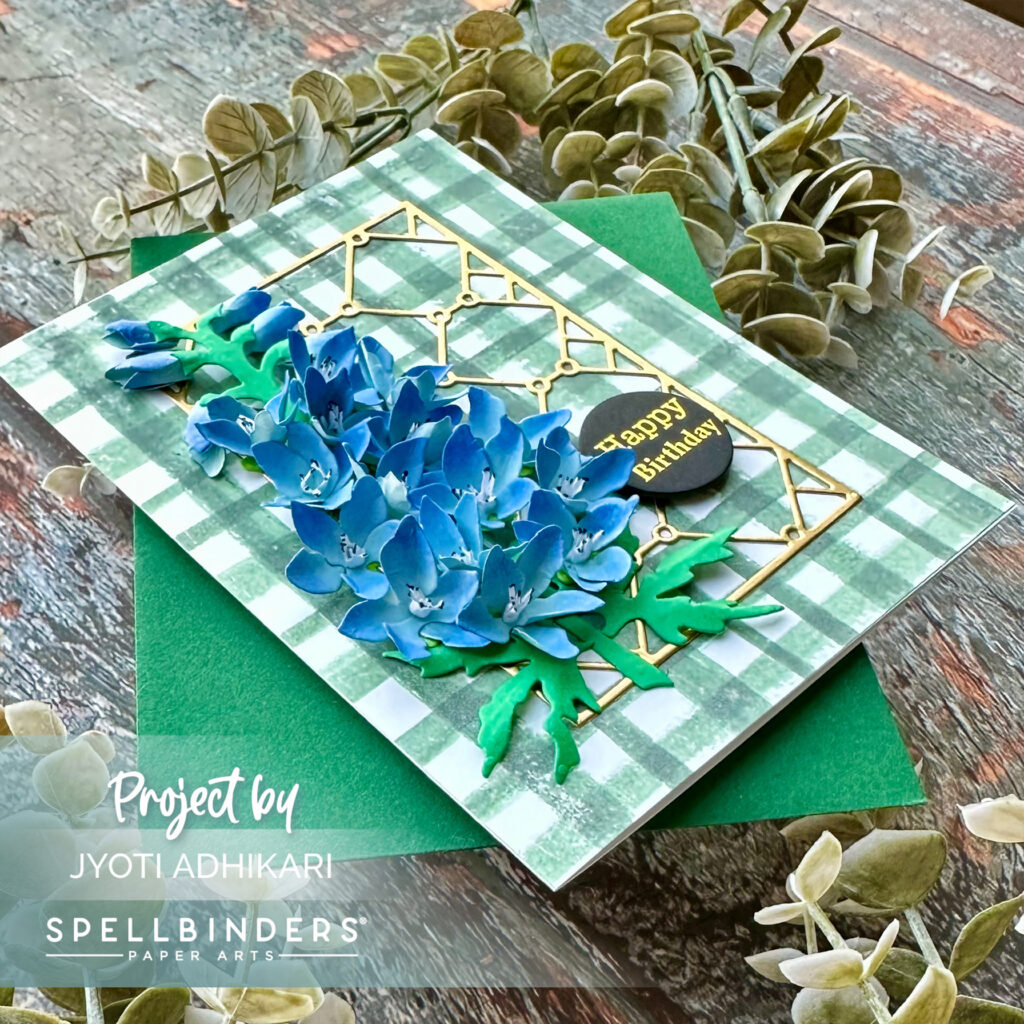
The foundation of any crafting project lies in selecting the right materials. For my Delphinium card, I opted for light blue card-stock to mimic the delicate petals of the flower. Using the Delphinium die from Spellbinders, I carefully cut out the flower petals, ensuring precision and attention to detail. Additionally, I chose green card-stock for the leaves and stem, along with white card-stock for the stamen, to capture the essence of the natural hues of the Delphinium.
Inking and Shaping
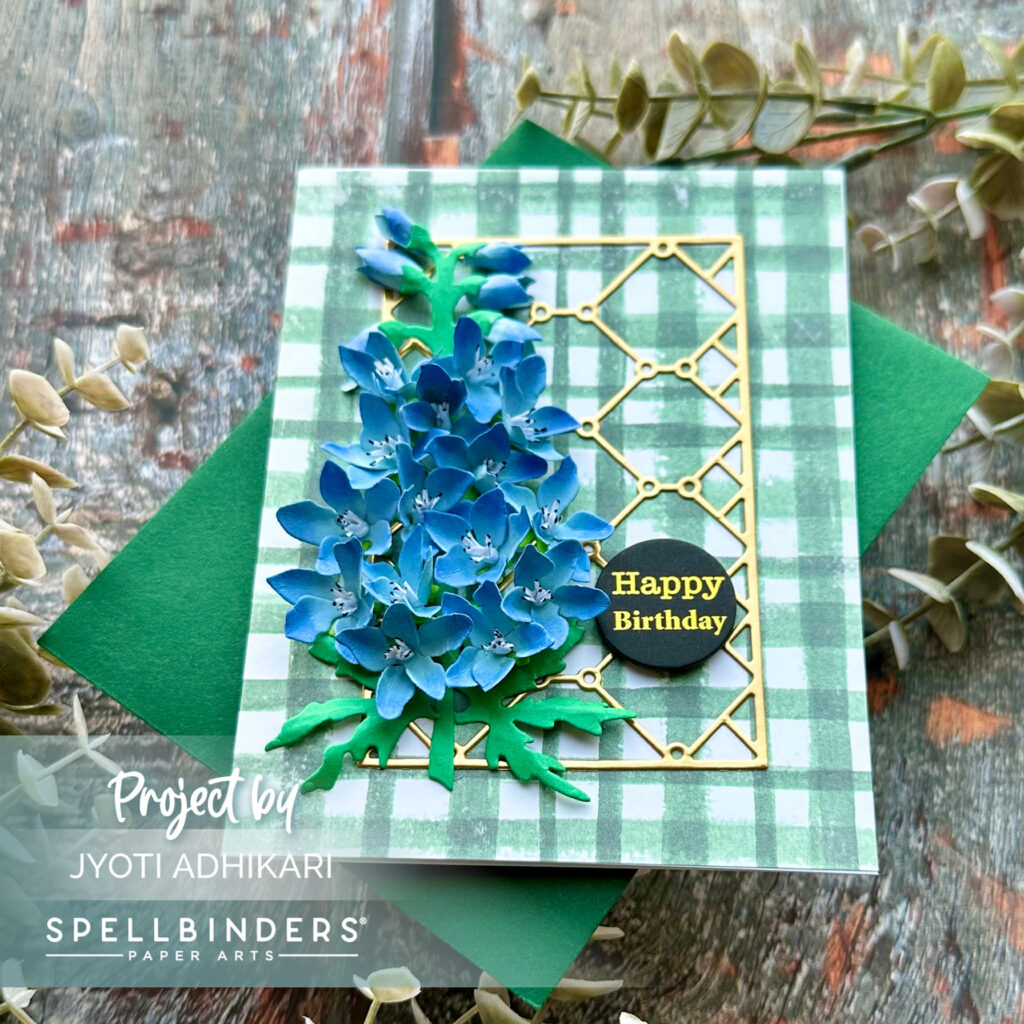
To add realistic depth and dimension to the petals, I added shading with distress oxide inks. Using shades of blue, I gently applied ink to the outer edges of each petal, creating a subtle gradient effect. With meticulous care, I shaped and arranged the petals according to the instructions provided by Susan Tierney on her You Tube Video bringing the Delphinium flower to life with a lifelike appearance.
Creating the Background
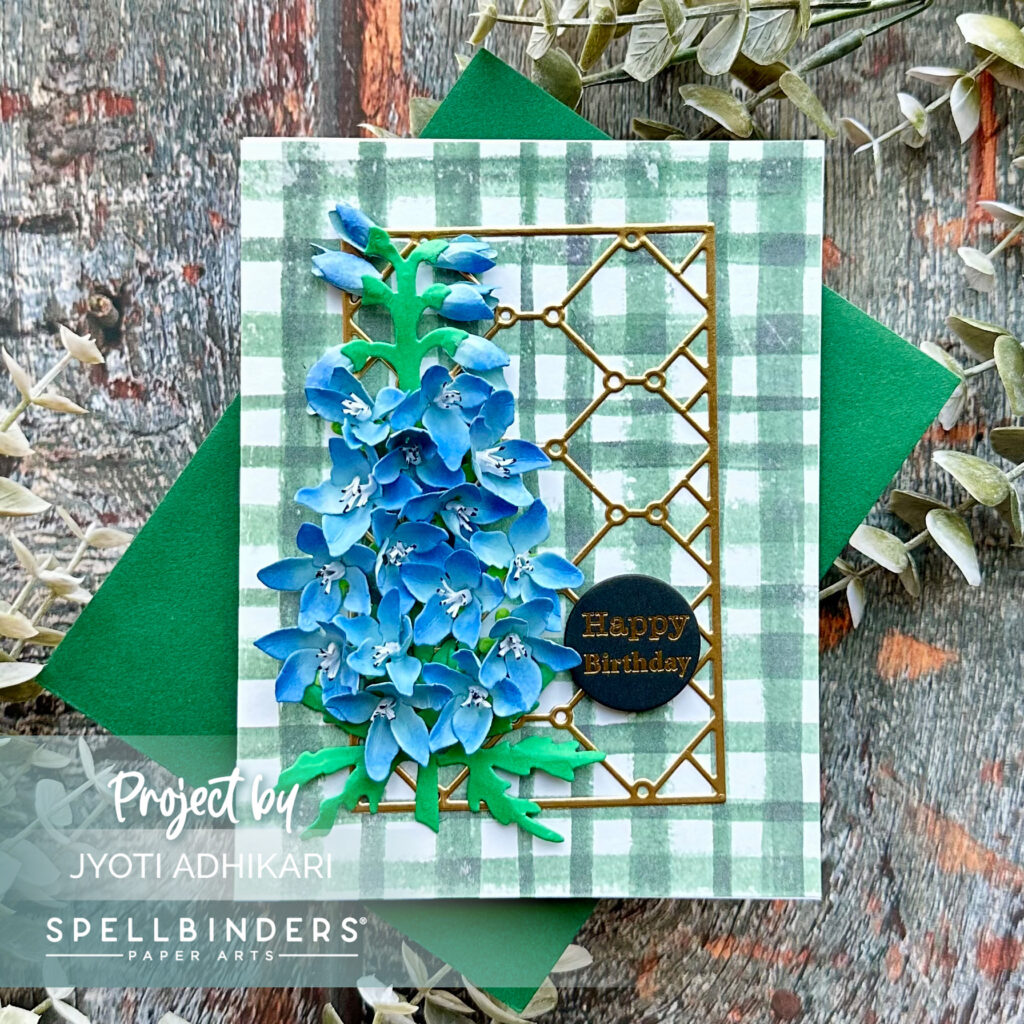
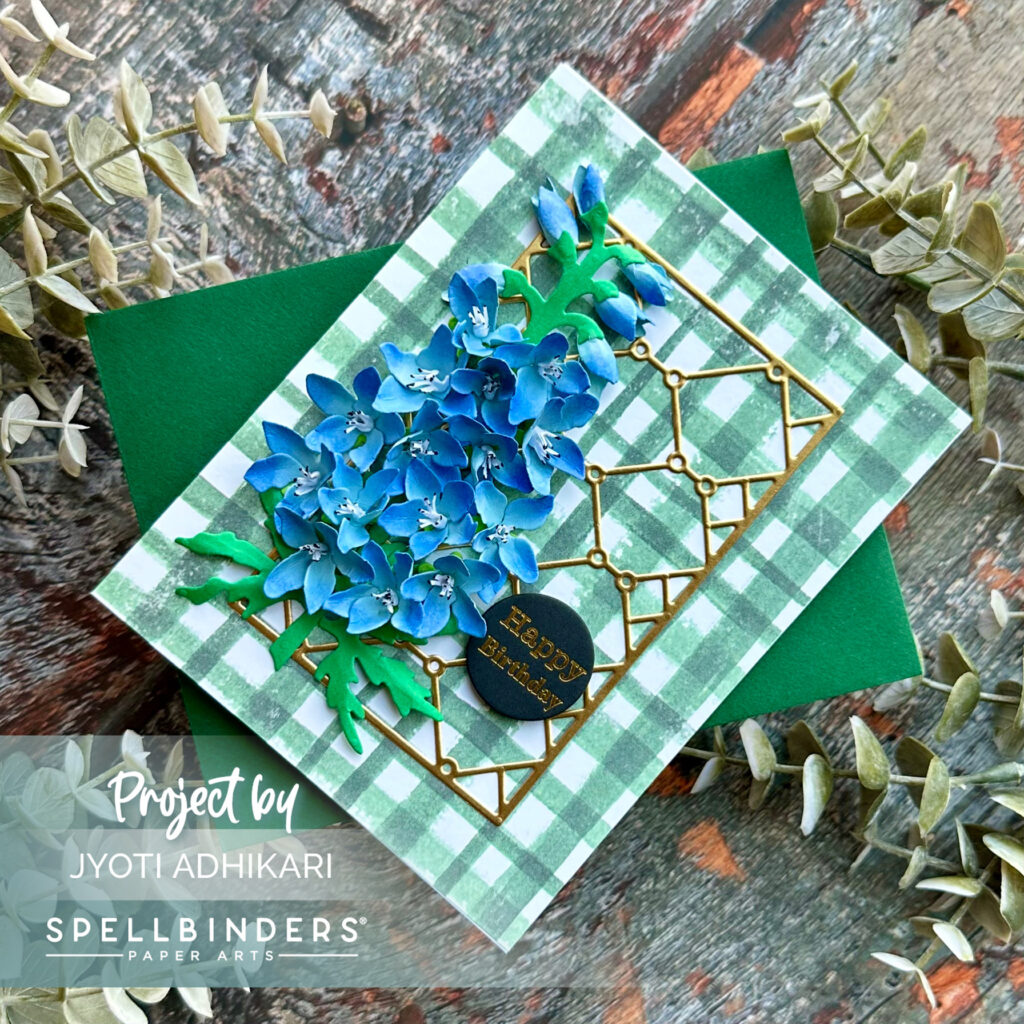
For the backdrop of my card, I opted for a patterned paper to complement the floral theme. Drawing from my collection of Spellbinders dies, I selected an older yet timeless lattice design to create an intricate background. This was one of the Large Die Of The Month which I cut out with gold card-stock. The juxtaposition of the classic die-cut with the modern Delphinium elements added visual interest and elegance to the overall composition.
Assembling the Composition
With the background in place, it was time to assemble the components of the Delphinium. Placing the stem and buds strategically, I ensured they flowed seamlessly along the left portion of the card. Adhering the petals and leaves along the stem, I mimicked the natural growth pattern of the Delphinium flower, creating a sense of movement and vitality.
Adding the Finishing Touches
No card is complete without a heartfelt sentiment. For the finishing touch, I selected a circular “Happy Birthday” foiled circle tabs from Memory Box, adding a touch of warmth and personalization to the card. With a steady hand and careful placement, I affixed the sentiment, completing the masterpiece with a flourish.
Crafting this Delphinium Birthday card was a journey filled with creativity and joy. From selecting the materials to adding the final touches, each step allowed me to immerse myself in the beauty of botanical artistry. As I send this card off to brighten someone’s day, I’m reminded of the power of handmade creations to convey love and appreciation. Join me again soon for more crafting adventures and inspiration!
Happy crafting!!
Hugs,

Delphinium Etched Die Shop at: SB | SC | SSS | ”
Happy Birthday Foiled Circle Tabs Shop at: SSS |


Double Sided Foam Tape
Shop at:
AM

Glitter Art Glue
Shop at:
AM

Die-cutting Machine
Shop at:
SB | SC | AM

Universal Plate
Shop at:
SB | SC | AM

Waterfall Cardstock
Shop at:
SB