Spellbinders has released a lot of stitching dies in the past. And here we are with yet another beautiful release- STITCHED NEMBER AND MORE COLLECTION. These stitching dies have been so popular among the crafters lately. And this one my friends! I tell you is a must have.
Hello everyone!
I am back after a short crafting break I took as I was moving. Now that I moved I can start crafting even though my craft supplies are not completely organized. It will take a while for me to reorganize everything but being able to craft and create these cards kind of took me away from the stressful situation for a bit.
Today I am showcasing Spellbinders new release STITCHED NUMBERS AND MORE COLLECTION. I am using two sets of dies from this release for my projects today.
First Card
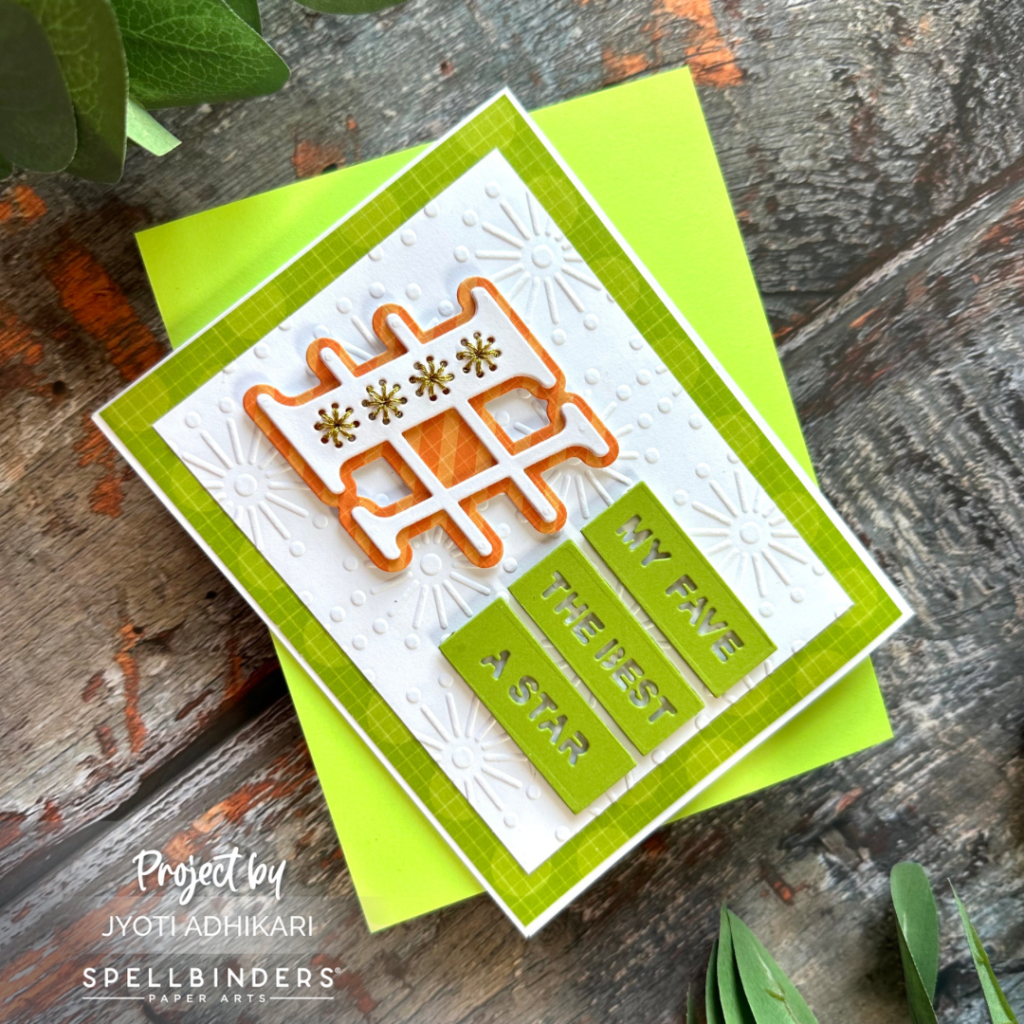
My first card features the STITCHED PUNCTUATION AND SYMBOLS die set.
I thought this Hashtag symbol from this die set would look really cool for my first project with some words on the side.
The Focus
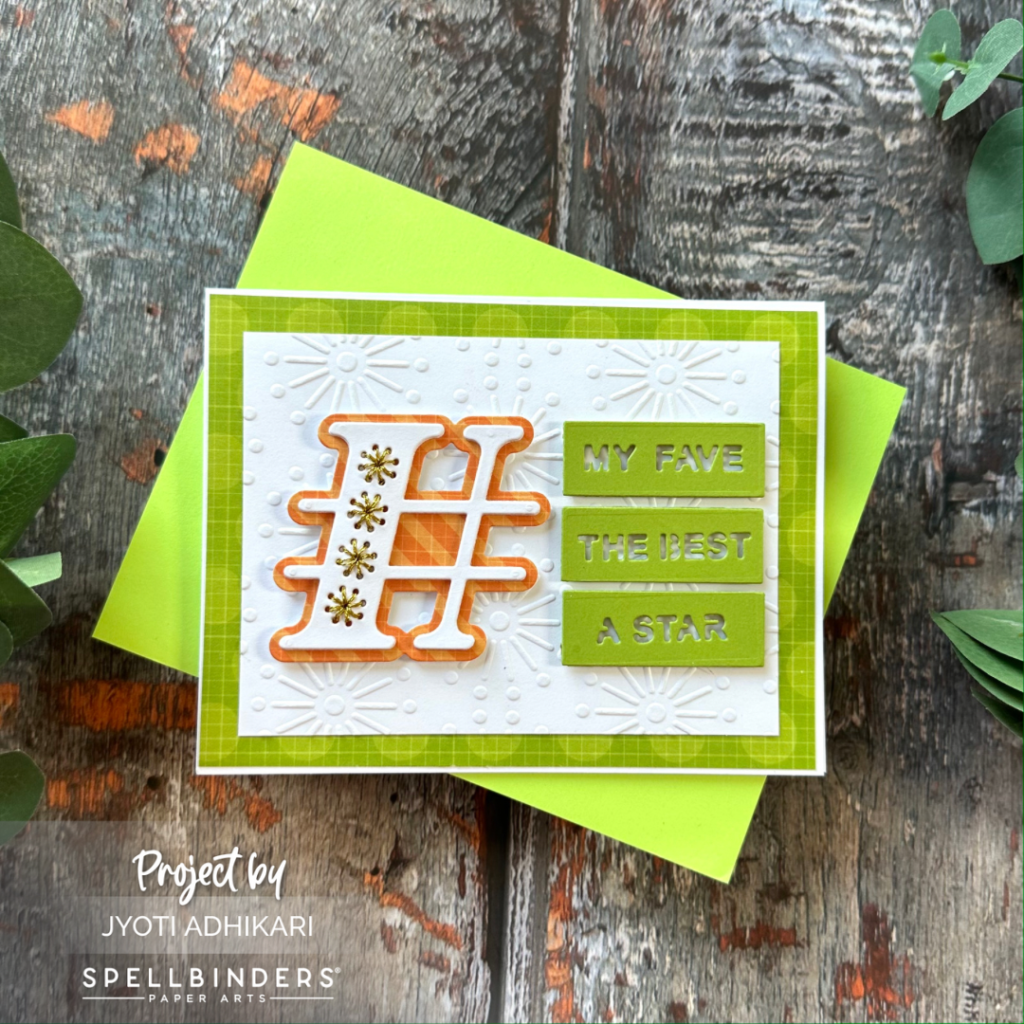
I cut the inside stitching piece of the Hashtag with white card-stock and the outer shadow layer with a fun orange pattern paper from my stash. I then did some stitching on the white piece with gold embroidery thread. Then I added the embroidered piece on the shadow layer using foam tape for dimension. With this done, I needed some words to go with the hashtag. I remembered I had this die set from Spellbinders Birthday Collection called ” PICK YOUR GREETINGS ETCHED DIE” which had some fun sentiment dies to cut the words in strips. So it would make #my fave #the best #amazing etc.

Background
For the background I just used the Faux Stitching Embossing folder from Spellbinders. Embossed a white panel and added that to a slightly larger green pattern paper from my stash to add some pop of color. I think orange and green go so well together.
Sentiment
The focal image itself is a part of the sentiment for this card. Then I used Pick a Greeting Slider Etched die set from the Birthday Celebration Collection by Spellbinders. I cut the words “My Fave” The Best” and “A Star”which I thought would work so well for the card design I was going for.

Second Card
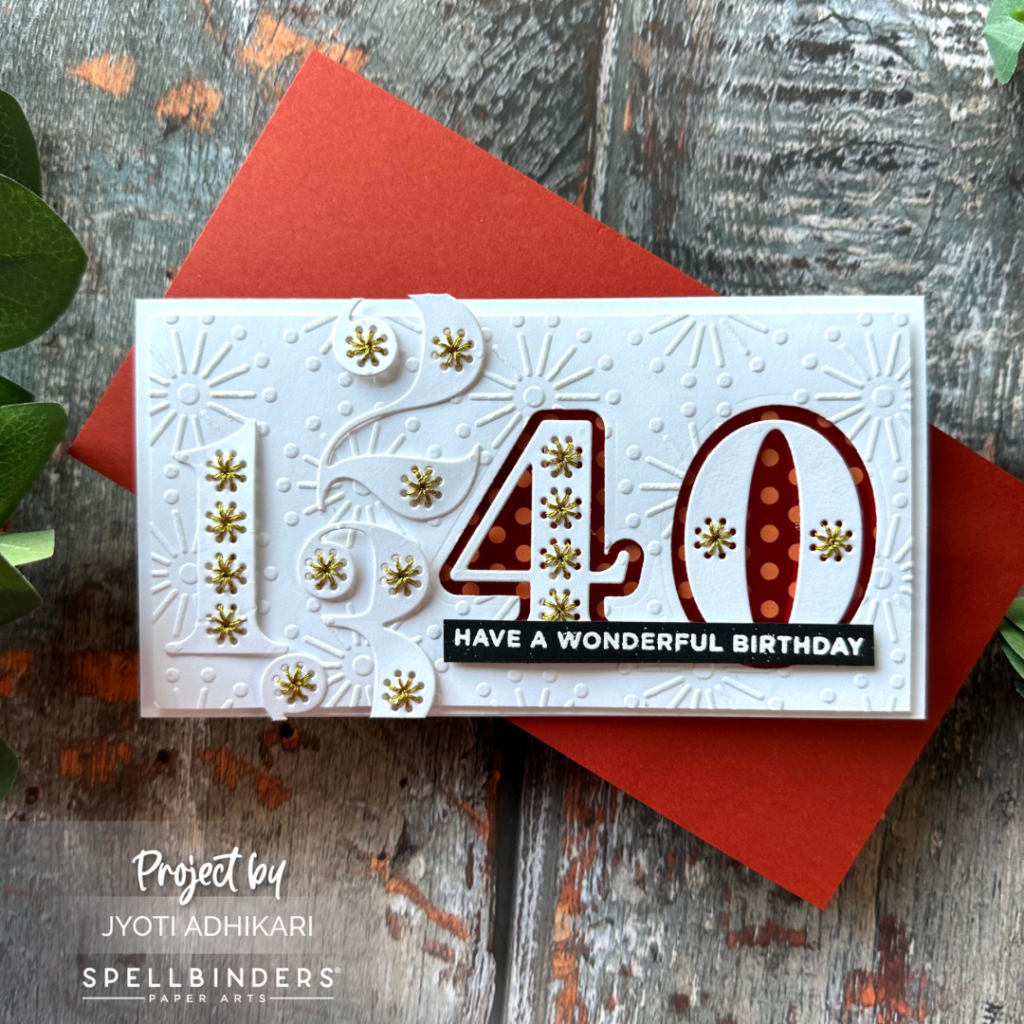
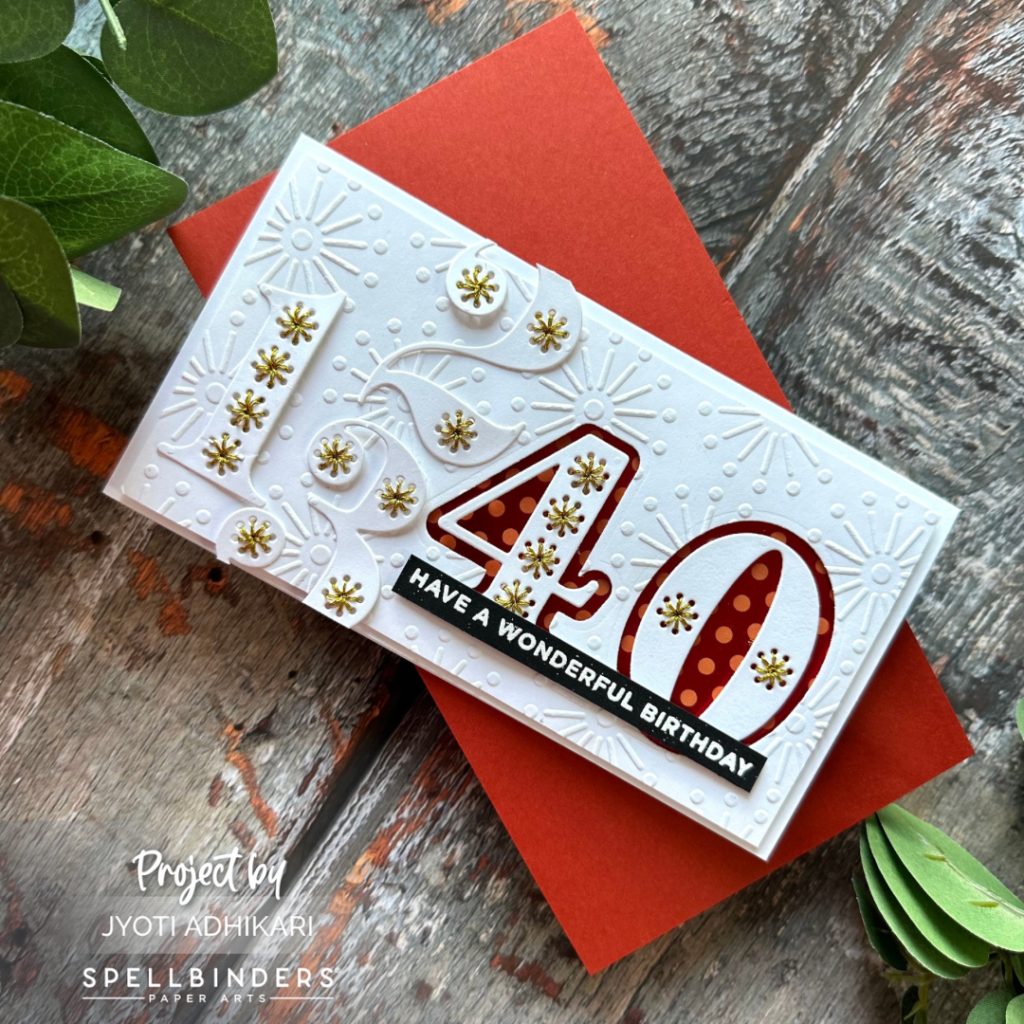
The second card idea features the STITCHED NUMBERS ETCHED DIES.
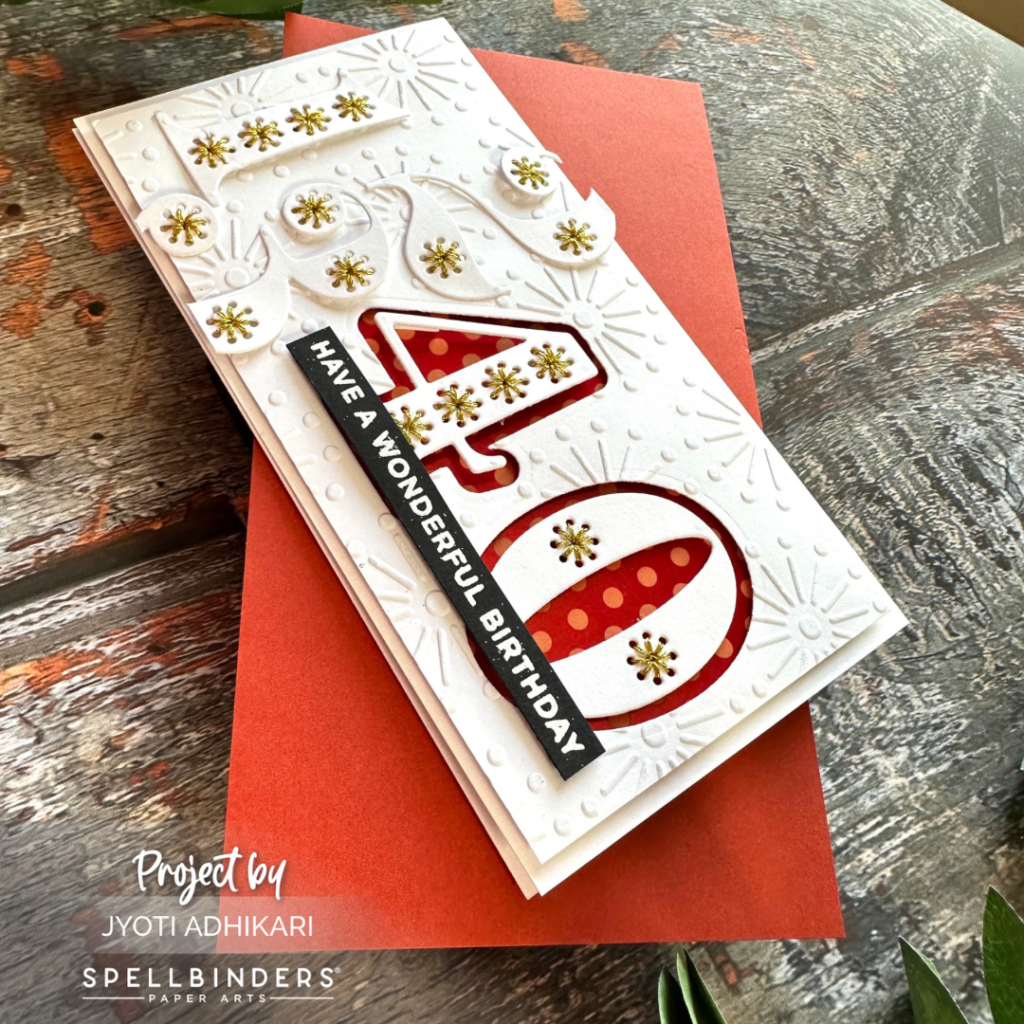
This one here is a mini slimline card. My idea is to create a series of numbers in different heights but the age number which is ’40’ in this case is highlighted using a bright pattern paper behind the stitched numbers.
The Focus
The focus for this card is of course the number “40” which is highlighted with the bright red polka dot pattern paper behind the cutout. I cut out 1,2, 3, 4 and 0 with white card-stock as I was going to do the stitching in gold. After I finished the stitching in all the numbers I planned the arrangements on the card.
The Background
I took a slightly smaller panel and cut out the ’40’ on one side with the shadow dies. Then I embossed it using the Faux Stitch Embossing Folder. I then adhered this panel on the card-front with a piece of red polka dot pattern paper behind the number ’40’ using foam tape for dimension. I then added the other already stitched number how I had planned in the beginning. So now numbers go 1, 2, 3 then 40.
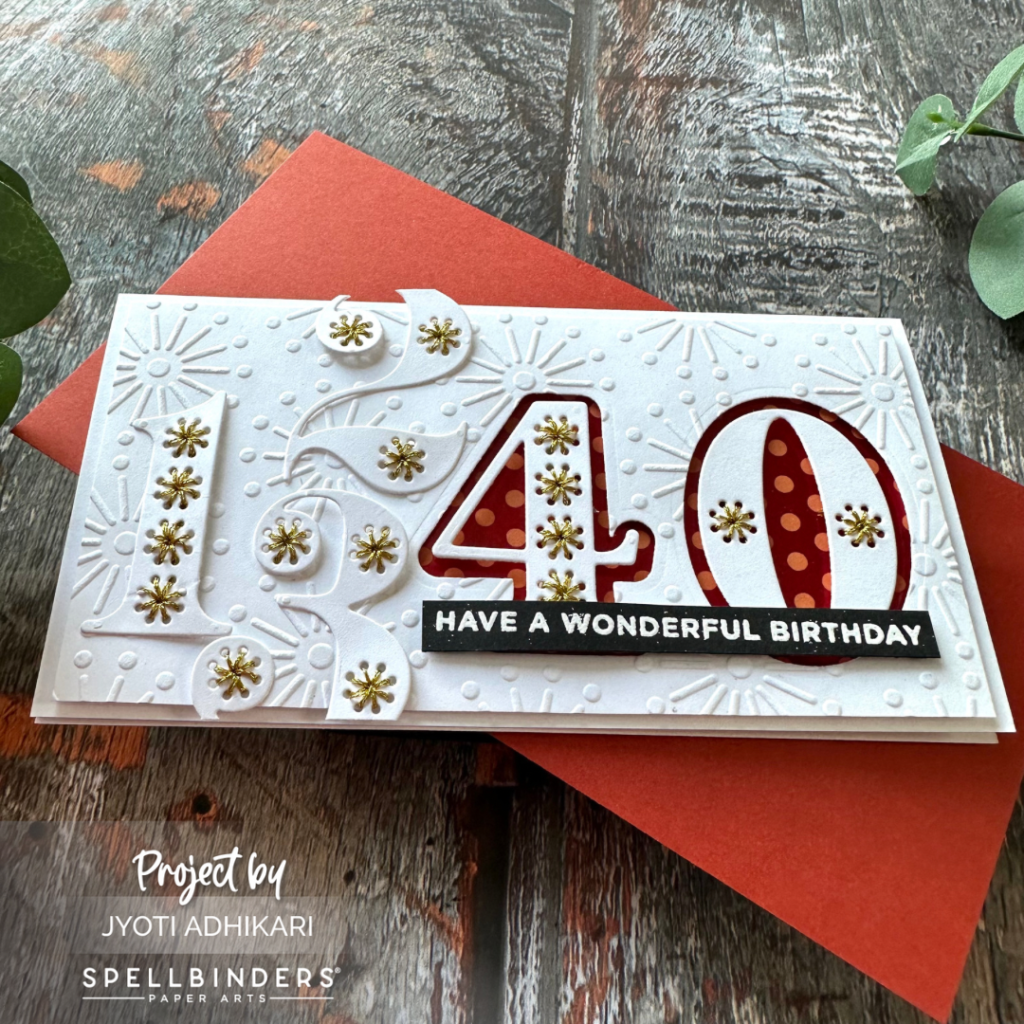
Sentiment
The highlighted number 40 says a lot about this card. It can be 40th birthday or 40th anniversary. But I added a strip of heat embossed sentiment which says”Have a wonderful birthday” to complete my sentiment. This sentiment is from Just Wanted To Say Collection. This finished my second card.
Third Card
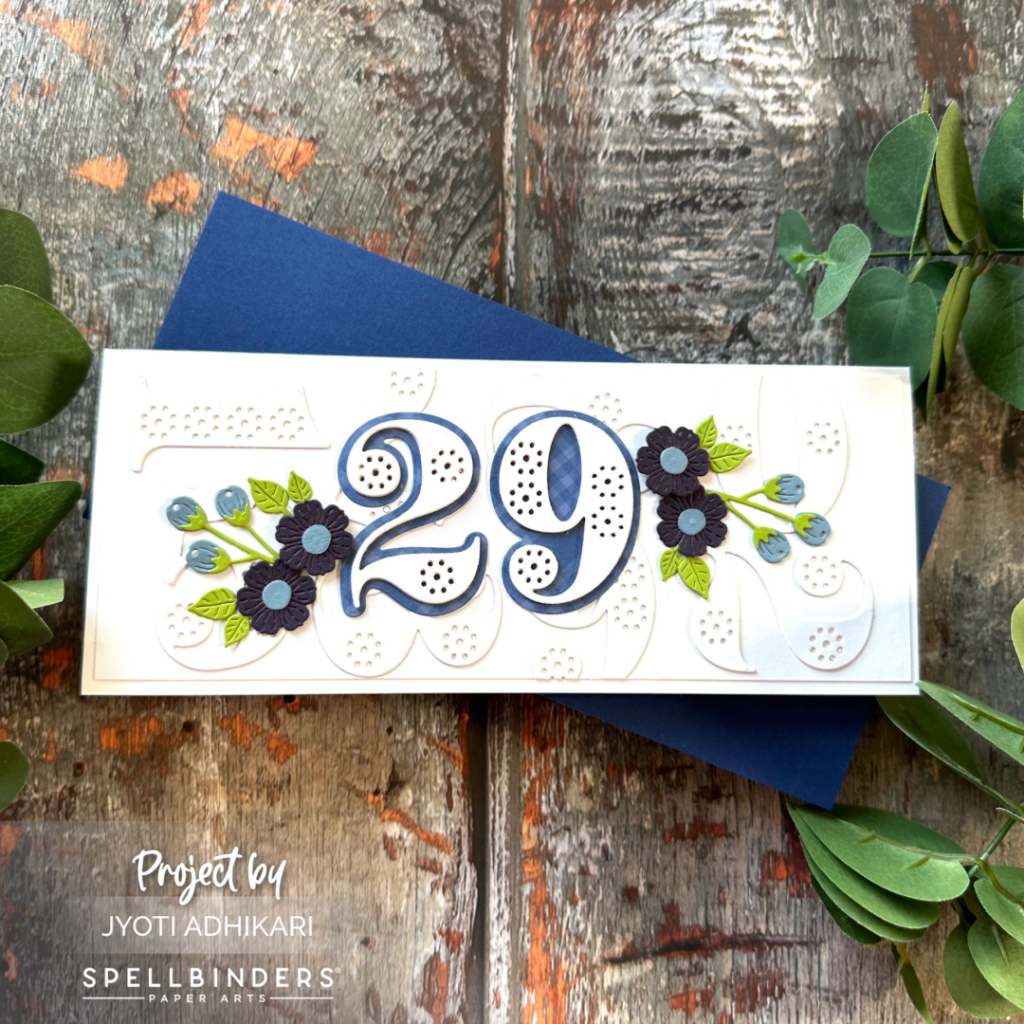
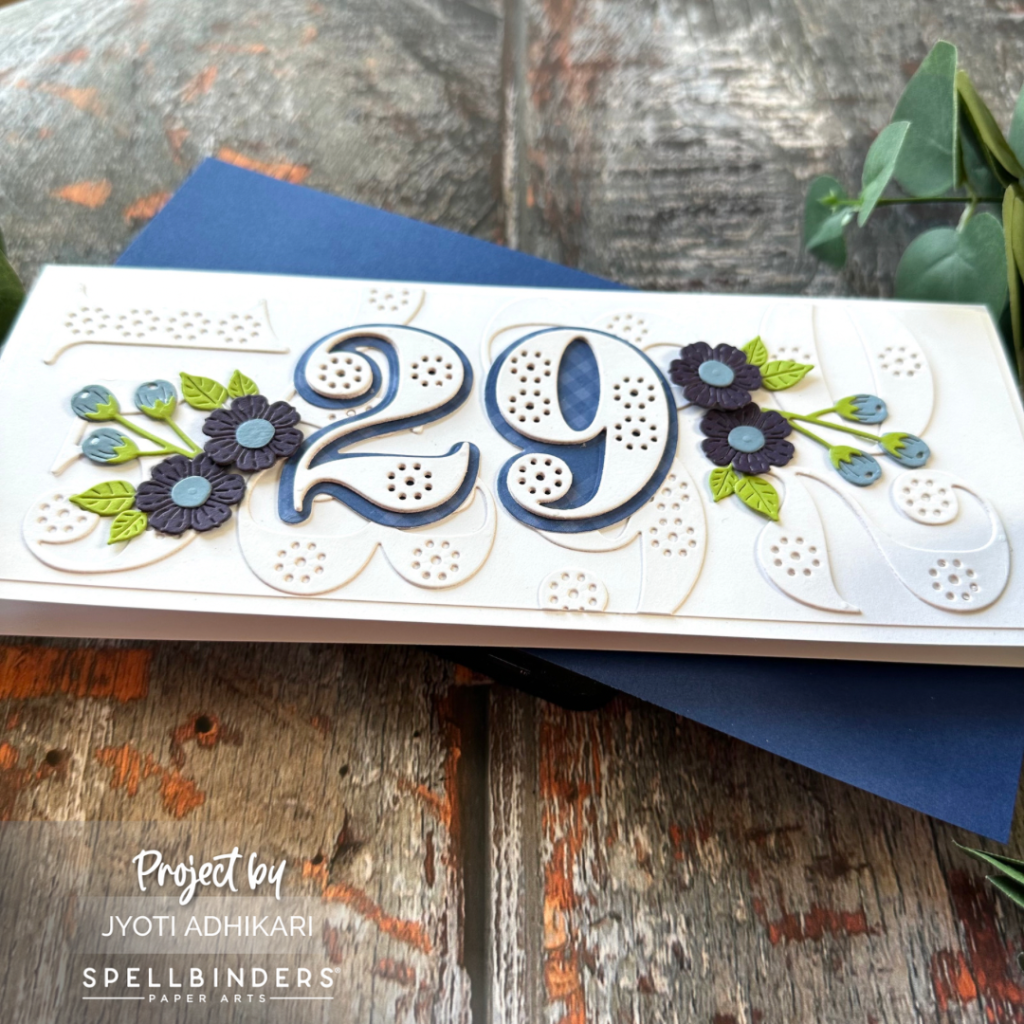
My third card idea came from my second card. As I was arranging all the numbers on my second card I came up with the idea of creating a white on white background, without any stitching for my third card. This one here is a regular slimline card which measures 8 and a half inches long and 3 and a half inches wide.
Background
I cut out a bunch of numbers with white card-stock and arranged them to create a background on a white panel. Then I added that directly on the slimline card-base.
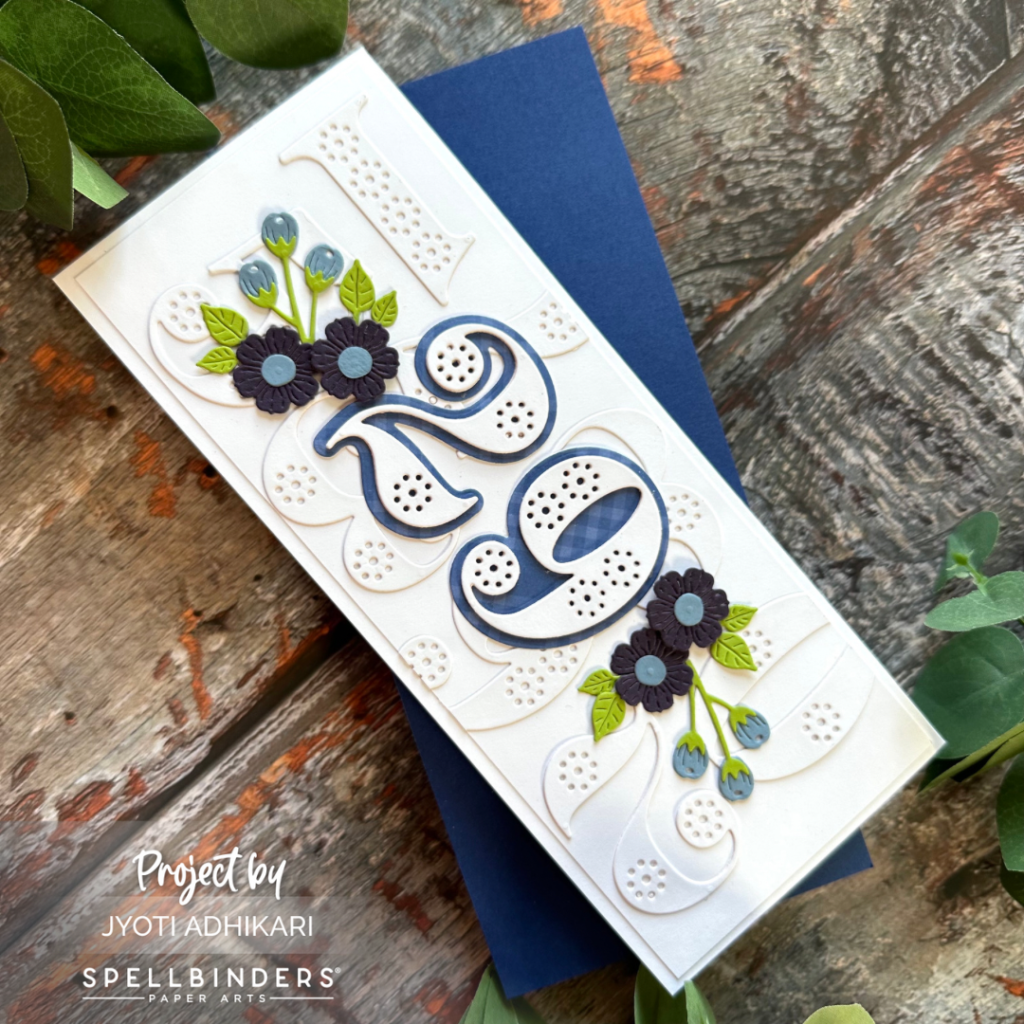
Focus
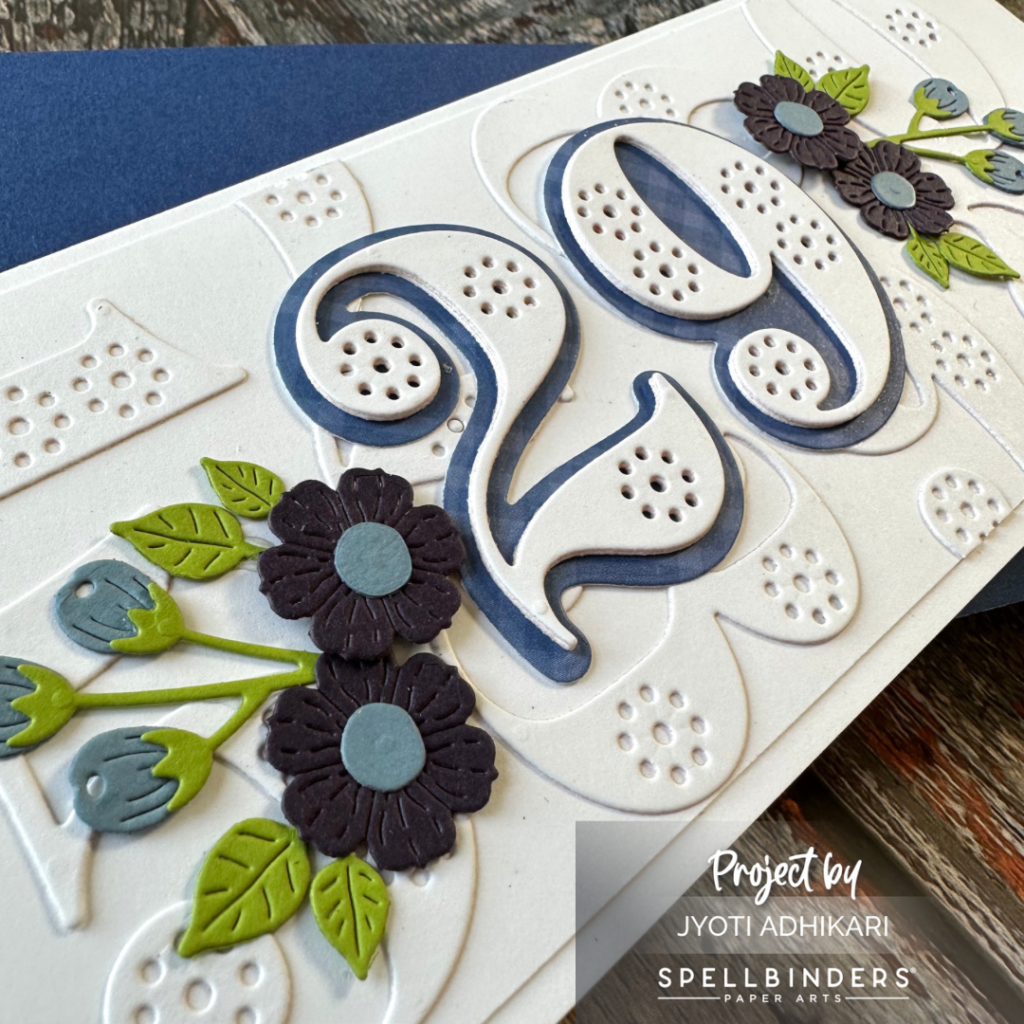
For the main focus I created a number ’29’ with white stitching layer on purple pattern paper shadow layer. I didn’t do the stitching on this one. I used three layers of white die cut for extra dimension. Then I added the number in the middle of my background. I then used the flowers and leaves clusters around the number to decorate it. The card-stock I used for the flowers and leaves are from Spellbinders.
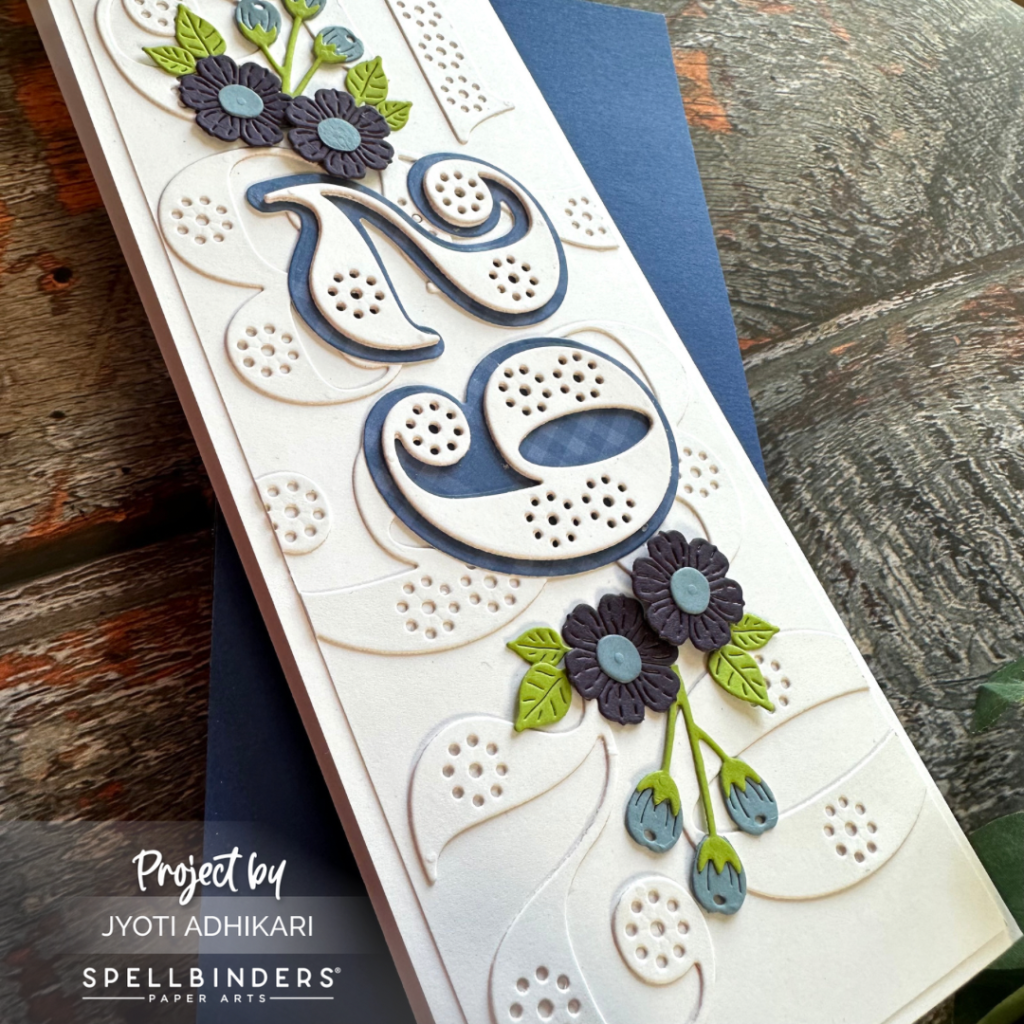
When I use a larger piece of spellbinders card-stock to die cut images I don’t throw away the craps if they’re enough to die cut these small flowers. That way I have extra smaller flowers and leaves whenever I need to decorate a card.
This finished my final card for today. I hope this inspired you to use the dies from the Stitched Numbers and More Collection or any other number dies.
Thanks for visiting. I would really appreciate it if you could leave your thoughts in comments below and share this post with other crafters who might be interested in reading it.
Hugs,
